InsForge: Building Full-Stack Applications with AI-optimized Backend

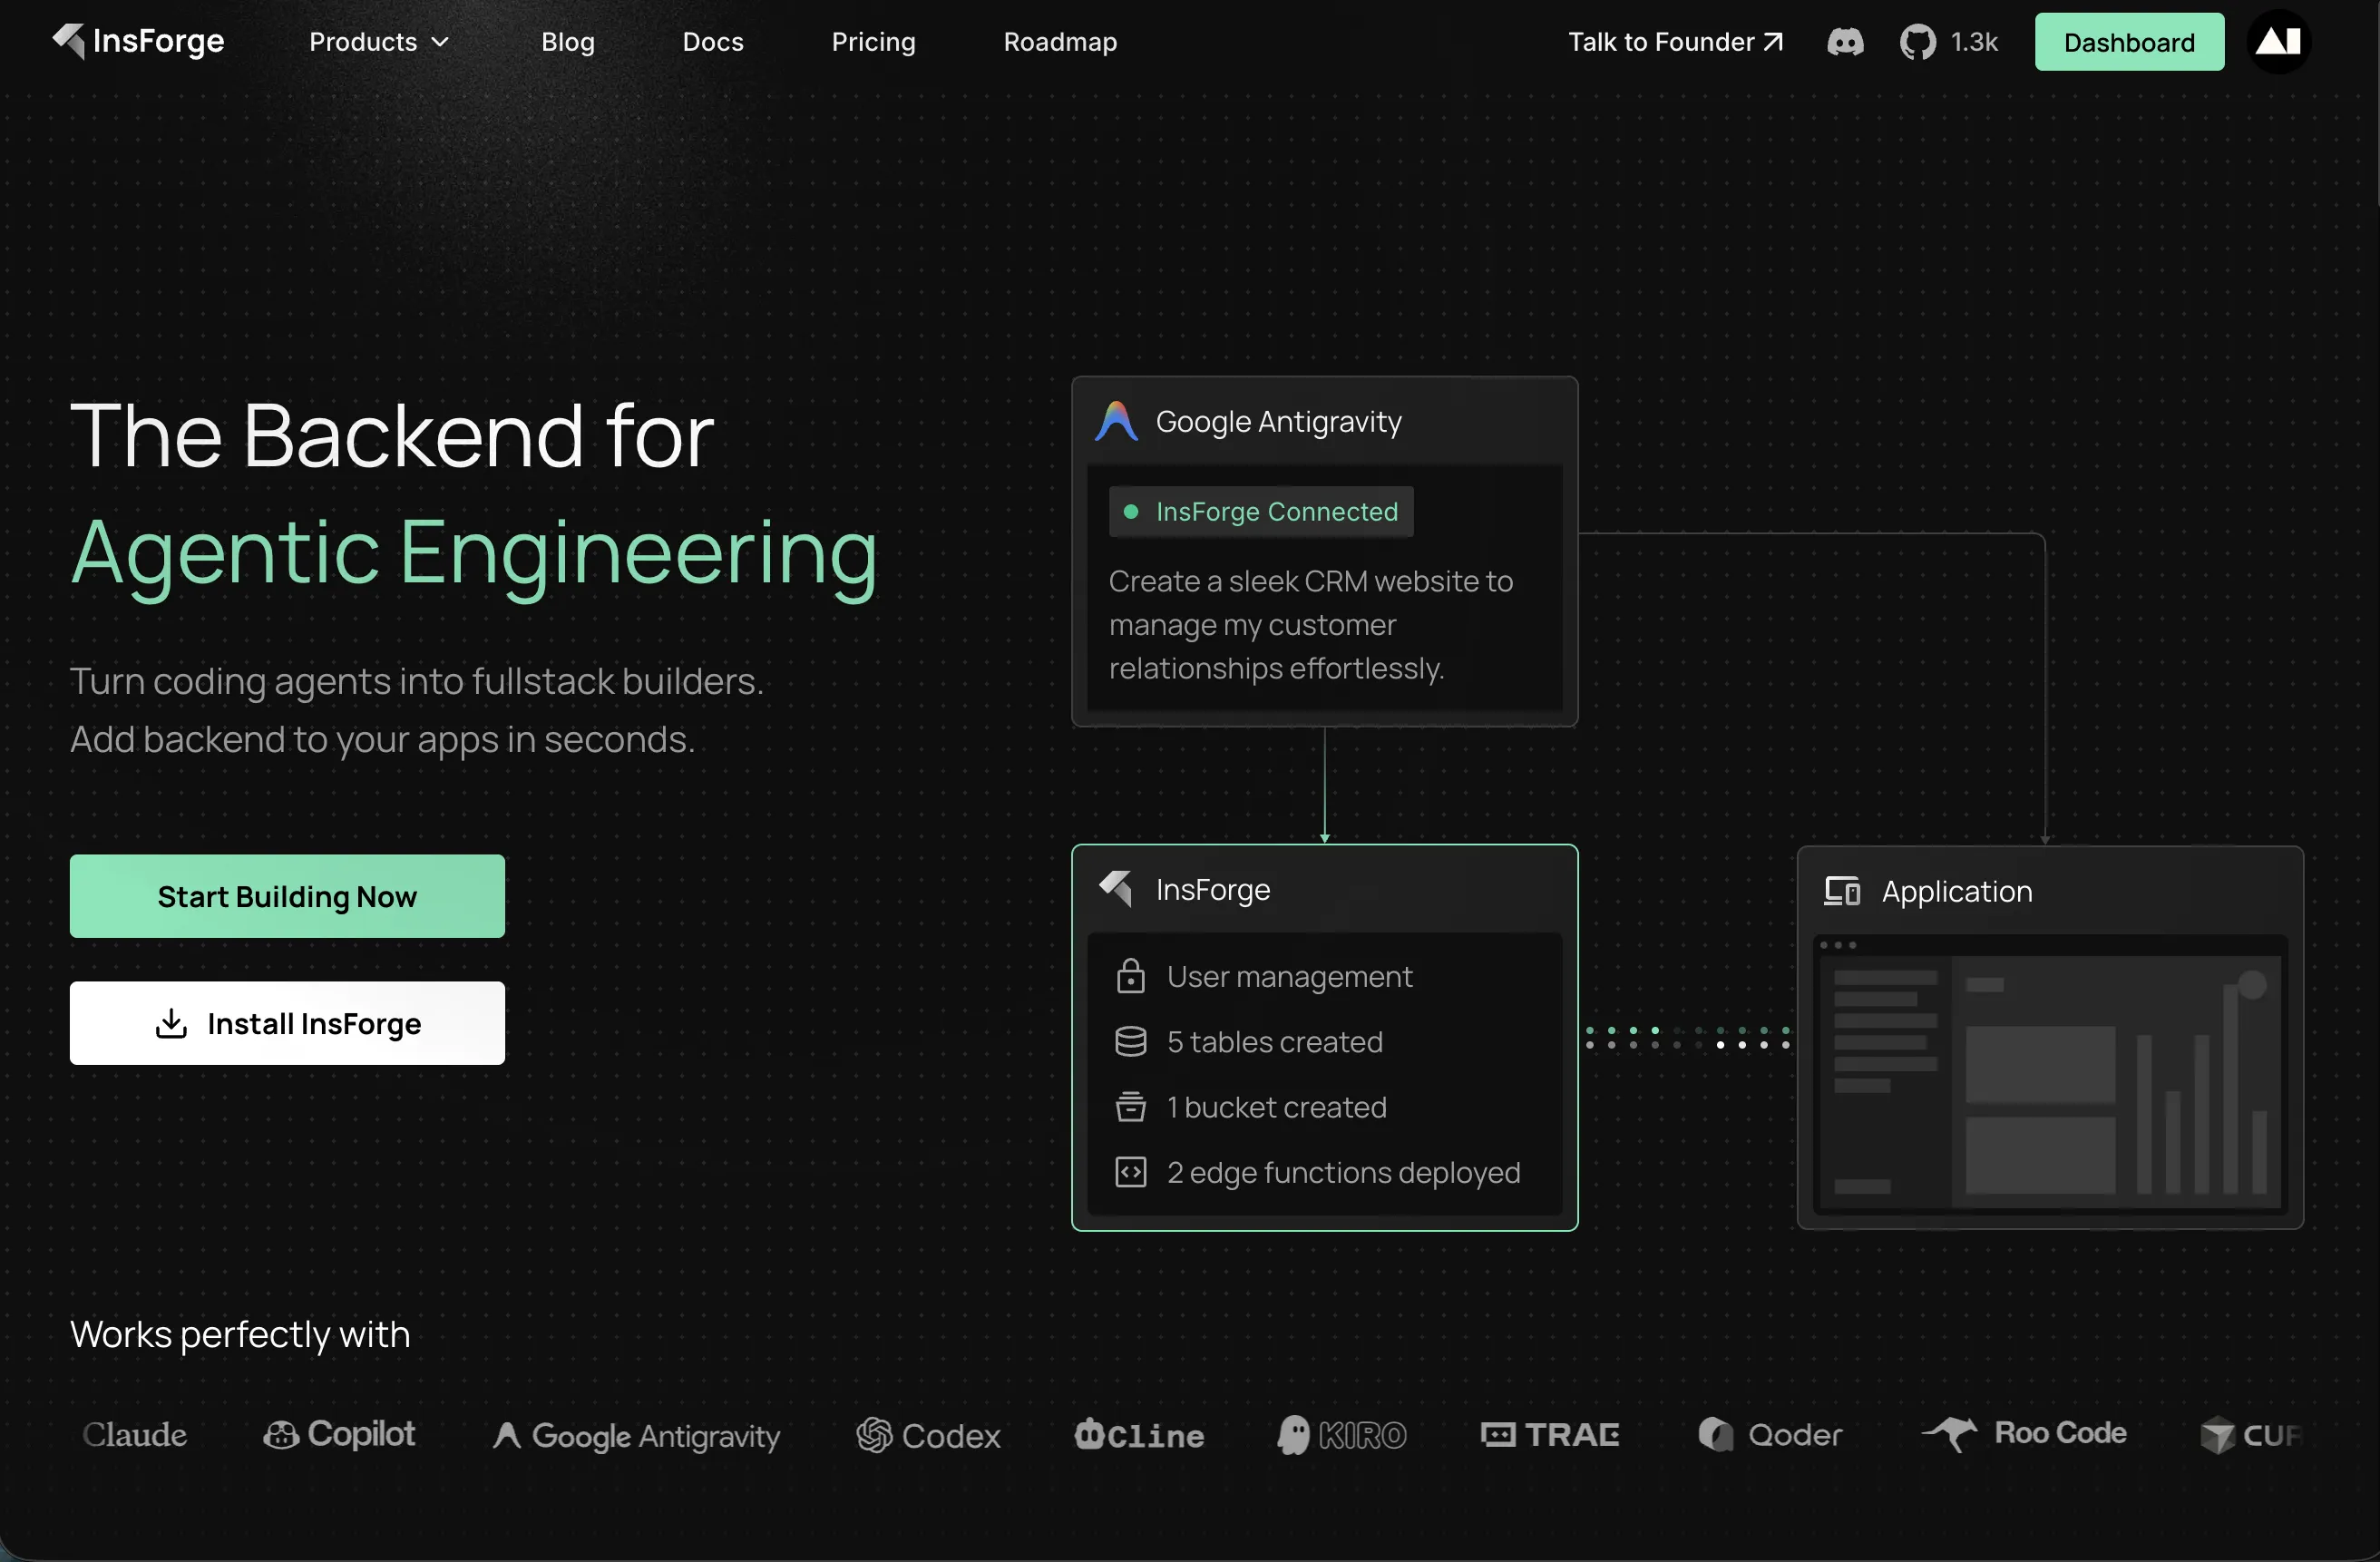
InsForge is an AI-optimized Backend-as-a-Service (BaaS) platform that provides PostgreSQL databases, JWT authentication, file storage, and serverless functions designed specifically for AI coding agents. By integrating via the Model Context Protocol (MCP), you can build complete applications using natural language prompts.
What You'll Build
In this tutorial, you'll create a task management application with:
- User authentication (sign-up, login, JWT sessions)
- Database operations (CRUD for tasks)
- File storage (task attachments)
- Real-time updates
Prerequisites
- Node.js 18+ installed
- Qoder AI coding IDE
- Basic TypeScript/JavaScript knowledge
- An InsForge cloud account
Part 1: Create Your Local Project Folder
Before setting up InsForge, let's create the local folder for your project.
Create the Project Folder
Open your terminal and create a new task-manager folder:
mkdir task-manager
cd task-manager
Open with Qoder
- Launch Qoder IDE
- Go to File → Open Folder (or use the keyboard shortcut)
- Navigate to the
task-managerfolder you just created - Click "Open" to load the folder in Qoder
Keep Qoder open - we'll connect it to InsForge in the next steps.
Part 2: Create InsForge Project
InsForge will provide the backend infrastructure for your application.
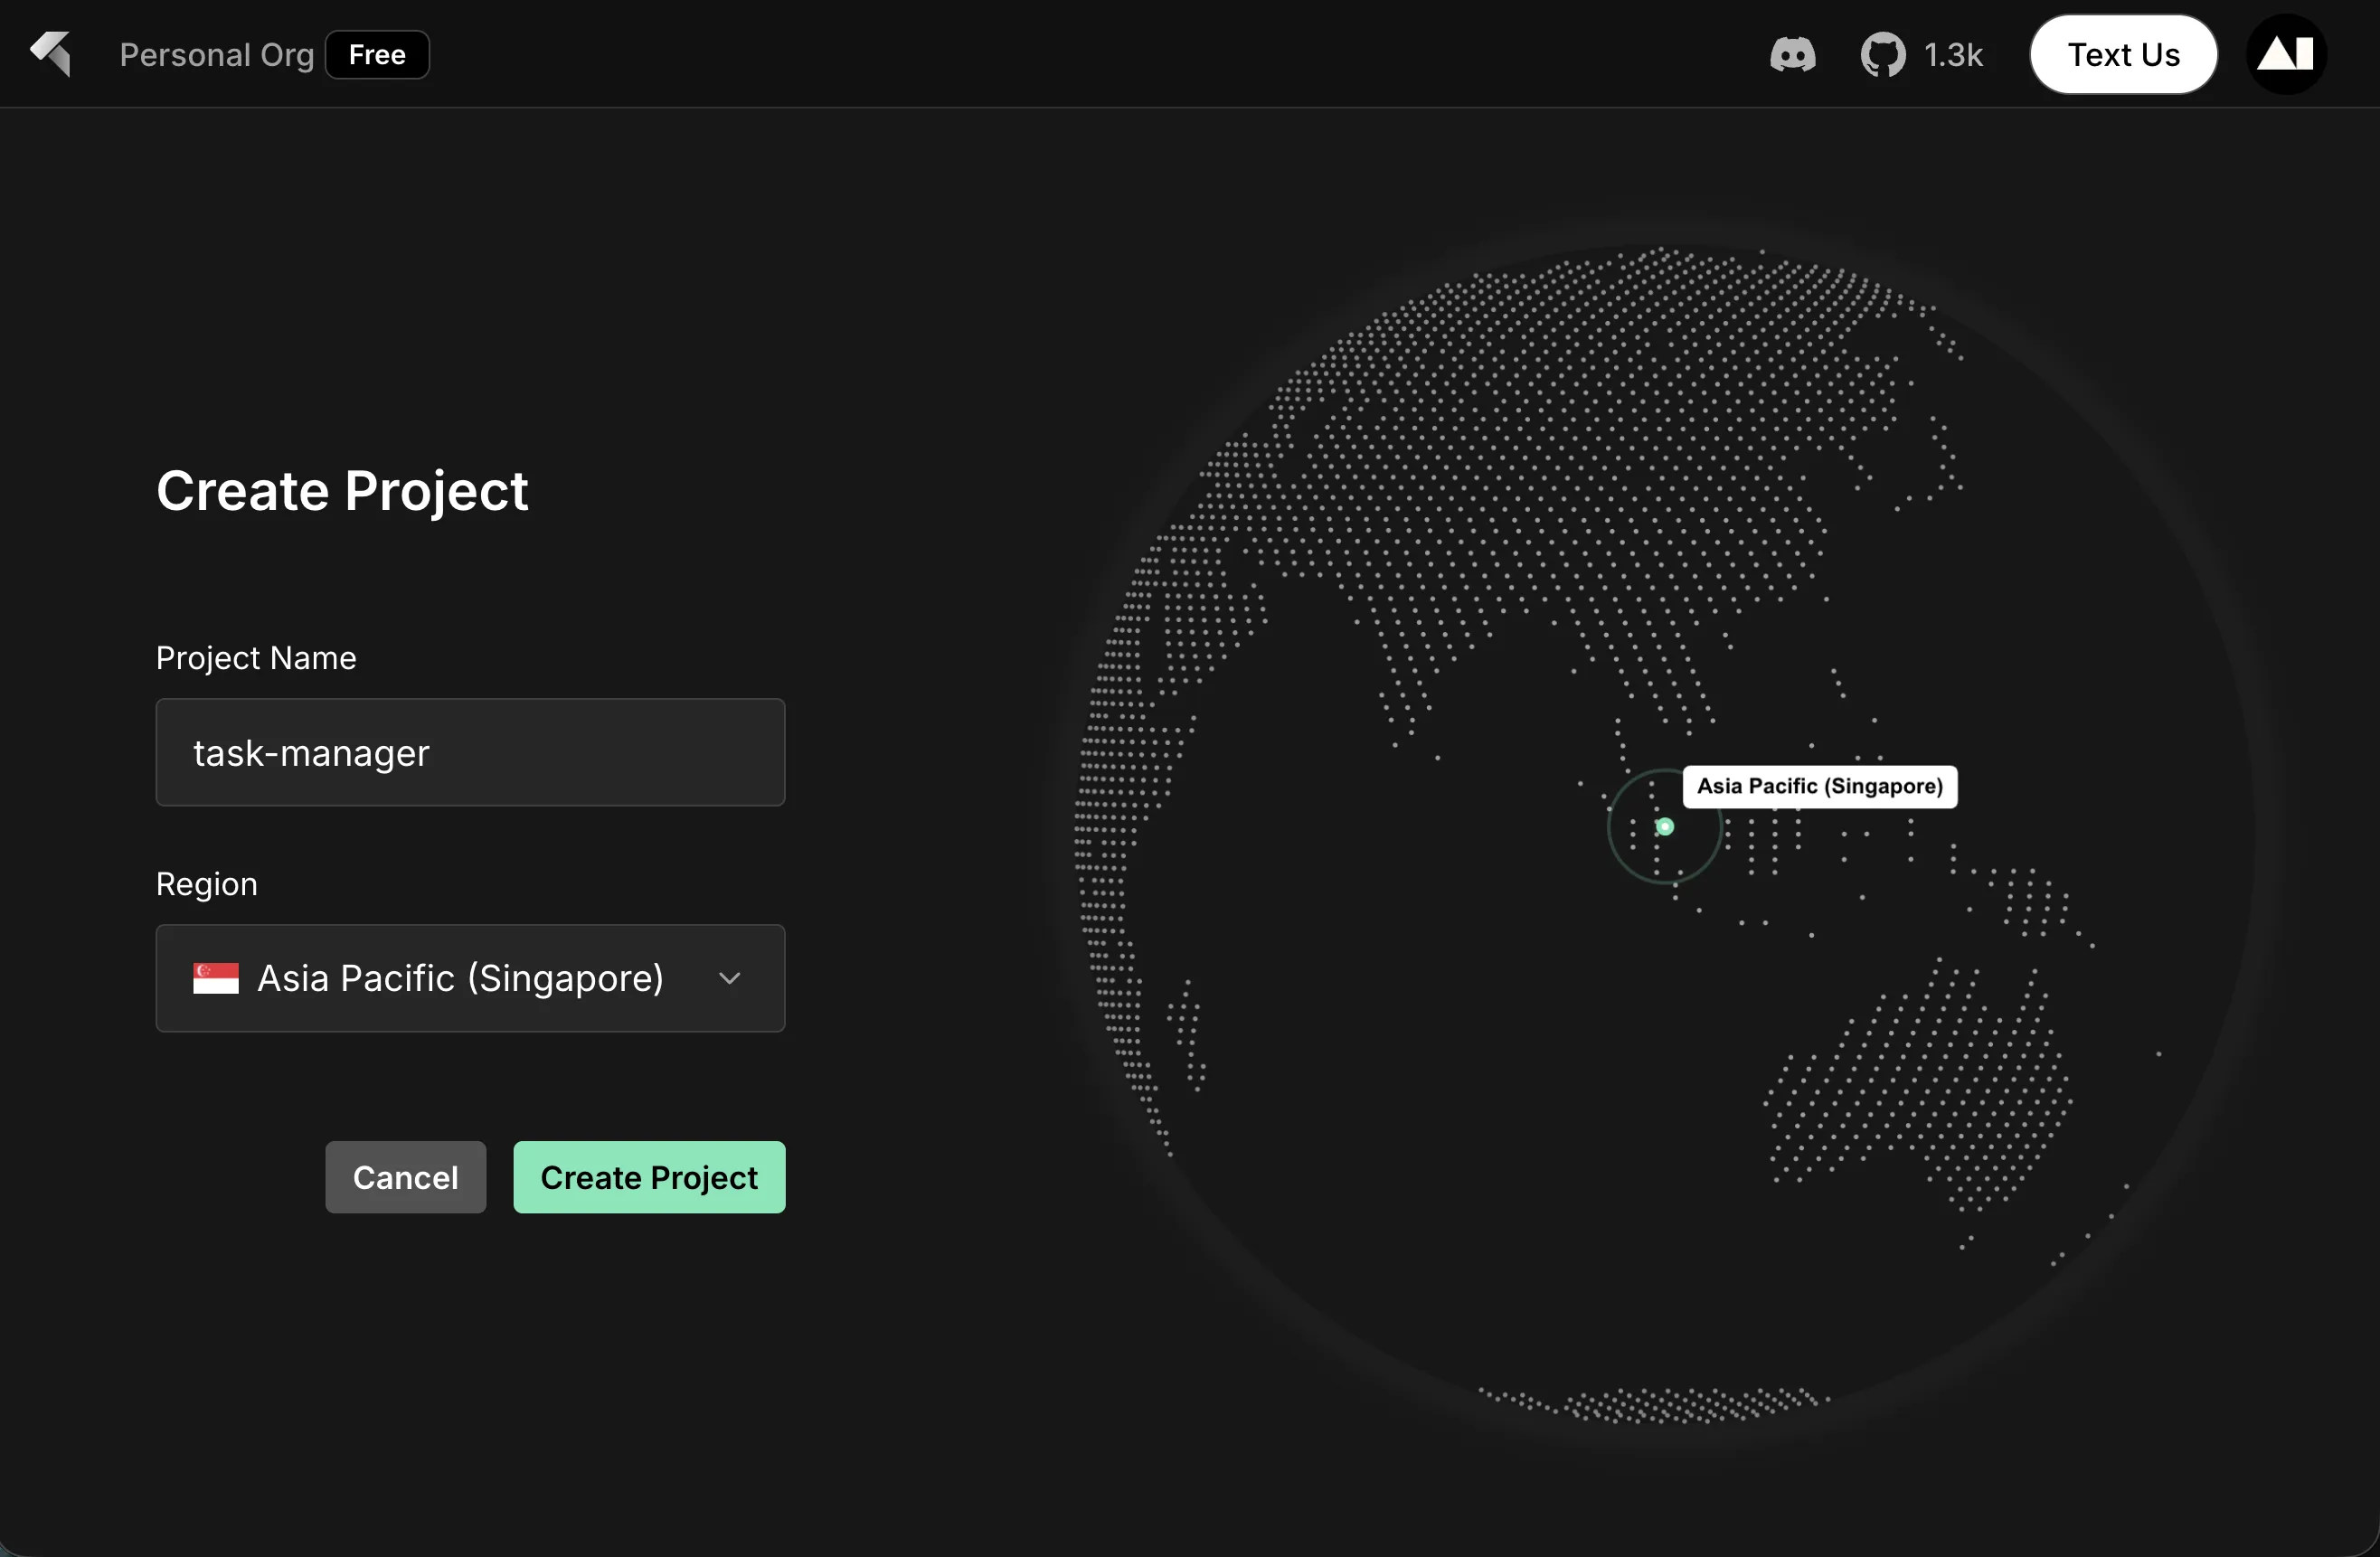
- Visit insforge.dev and create an account
- In the dashboard, click Create Project
- Enter
task-manageras the Project Name - Select your preferred region (e.g., Asia Pacific (Singapore))
- Click Create Project
Part 3: Connect InsForge to Qoder
Now let's connect your InsForge backend to Qoder using the built-in extension.
Step 1: Install InsForge Extension
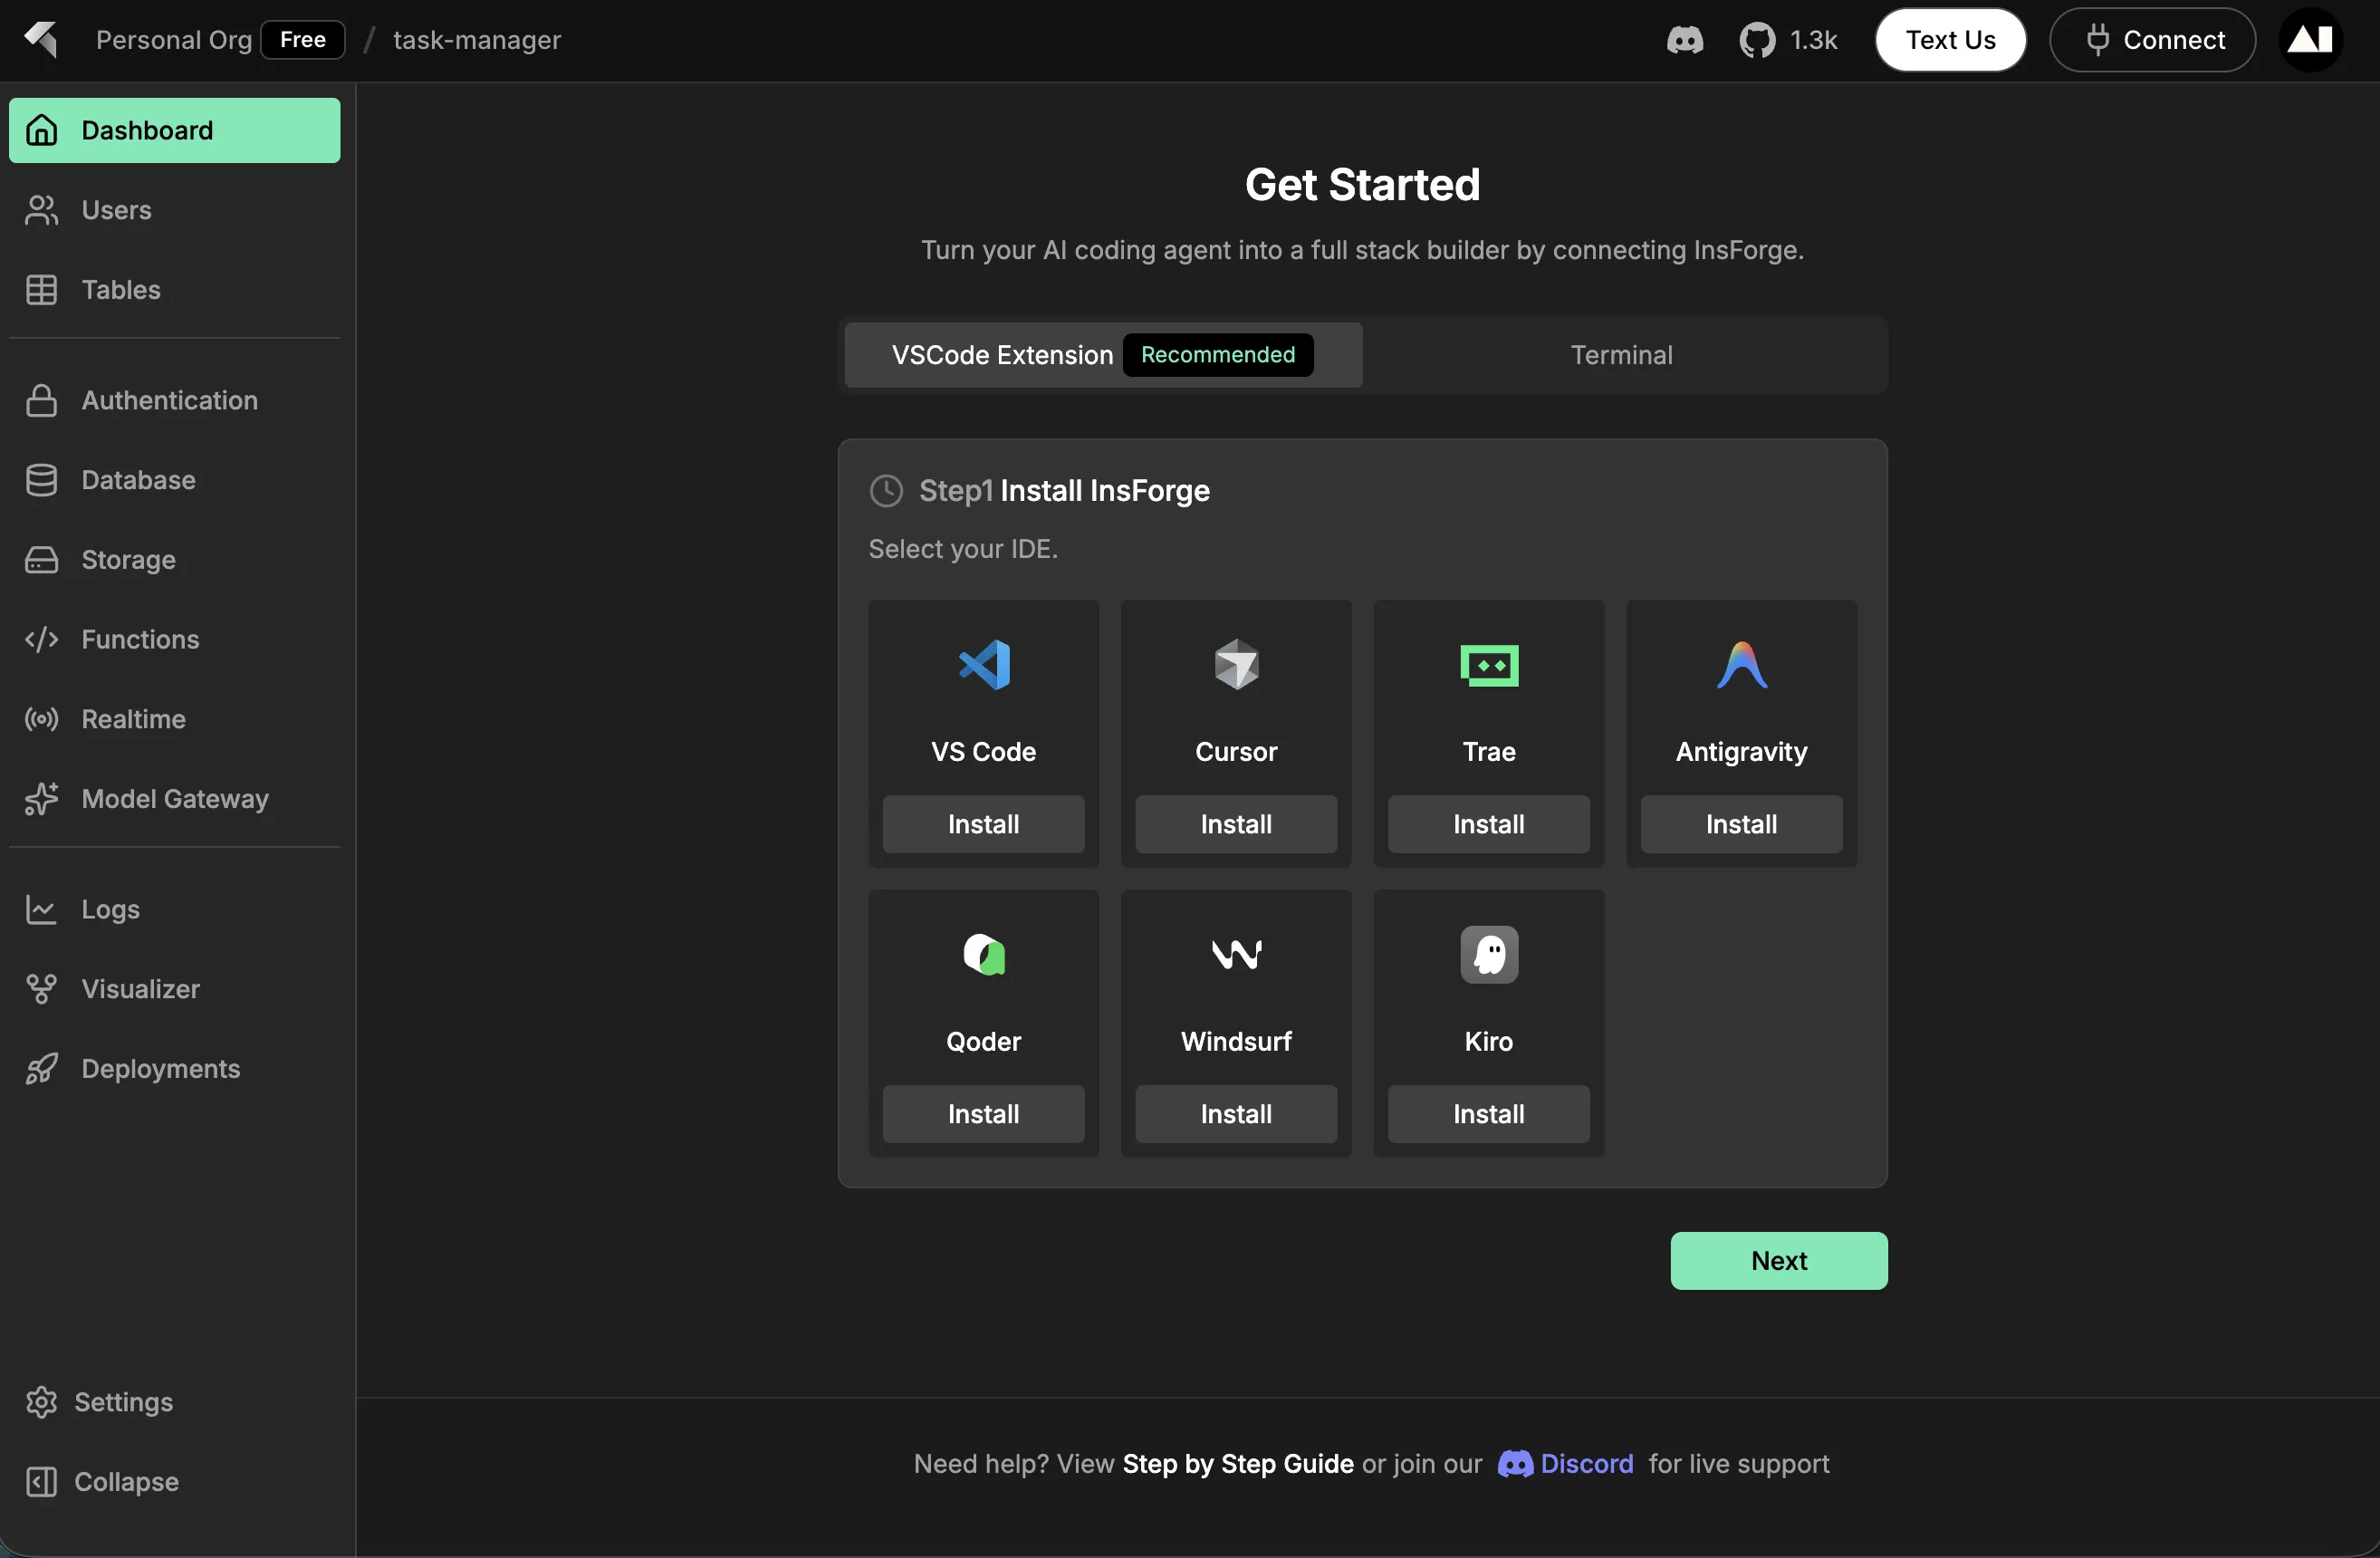
After creating your project, you'll see the "Get Started" page:
- Under "Step 1: Install InsForge", you'll see IDE options
- Click the Install button under Qoder
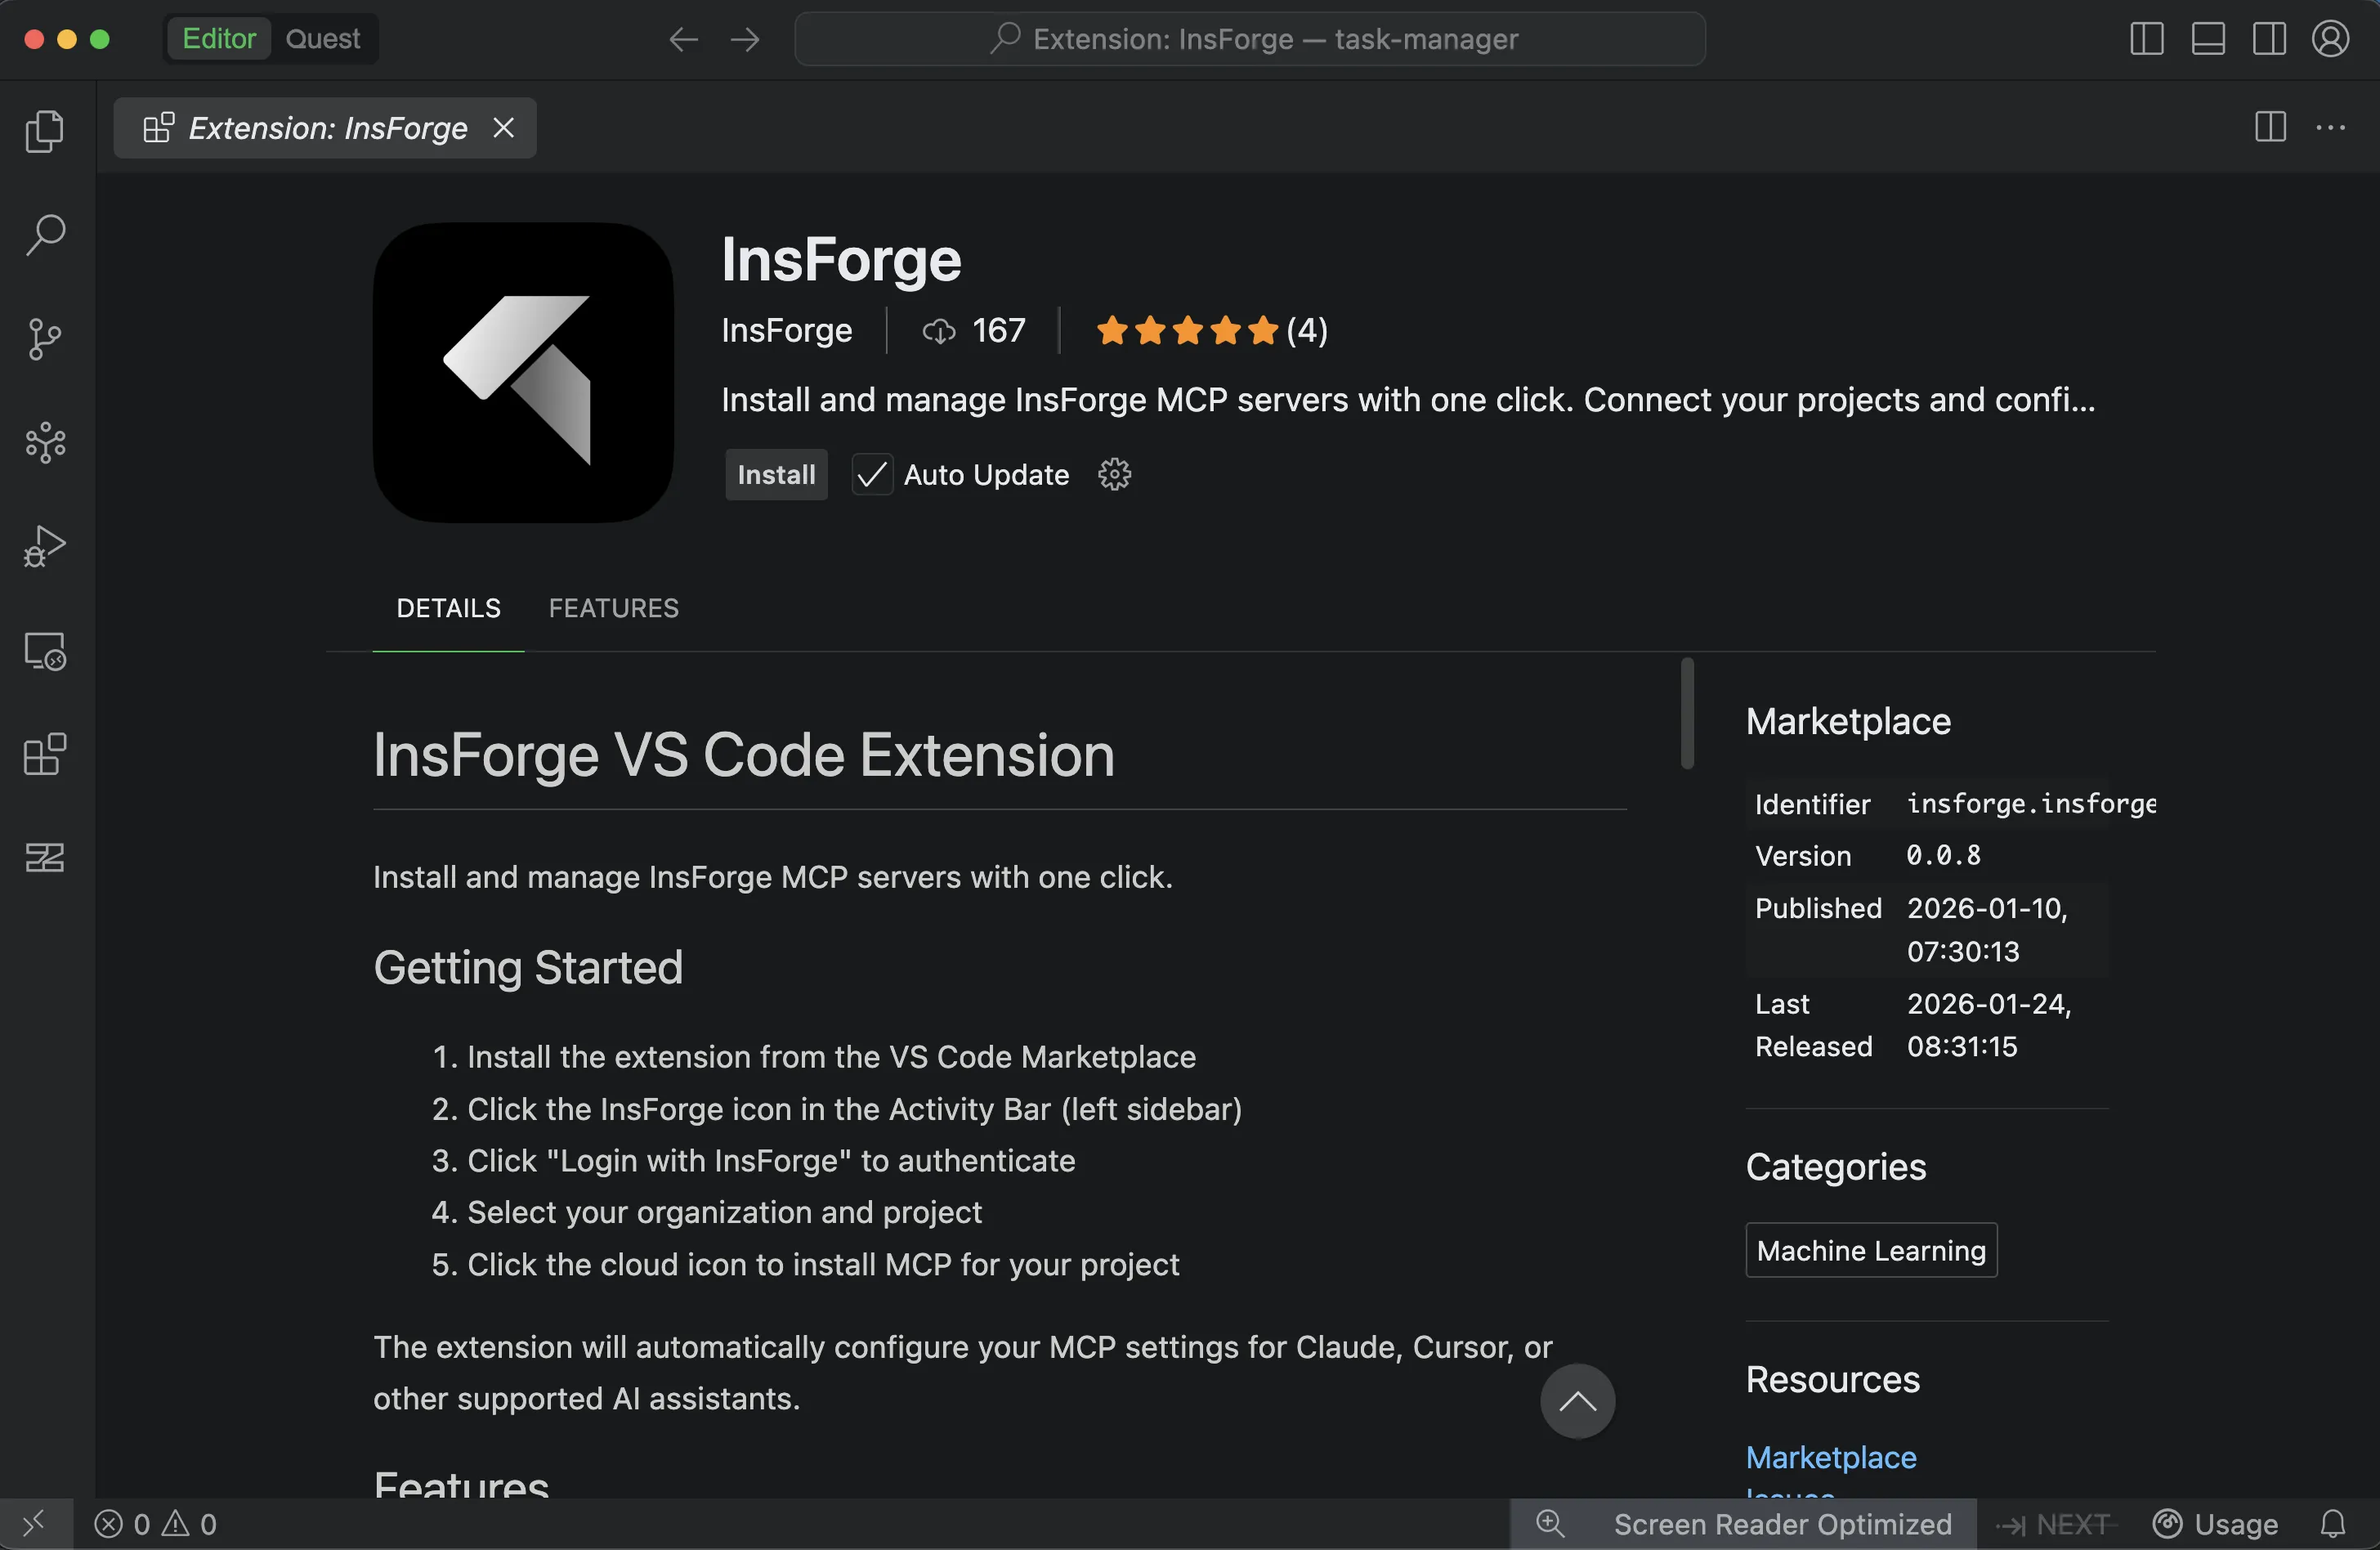
This will guide you to install the InsForge extension in Qoder (similar to the VS Code extension shown below):
Step 2: Log in to InsForge
- In Qoder, look for the InsForge icon in the left sidebar
- Click the Log in to InsForge button
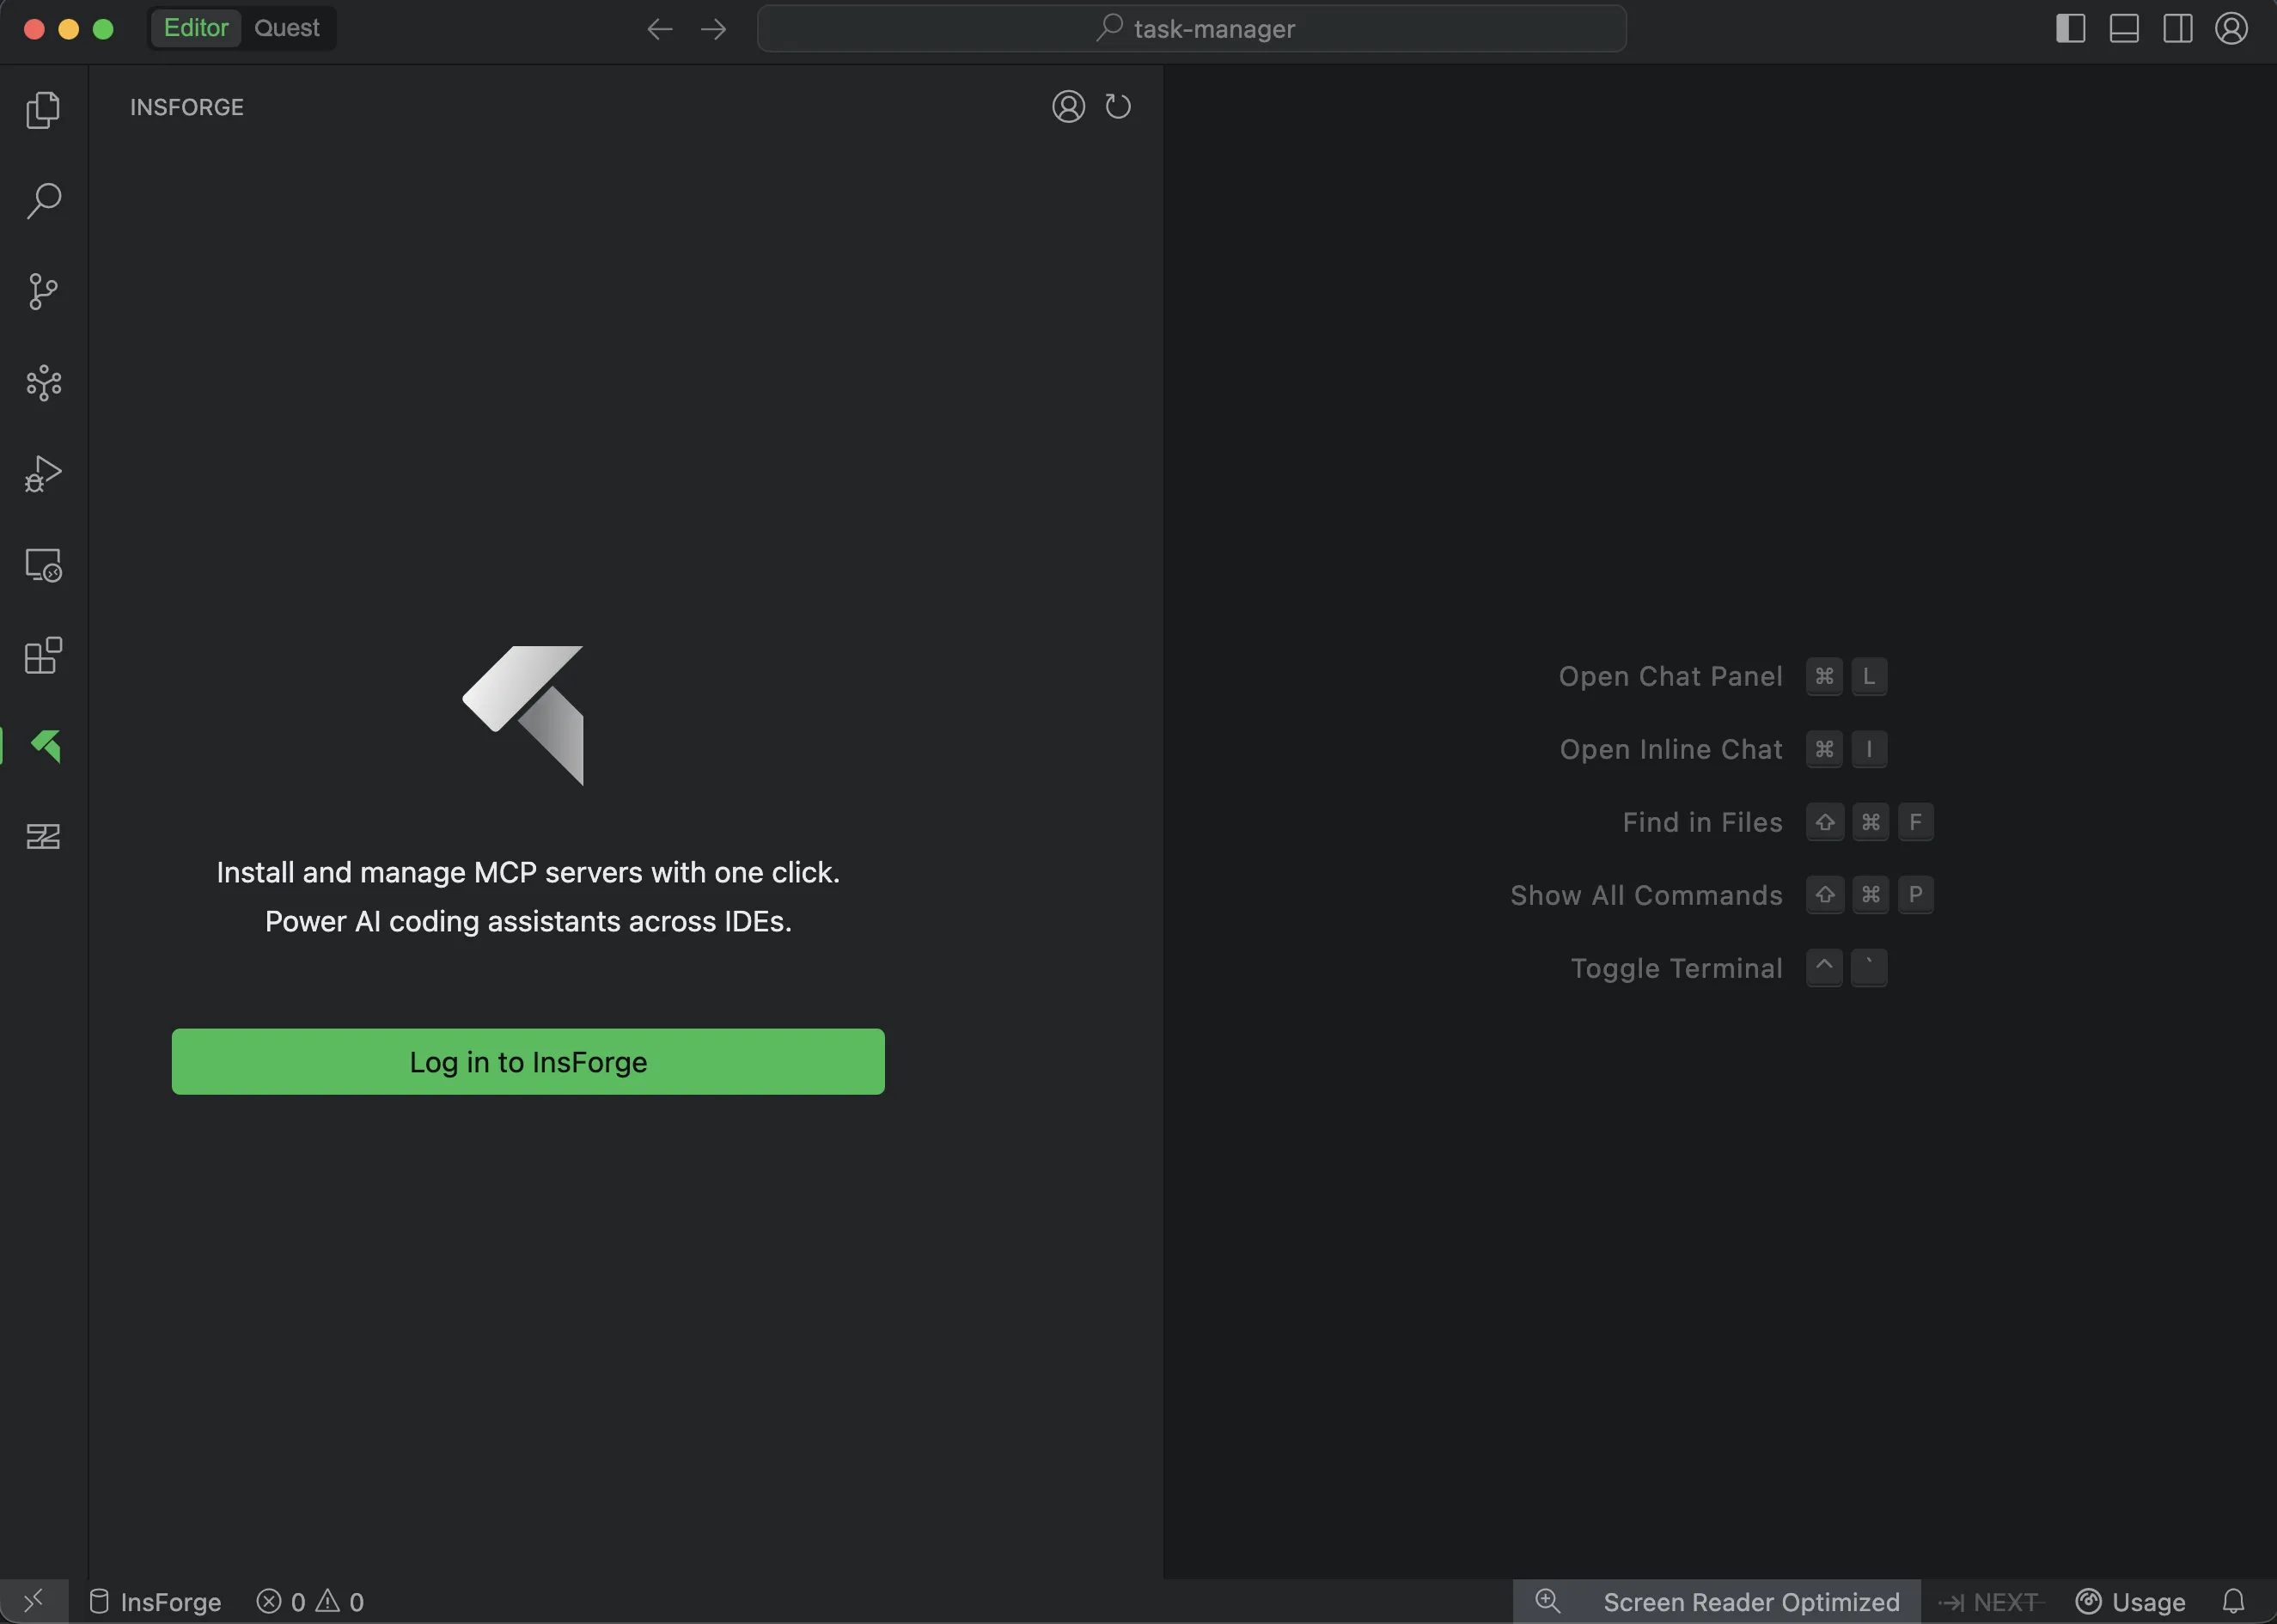
Step 3: Install MCP Server
- After logging in, you'll see your organization and projects
- Expand your organization to see the
task-managerproject - Click the Install MCP button next to your project
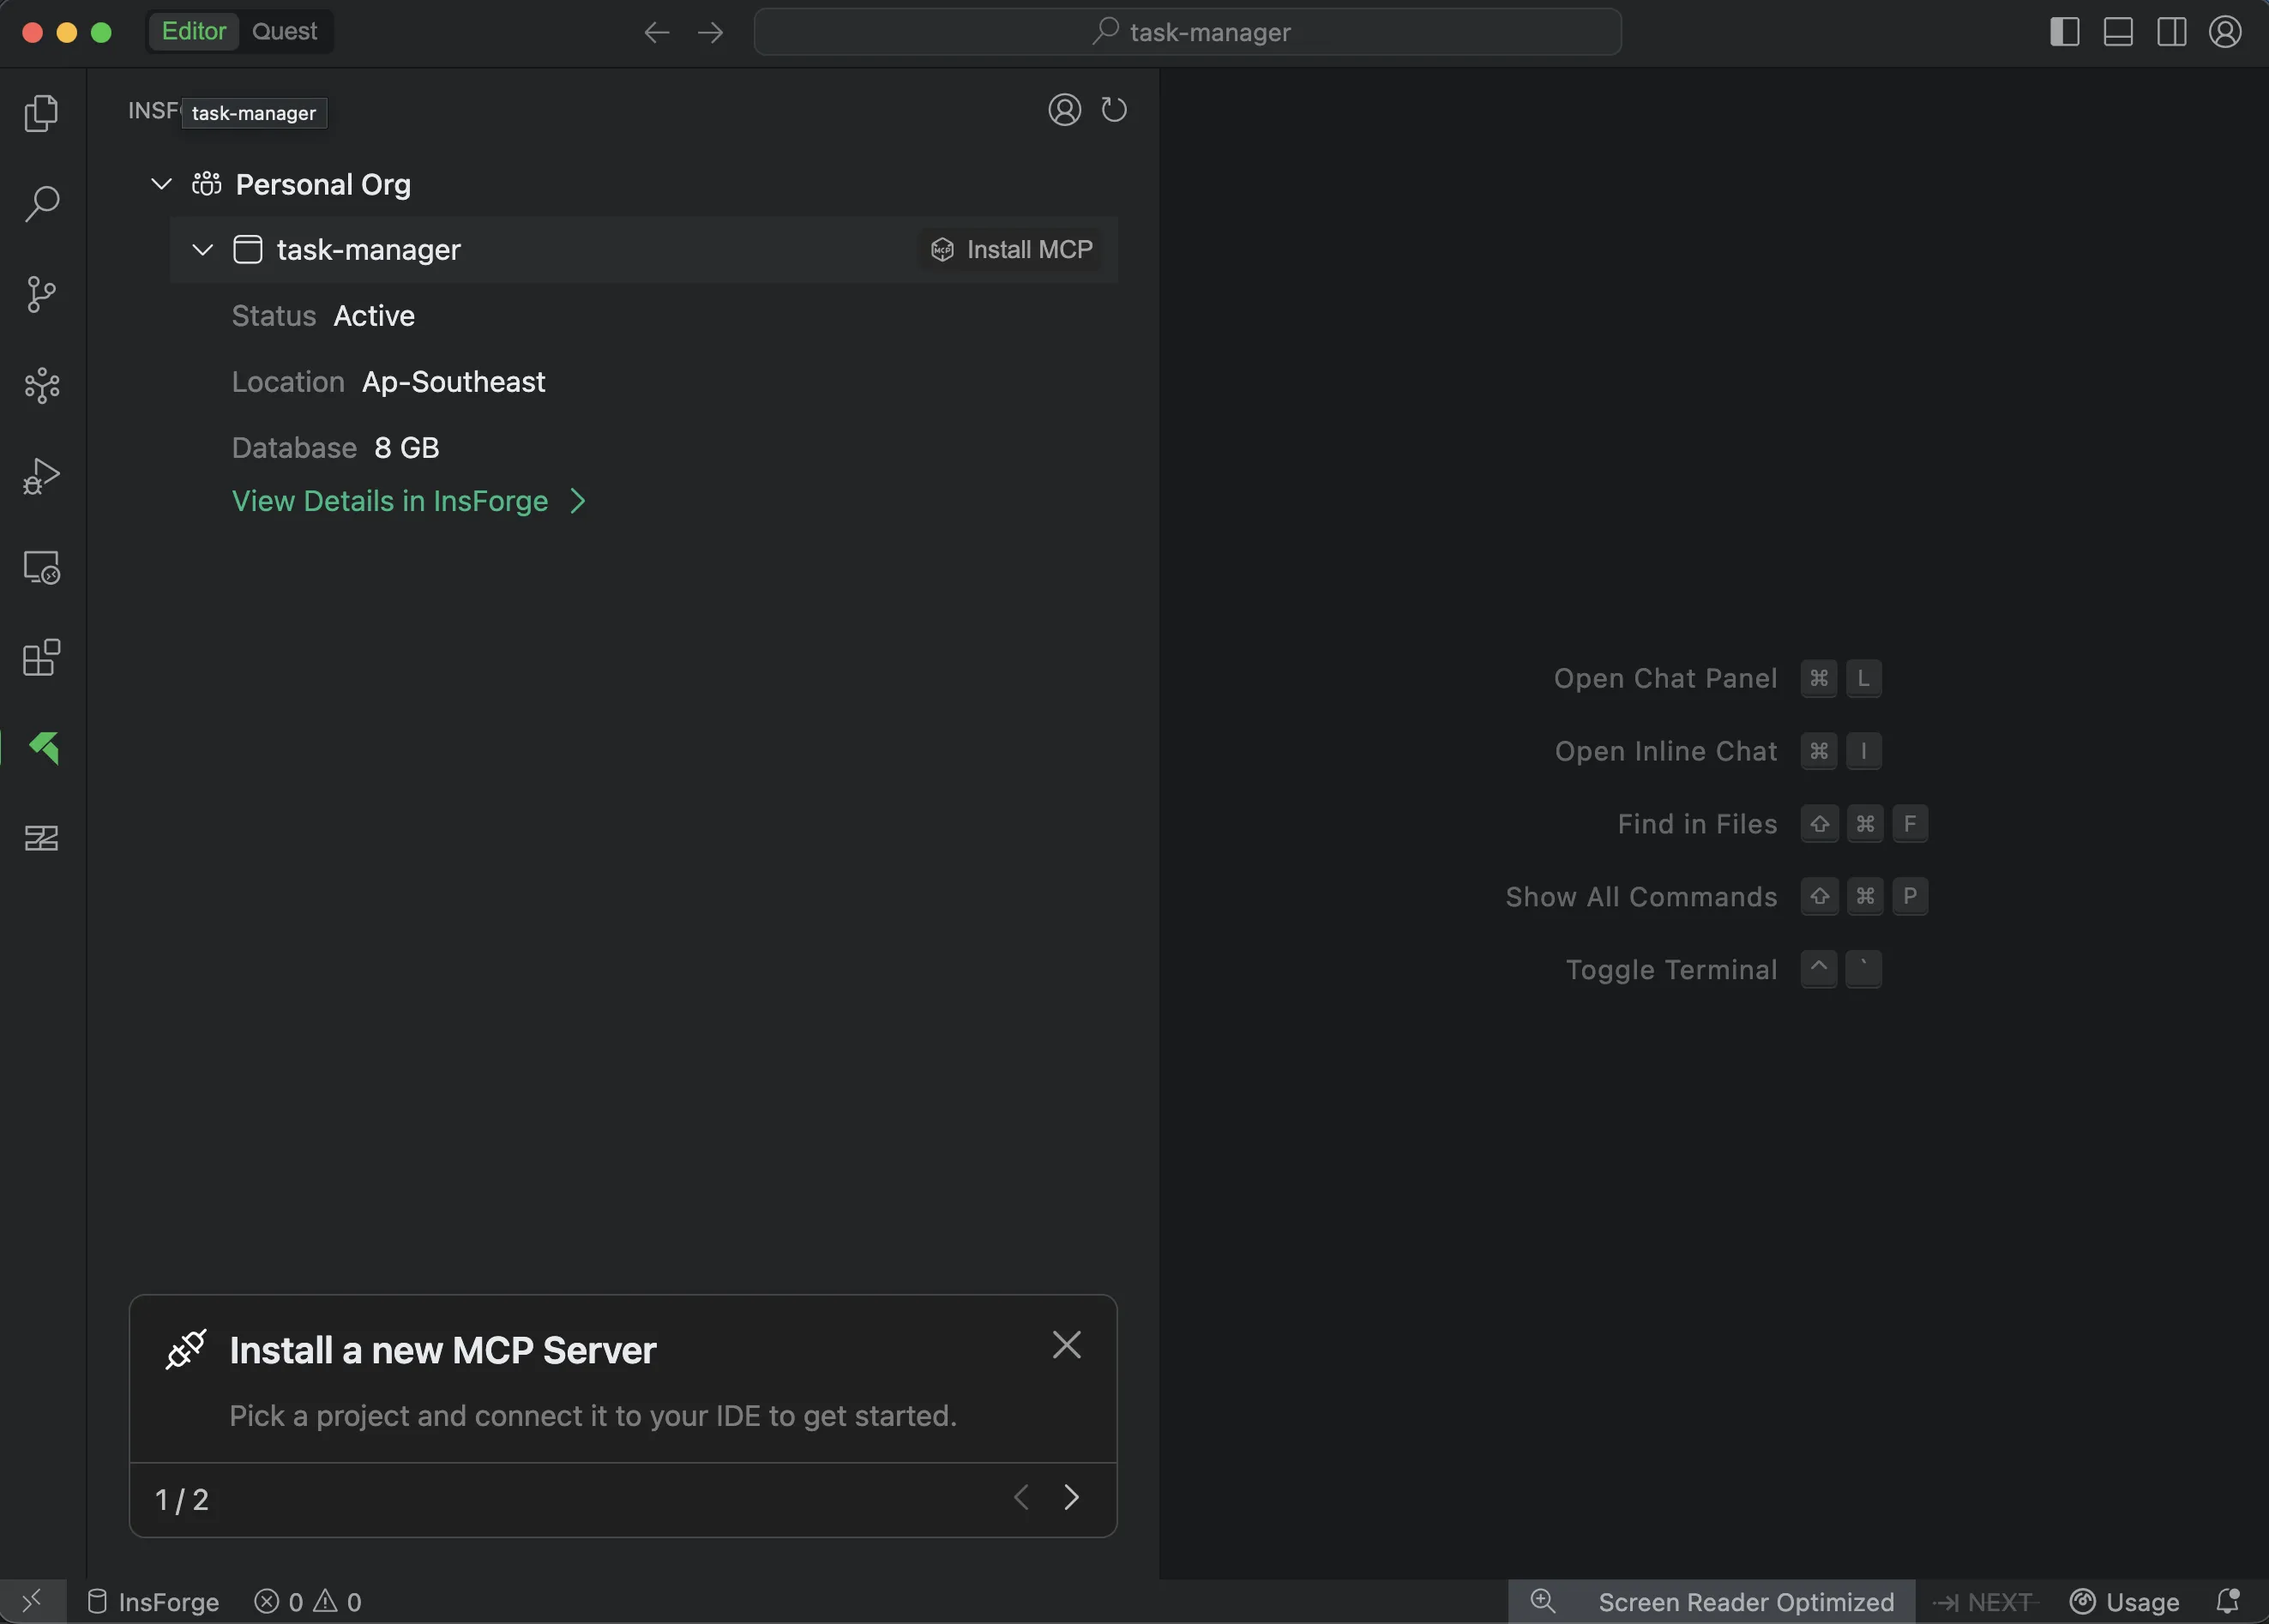
Step 4: Verify Connection
Test the connection by asking your AI assistant in Qoder:
I'm using InsForge as my backend platform, call InsForge MCP's fetch-docs tool to learn about InsForge instructions.This will fetch the InsForge documentation. Once the prompt executes successfully, you'll see a "Connection Verified" message at the bottom of Qoder, confirming that the MCP server has been successfully installed and is working properly!
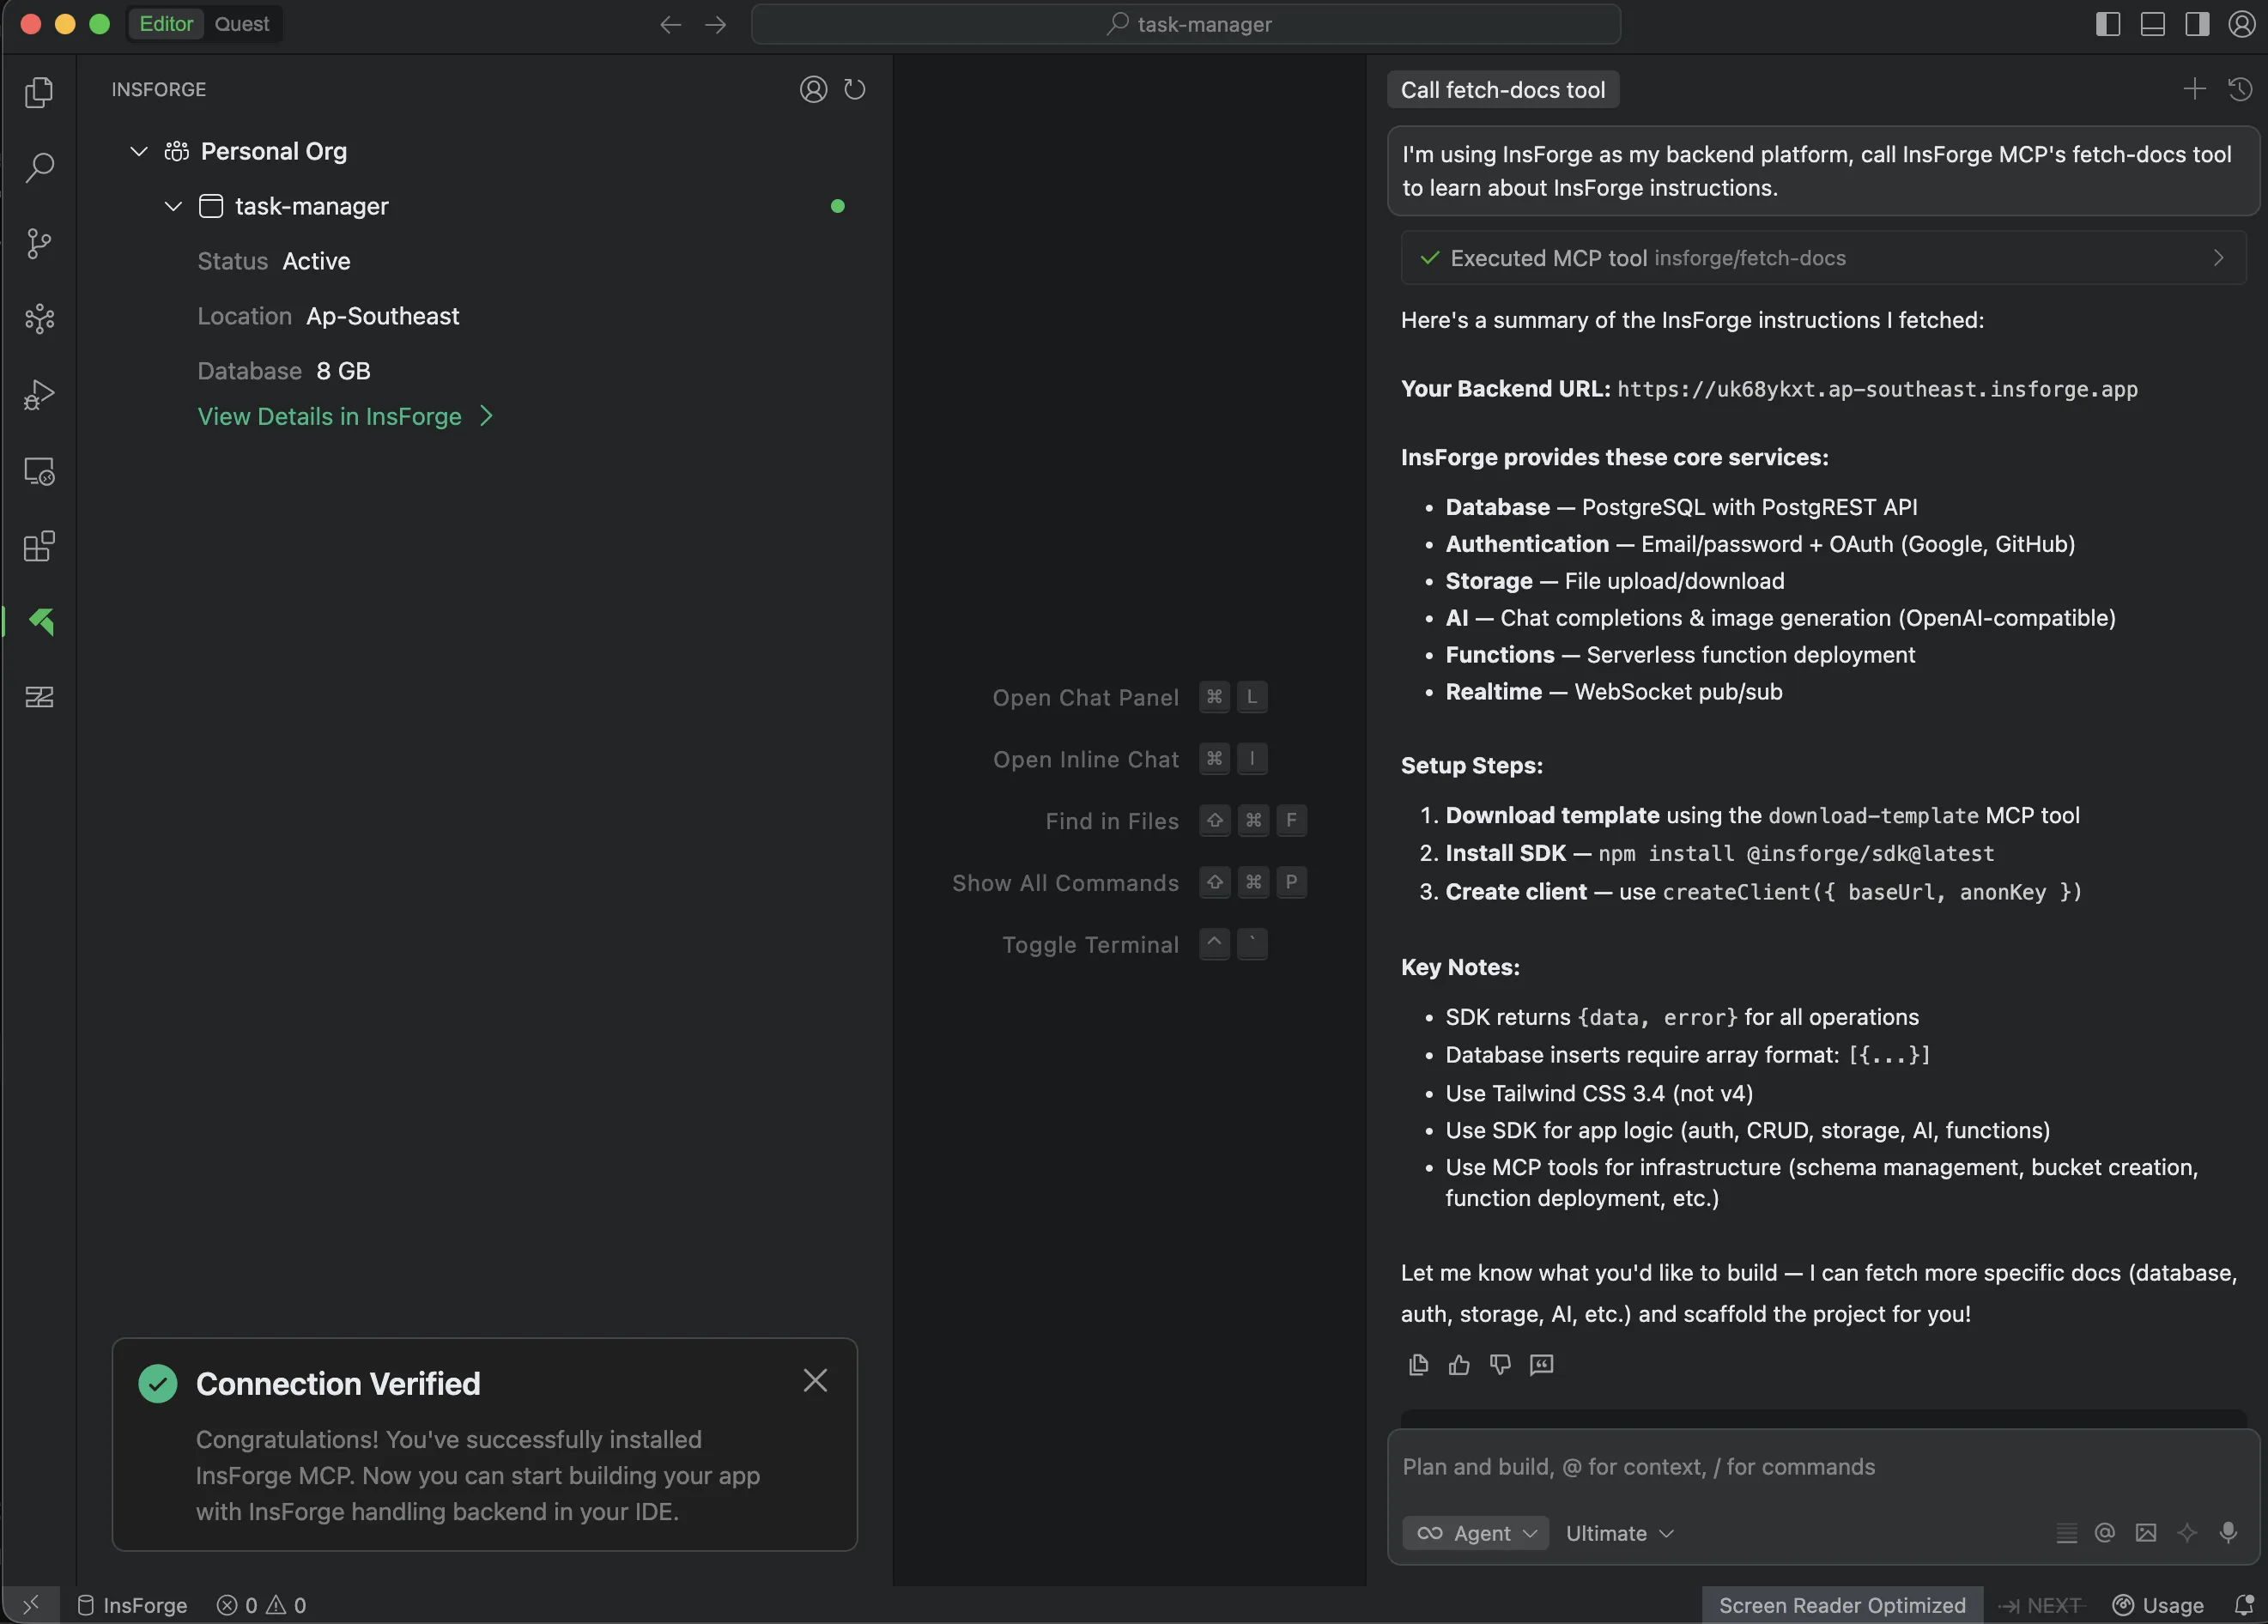
Part 4: Build Your Application with AI
Now that InsForge is connected to Qoder, let's build the entire task management application using AI prompts. Follow these steps in order, asking your AI assistant in Qoder to implement each feature.
Step 1: Initialize Your Project
Ask your AI assistant in Qoder:
Set up a React + TypeScript project using Vite for a task manager app.
Install @insforge/sdk, react, react-dom and the usual dev dependencies.

Create a proper folder structure with src/lib/ for the InsForge client,
src/components/ for Auth, TaskList, and TaskForm components, and src/types/
for TypeScript interfaces.

Also set up the .env file with VITE_INSFORGE_BASE_URL and VITE_INSFORGE_ANON_KEY -
I'll grab those from my InsForge dashboard.
Your AI assistant will create the complete project structure with all files and dependencies.
Step 2: Configure InsForge SDK and Types
After Step 1, you should see src/lib/insforge.ts has been created. Now ask your AI assistant to configure it:
Configure src/lib/insforge.ts to use InsForge SDK. Import createClient from
@insforge/sdk, pull in the baseUrl and anonKey from the environment variables,
and set up the client with autoRefreshToken and persistSession enabled. Export
the db, storage, and auth clients so I can use them throughout the app.

Also create the TypeScript types in src/types/task.ts. I need a Task interface
with all the fields like id, title, description, status (pending/in_progress/completed),
priority (low/medium/high), due_date, user_id, attachment_url, created_at, and
updated_at. Plus a User interface and some helper types like CreateTaskInput and
UpdateTaskInput.
Step 3: Create Database Schema
Ask your AI assistant:
Use InsForge MCP tools to create a tasks table. I need columns for id (uuid
primary key), title (required text), description, status (default 'pending'),
priority (default 'medium'), due_date, user_id (foreign key to auth.users),
attachment_url, created_at, and updated_at timestamps.

Enable Row Level Security so users can only see and modify their own tasks -
set up the policies to check that auth.uid() matches the user_id for all operations.

Also create a storage bucket called 'task-attachments' for file uploads.
The AI will use InsForge MCP tools to create the table, set up security policies, and create the storage bucket automatically.
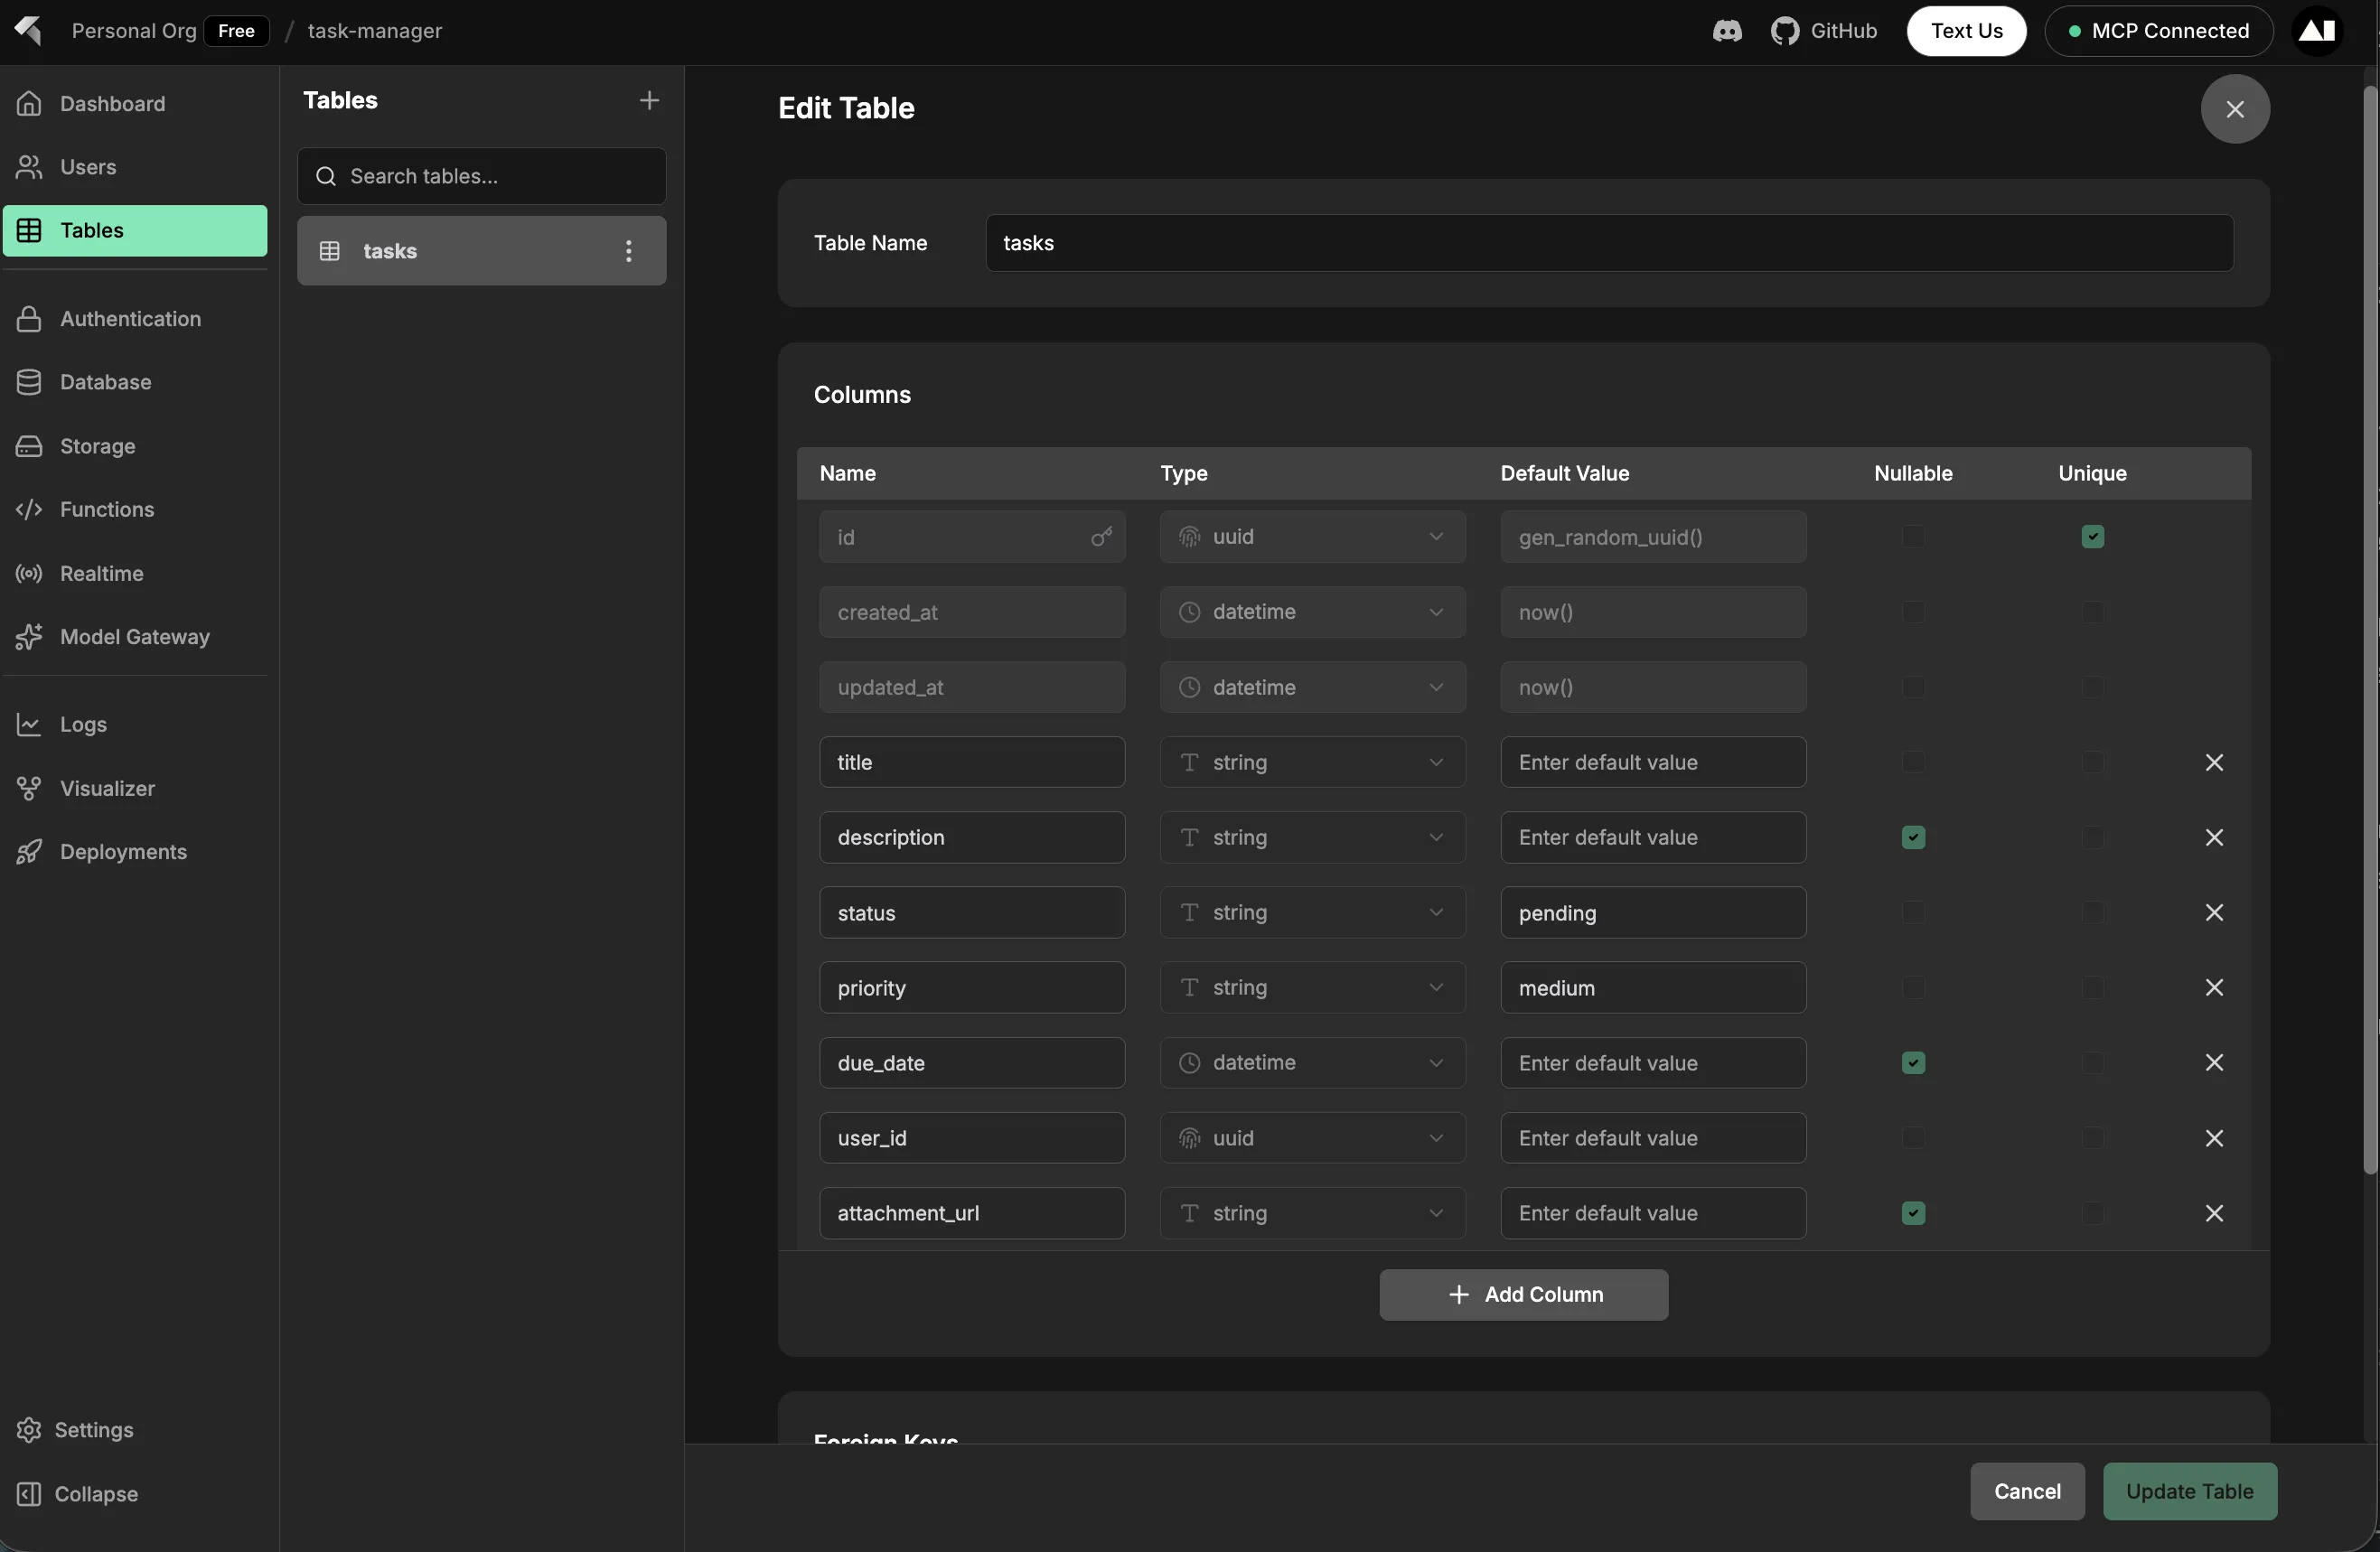
Step 4: Build Authentication UI
Ask your AI assistant to create the authentication component:
Create an Auth component in src/components/Auth.tsx. I need a form with email
and password inputs, and a mode toggle to switch between sign-in and sign-up.

Use the InsForge auth client to handle authentication - call auth.signUp() or
auth.signIn() depending on the mode. Show a loading state on the button, handle
errors with an alert, and reload the page on success to refresh the session.
Step 5: Build Task Management Components
Ask your AI assistant to create the task management components:
Create a TaskForm component in src/components/TaskForm.tsx that takes an
onTaskCreated callback. Add form fields for title, description, priority
(dropdown with low/medium/high), due date, and file attachment. When submitting,
if there's a file, upload it to the 'task-attachments' storage bucket first,
then insert the task into the database with InsForge db client. Reset the form
after creation.

Also create a TaskList component in src/components/TaskList.tsx. Fetch all tasks
on mount, ordered by created_at. Display each task with its details - title,
description, priority, status, due date, and attachment link if it exists. Add
buttons to update the status (Start, Complete) and to delete tasks. Update the
task status in the database when clicked, and show a confirmation dialog before
deleting.
Step 6: Create Main Application
Ask your AI assistant to build the main App component:
Create the main App component in src/App.tsx. Check for an existing session on
mount using auth.getSession() and listen for auth state changes. Show a loading
state initially, then conditionally render either the Auth component if there's
no session, or the task manager interface if the user is logged in.

The task manager should have a header with the title and a sign-out button, then
the TaskForm and TaskList components. Also create the main.tsx entry point to
render the App.
Step 7: Run Your Application
Ask your AI assistant to run the development server:
Start the development server using npm run devYour task manager app should now be running! Open the URL provided by Vite (typically http://localhost:5173) in your browser.
Create Your Account and Start Using the App
- Create a new account by entering your email and password
- Sign in with your credentials
- You'll see the task manager interface where you can create and manage tasks
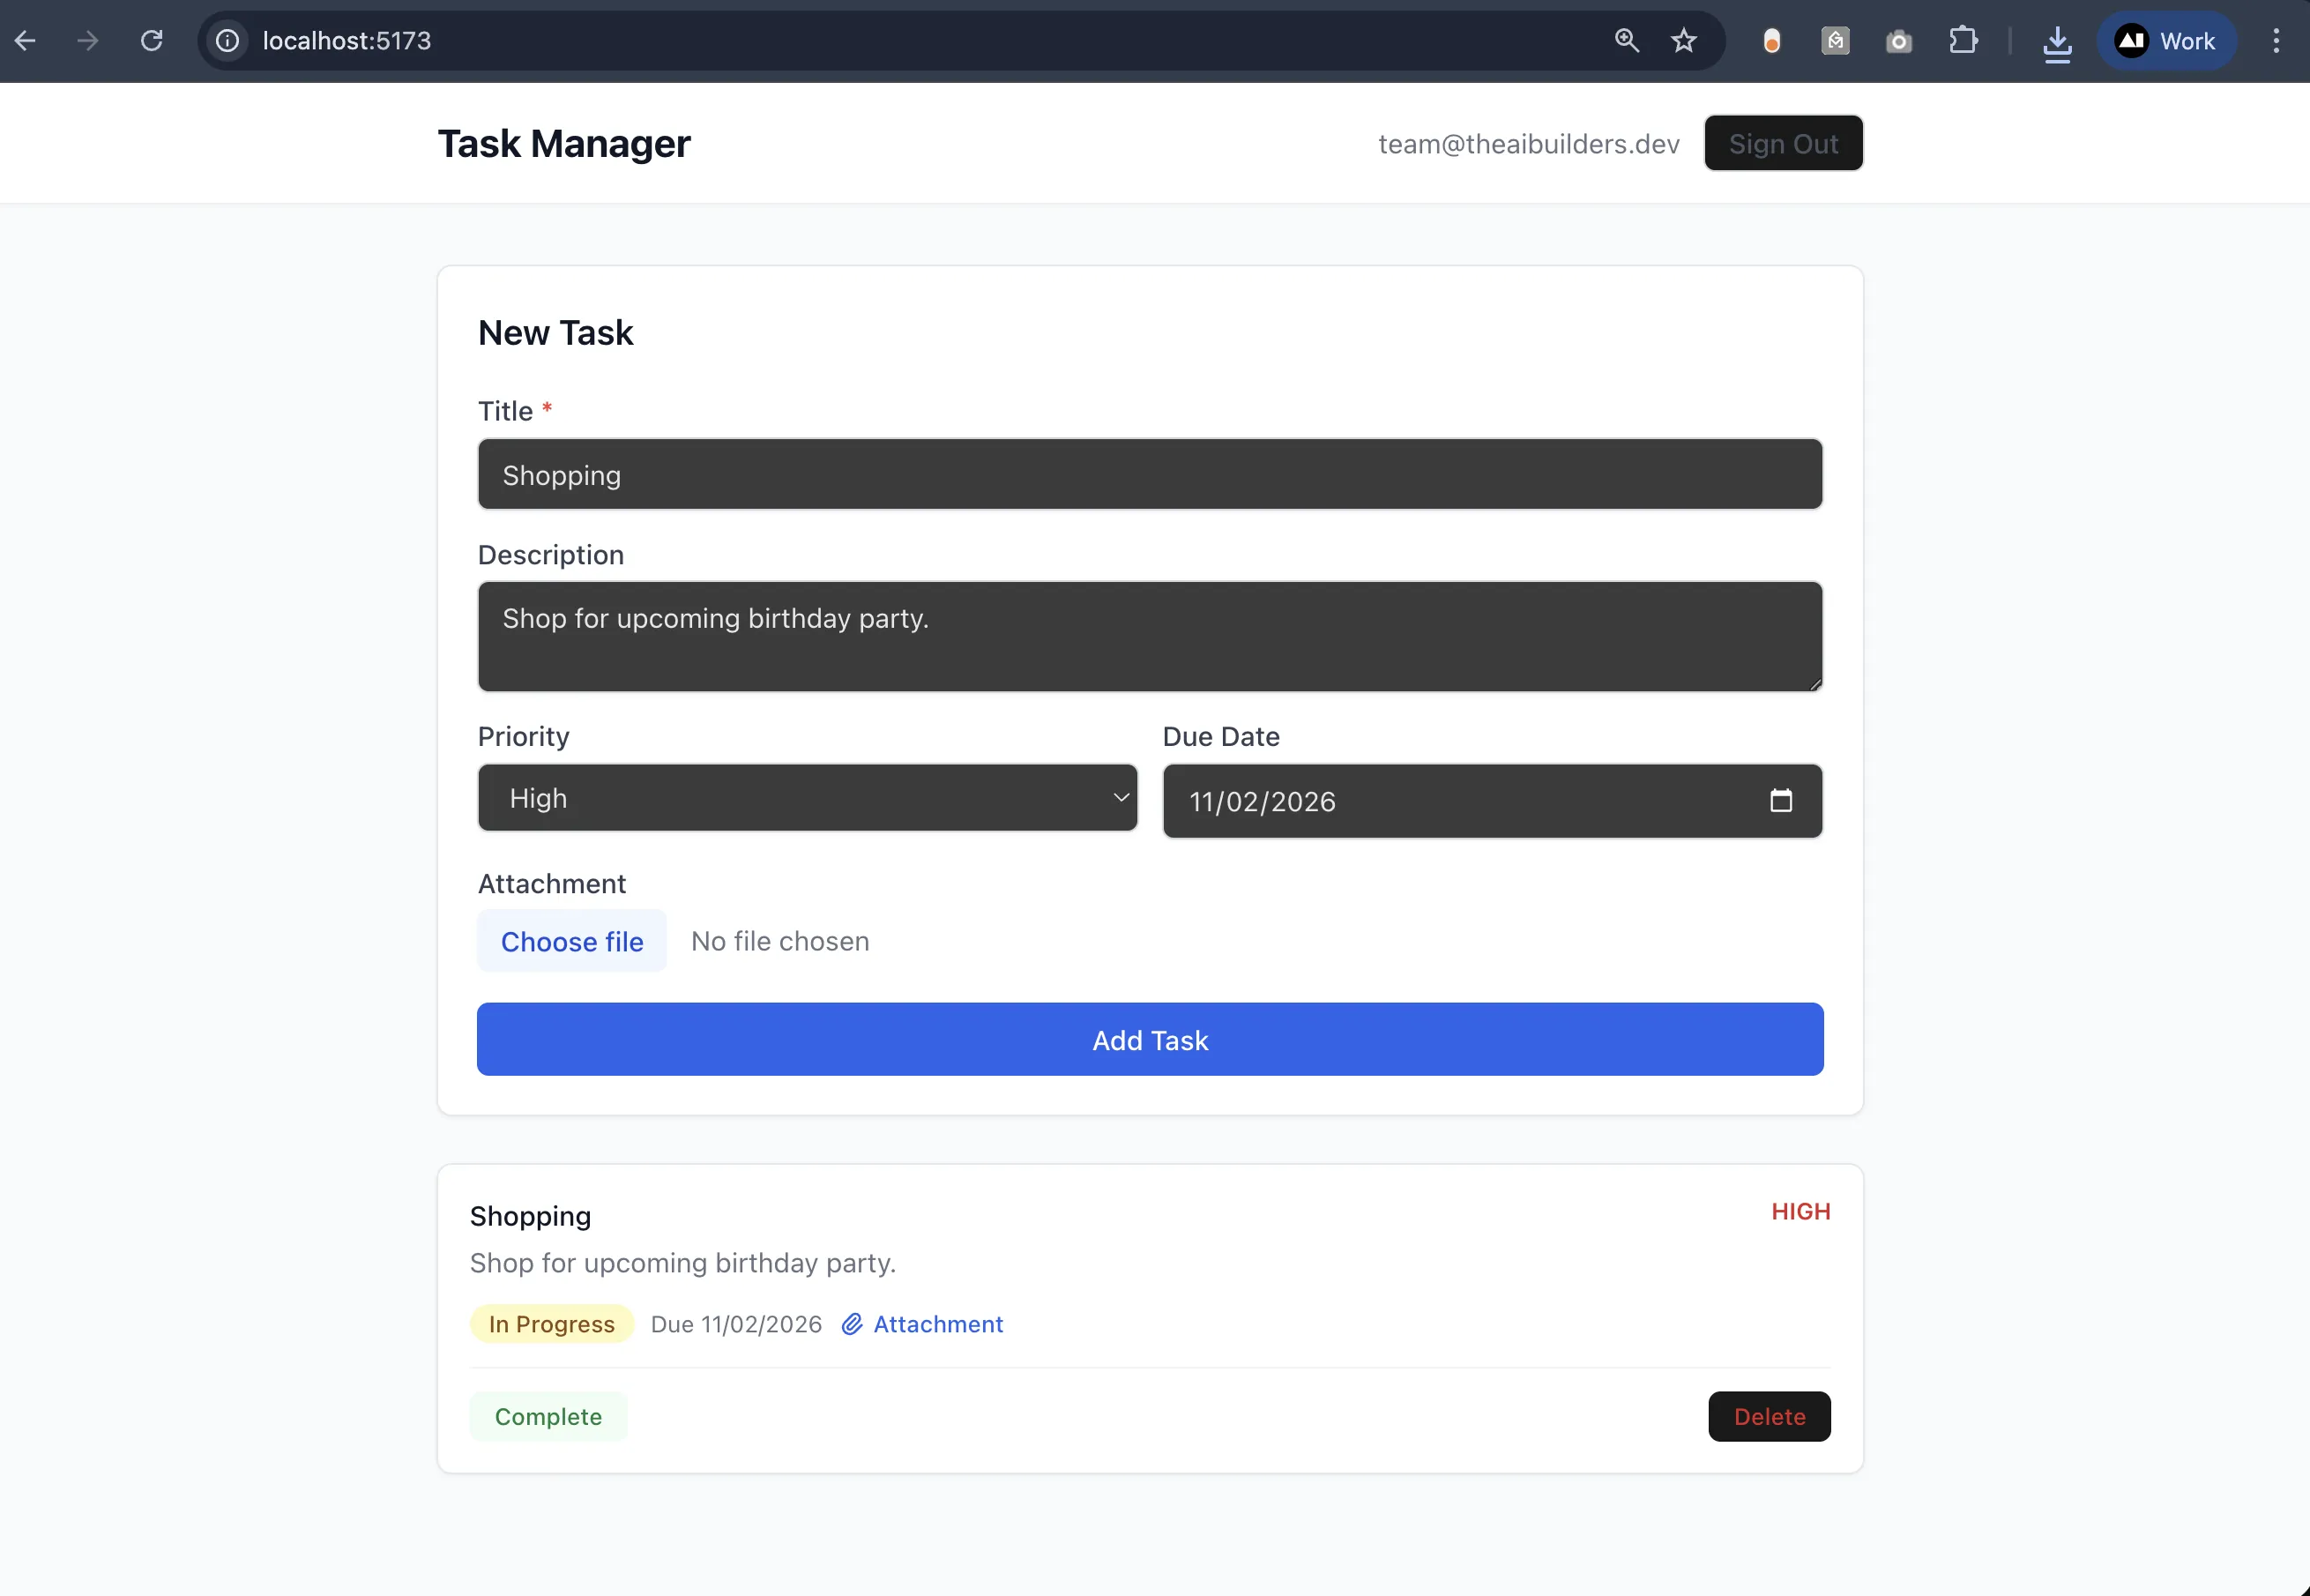
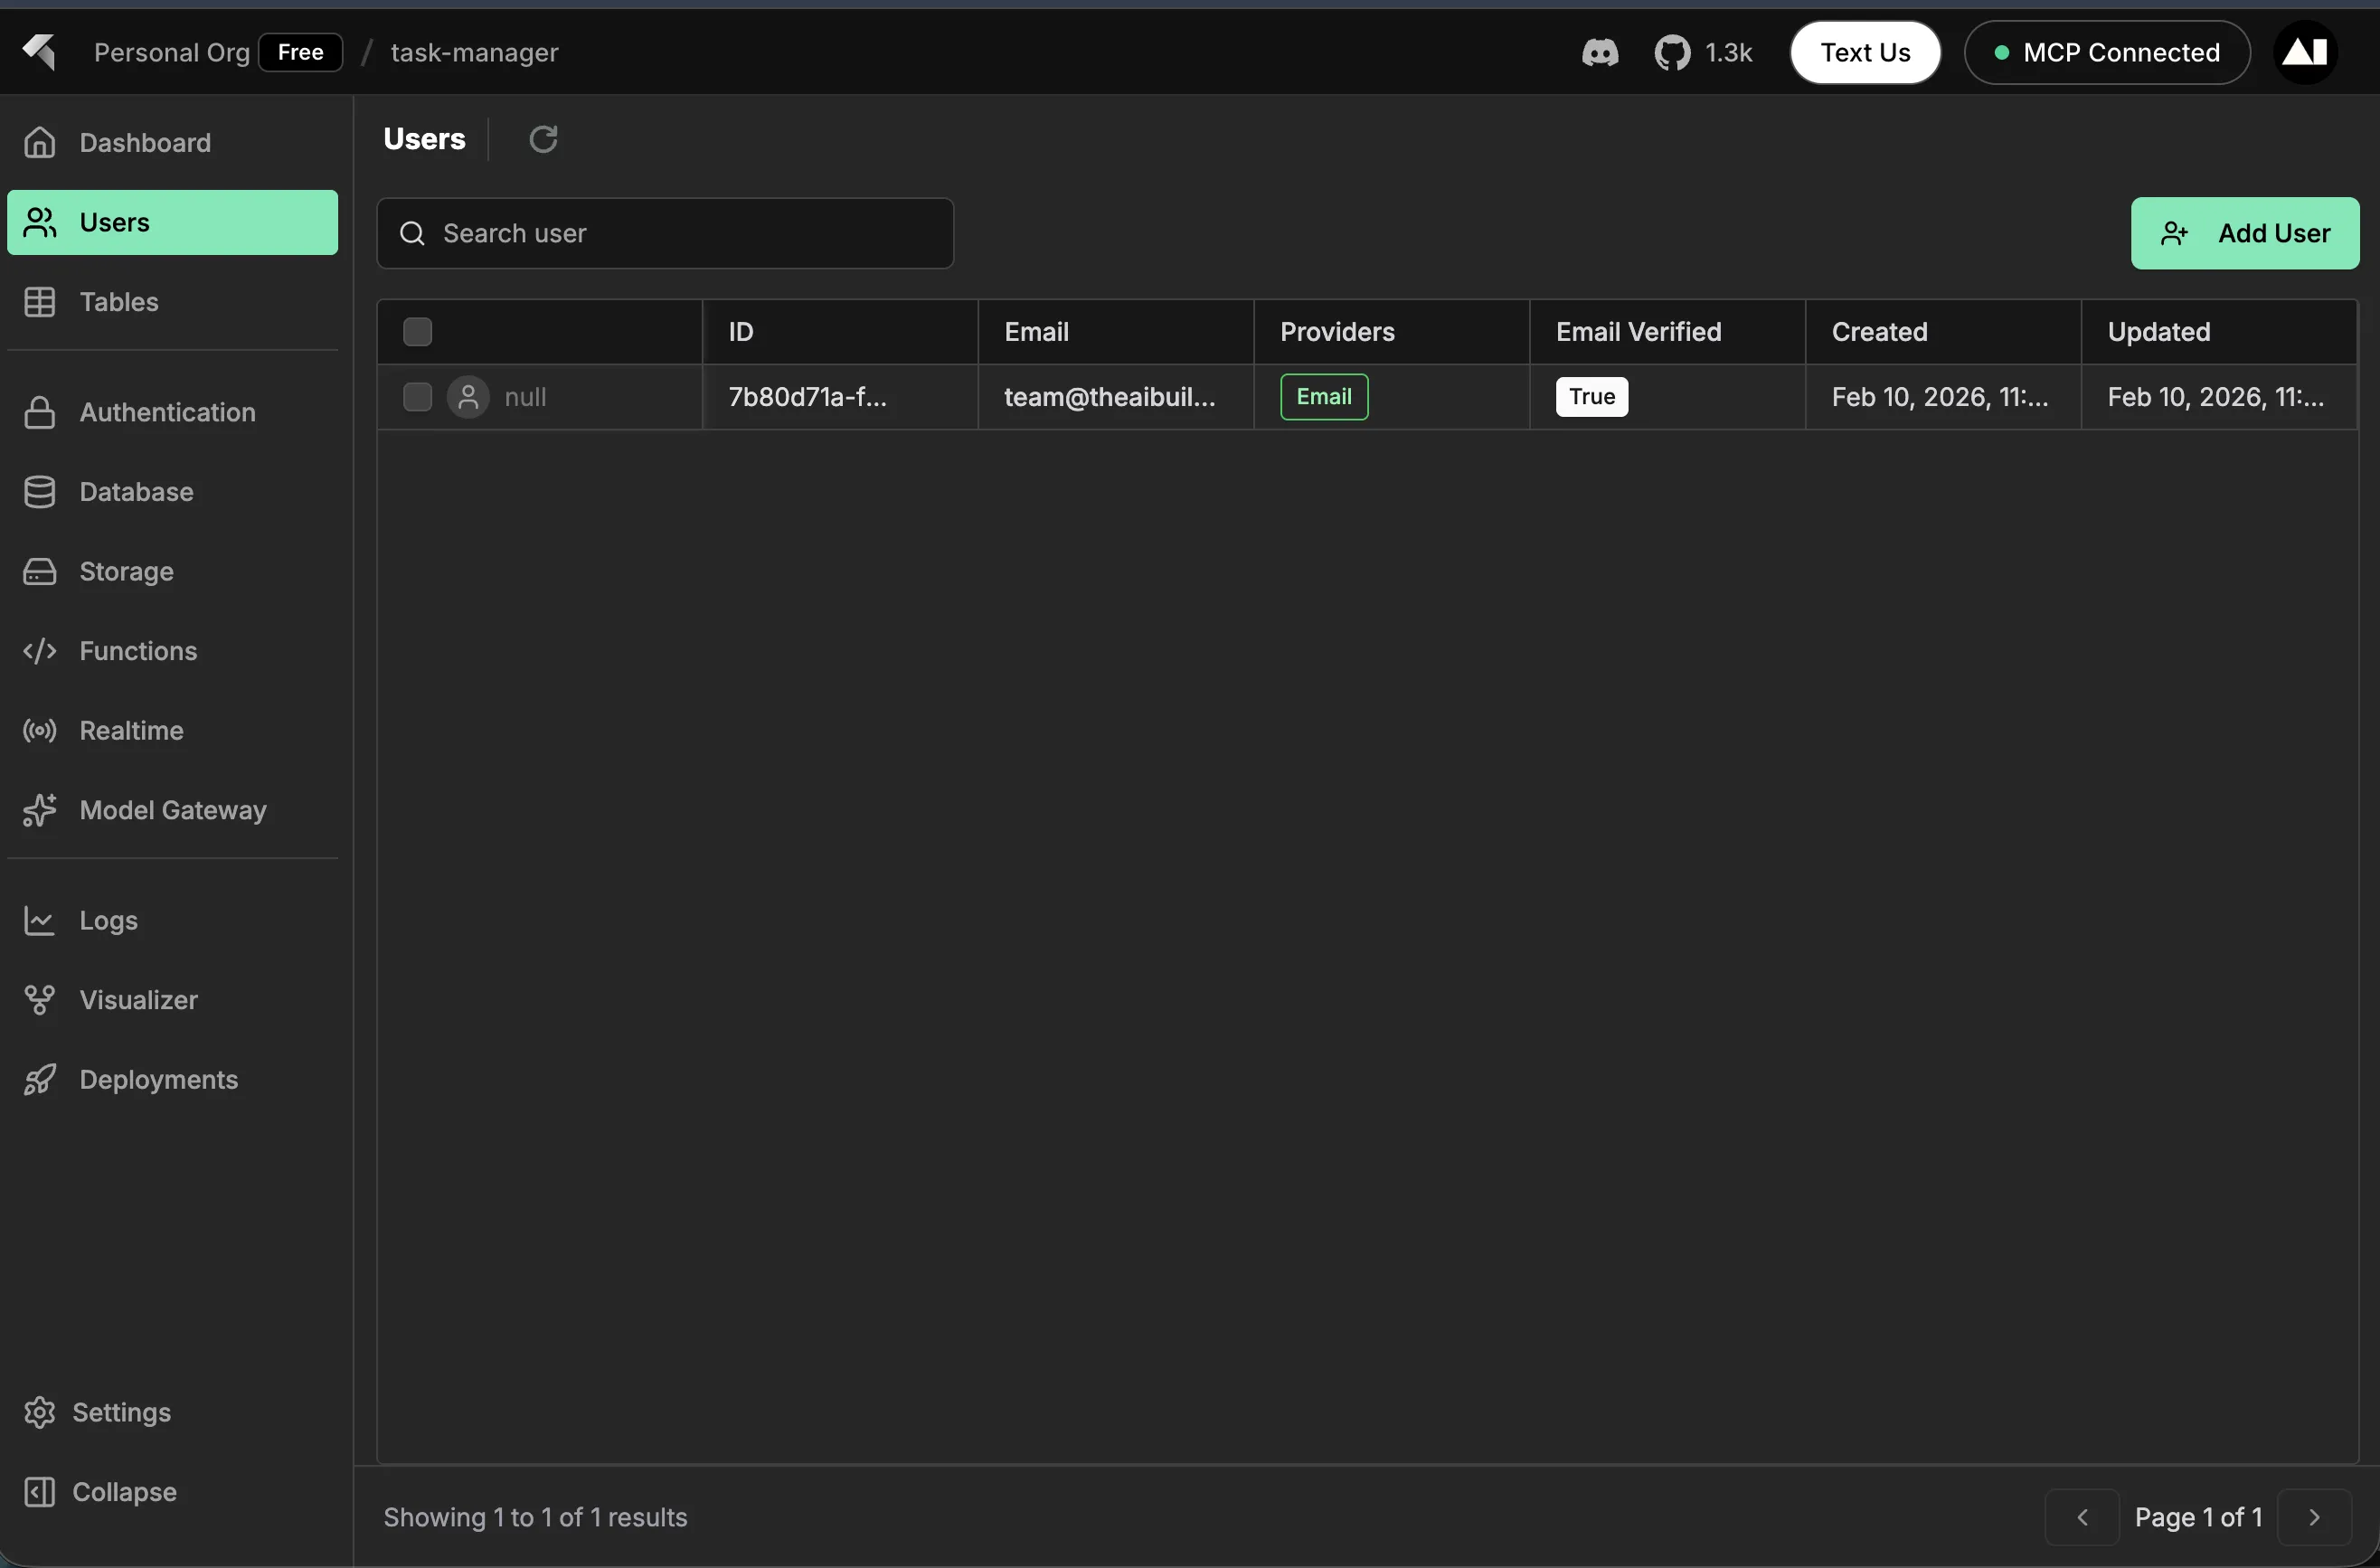
You can also verify that your user account was successfully created by checking the InsForge dashboard. Navigate to your project's Users section, and you'll see the new user listed:
Verify Your Tasks in the Dashboard
After creating tasks in your app, you can verify them in the InsForge dashboard:
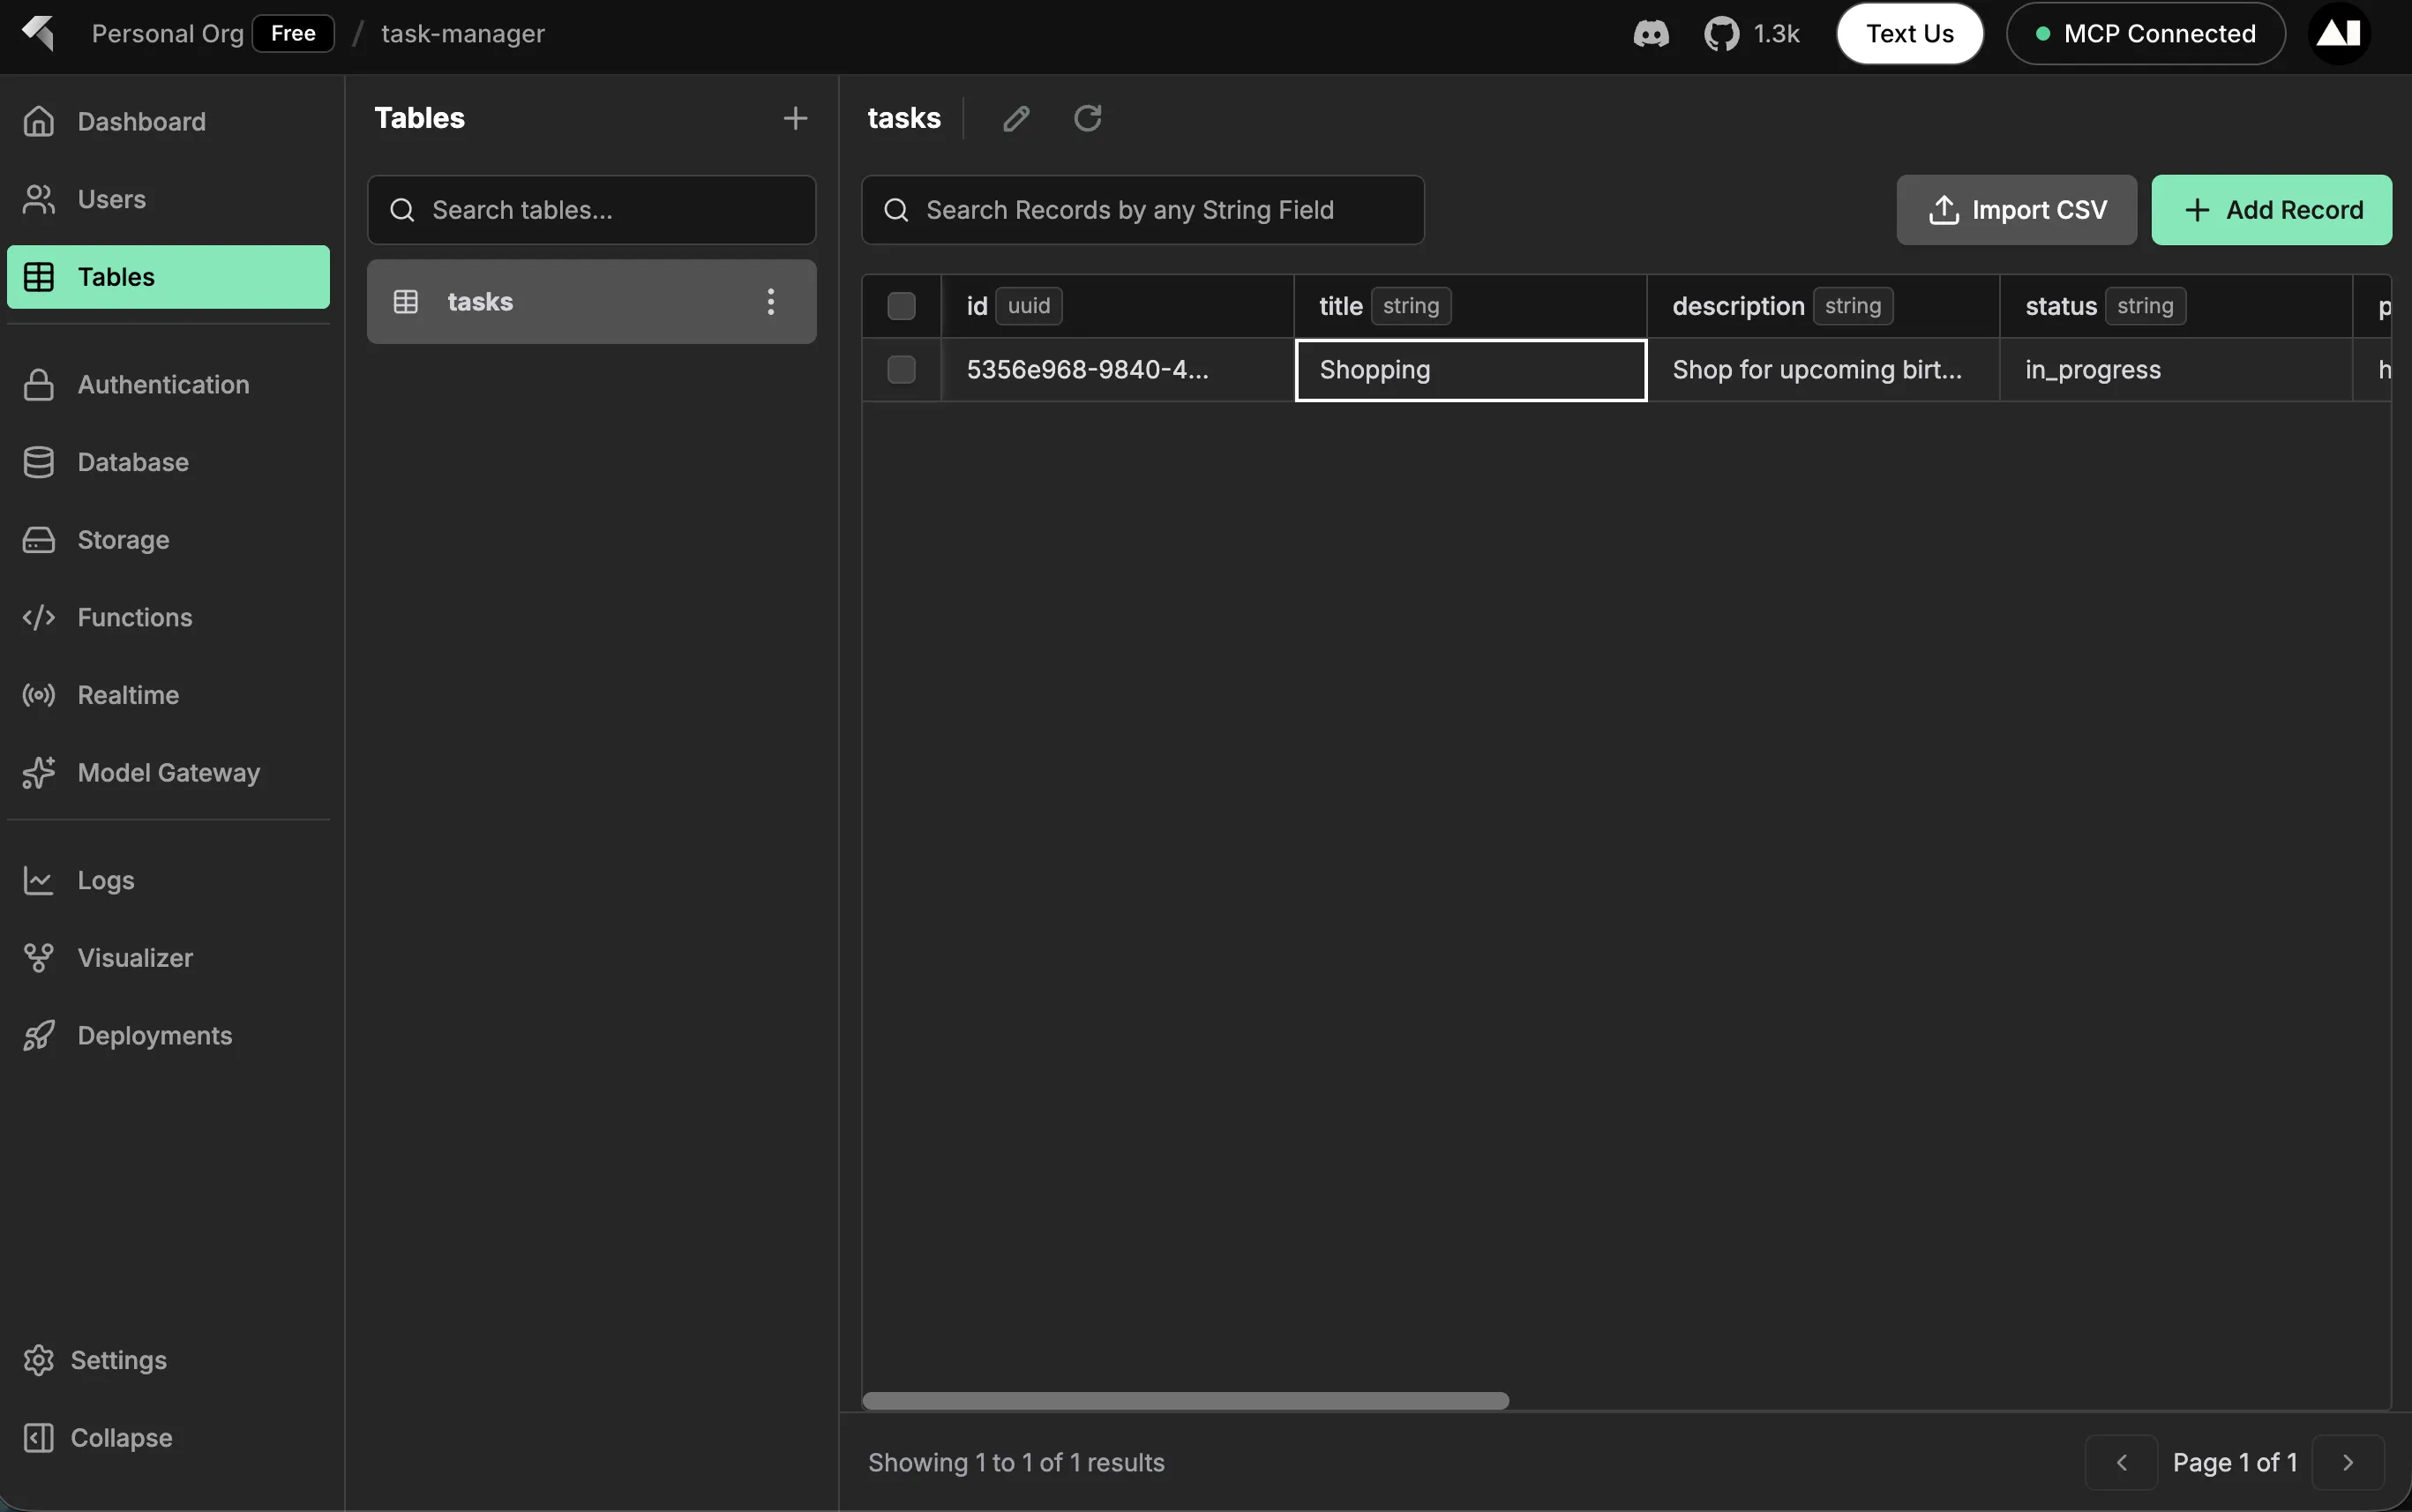
Database Table View:Navigate to the Tables section in your InsForge dashboard and select the tasks table. You'll see all the tasks you created with their data:
 Storage View:
If you uploaded file attachments with your tasks, navigate to the Storage section and open the task-attachments bucket. You'll see all your uploaded files:
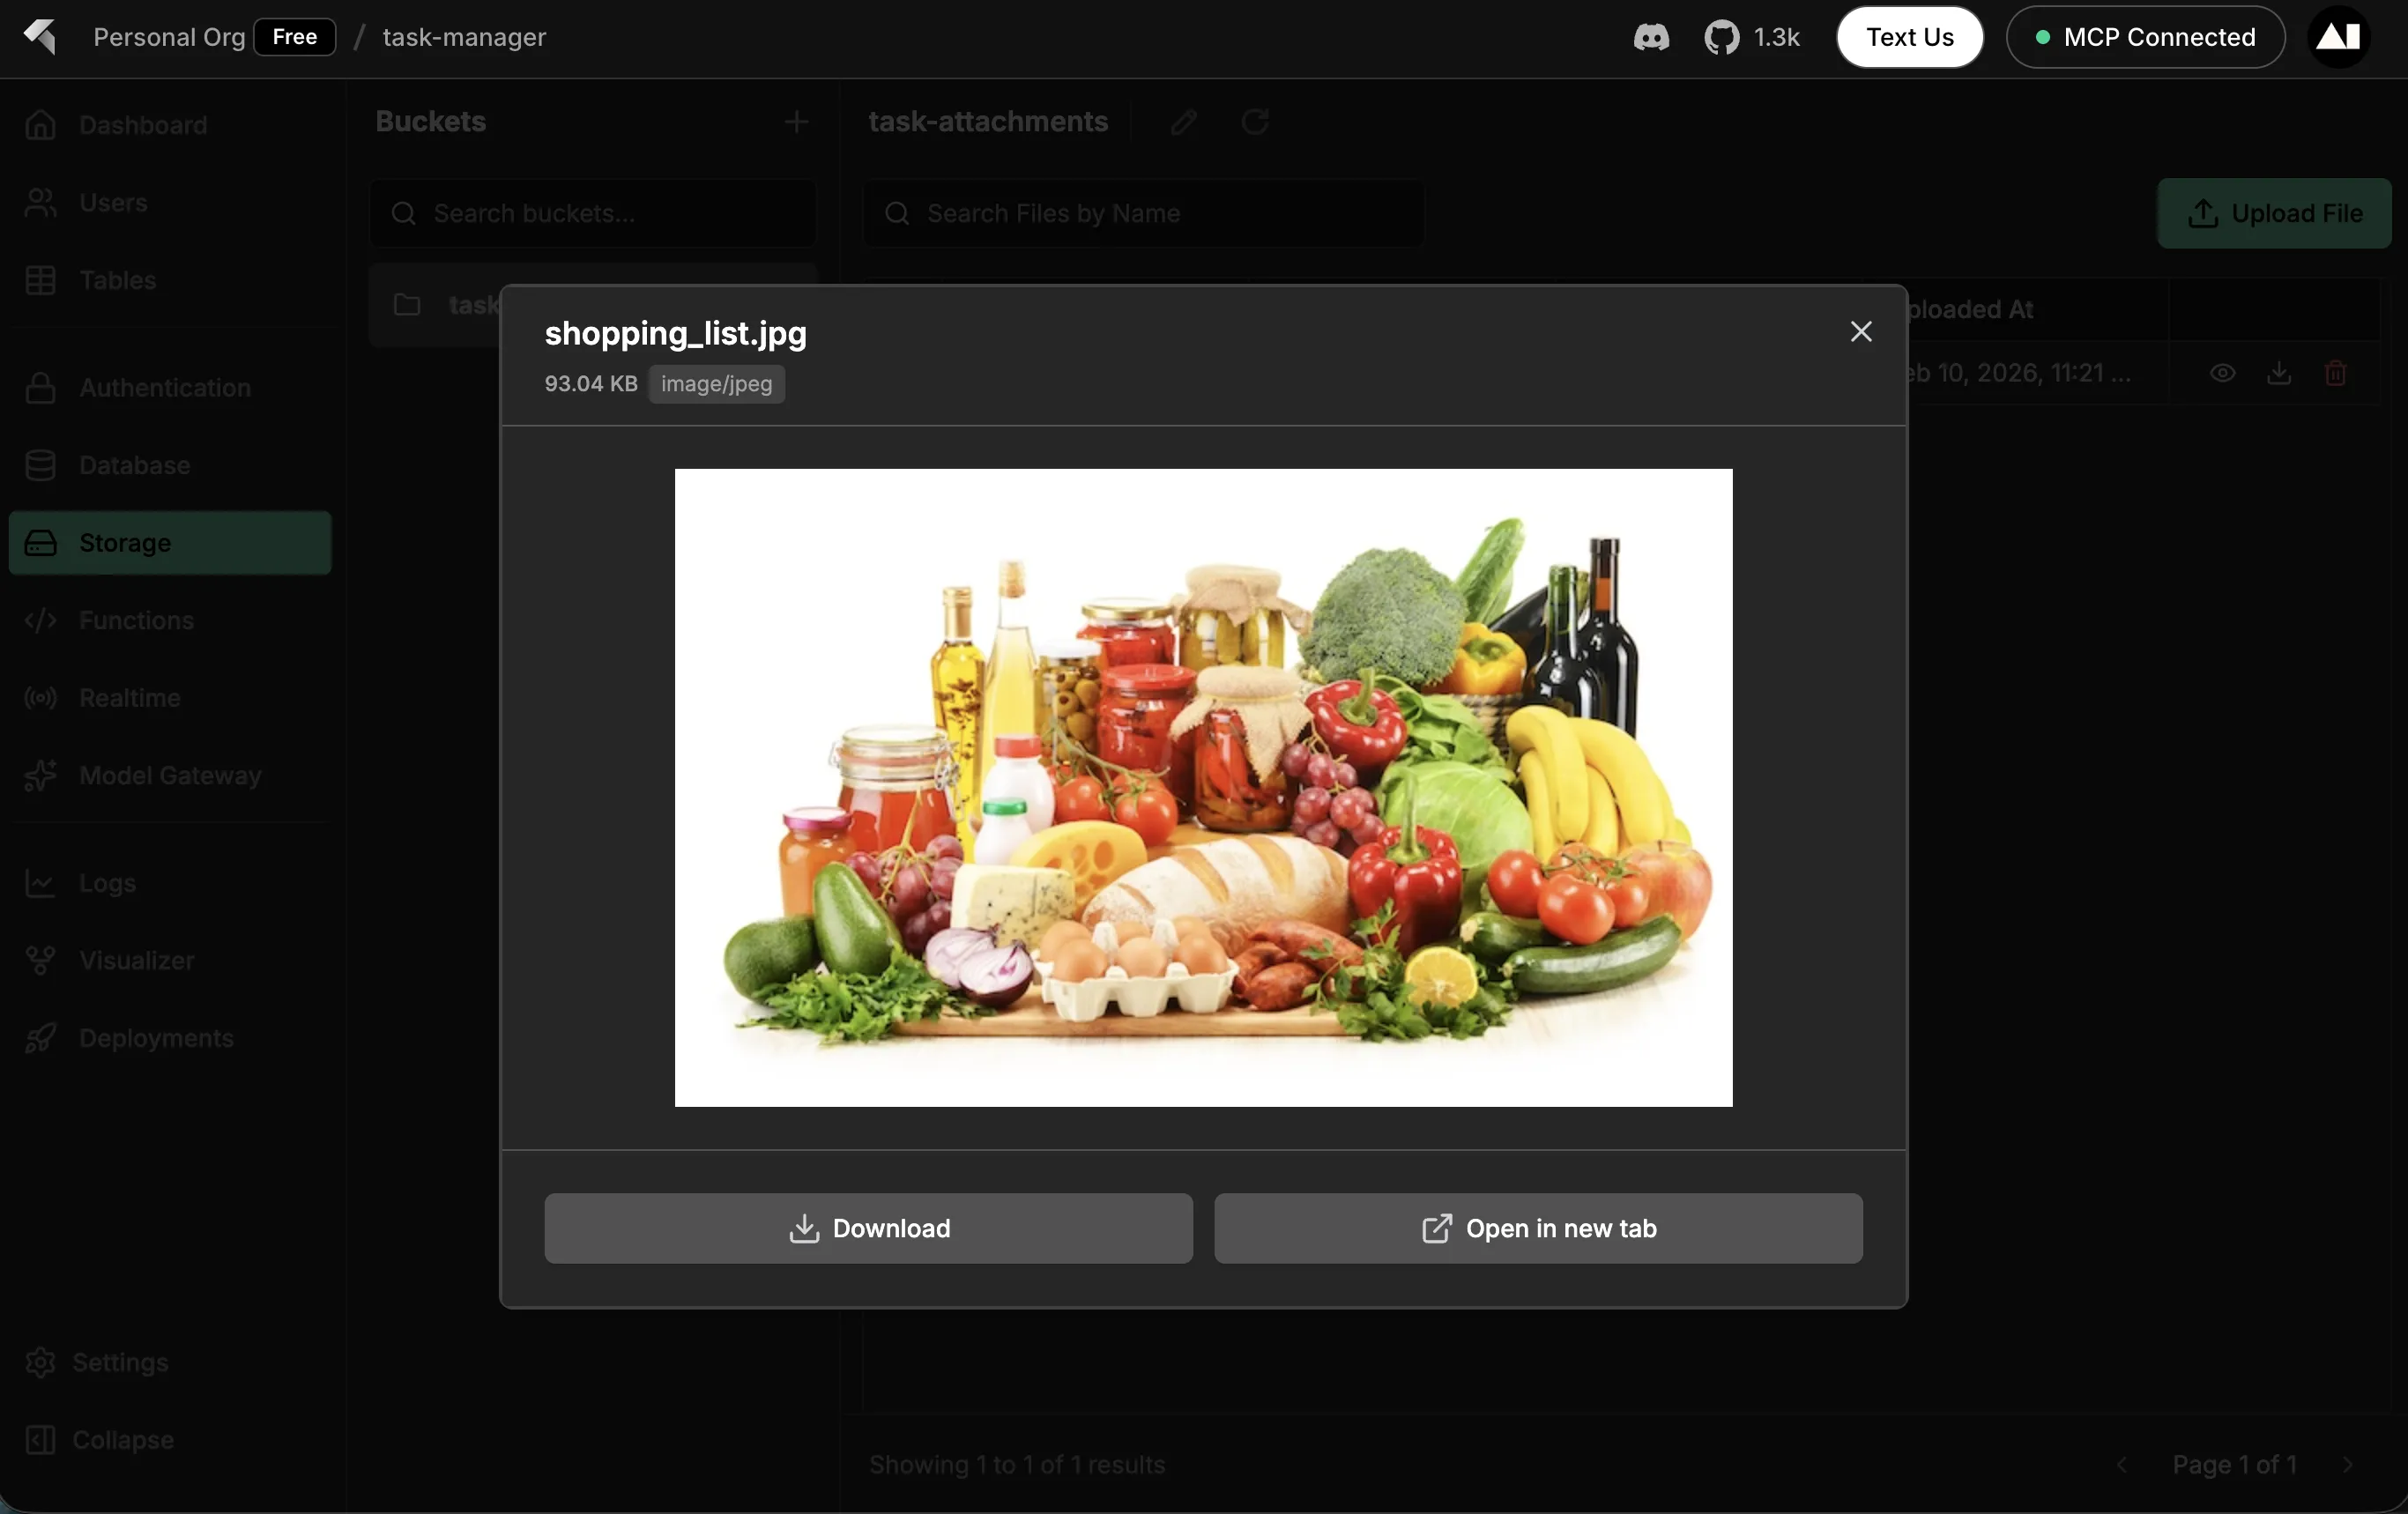
This confirms that your application is successfully storing data in the InsForge backend!
Troubleshooting
MCP Connection Issues
- Verify API key and base URL are correct
- Restart your AI coding assistant after configuration changes
- Check that
@insforge/mcppackage is installed
Database Errors
- Ensure tables are created via MCP or SQL
- Verify Row Level Security policies allow access
- Check user is authenticated before database operations
File Upload Failures
- Create storage bucket via InsForge dashboard or MCP
- Verify file size is under limit (default 50MB)
- Check MIME type is allowed
Next Steps
- Explore InsForge Documentation
- Join the Discord Community
- Check out Example Projects
- Review API Reference
Key Takeaways
- InsForge provides a complete backend with PostgreSQL, auth, and storage
- MCP integration enables AI assistants to manage backend infrastructure
- SDK provides type-safe database and storage operations
- Row Level Security ensures data isolation between users
- Real-time subscriptions keep UIs synchronized
With InsForge and MCP, you can build production-ready full-stack applications using natural language prompts and minimal code.