Vercel AI SDK: Building a Chatbot with Next.js

Overview
The Vercel AI SDK is a powerful open-source library that simplifies the development of AI-powered applications. It provides a unified API for various language models, along with UI hooks for popular frameworks like Next.js, Svelte, and Vue. In this tutorial, you'll learn how to build a simple chatbot using the Vercel AI SDK and Next.js.
Prerequisites
Before you begin, make sure you have the following:
- Node.js (version 18 or higher)
- An OpenAI API key. You can get one from the OpenAI platform.
Setting Up Your Project
First, you'll need to create a new Next.js project. Open your terminal and run the following command:
npx create-next-app@latest my-ai-chatbot
When prompted, you can accept the default settings.
Next, navigate to your project's directory and install the Vercel AI SDK core, the React bindings, and the OpenAI provider:
cd my-ai-chatbot
npm install ai @ai-sdk/react @ai-sdk/openai
Environment Variables
To securely store your OpenAI API key, create a .env.local file in the root of your project:
touch .env.local
Then, add your API key to the .env.local file:
OPENAI_API_KEY=your-openai-api-keyReplace your-openai-api-key with your actual OpenAI API key. This file is included in the .gitignore by default, so it won't be committed to your repository. Restart your dev server after creating or changing .env.local.
Building the Chatbot
Now, let's create the chatbot interface and the backend logic.
The Frontend
Find this file src/app/page.tsx and replace its content with the following code:
'use client';

import { useChat } from '@ai-sdk/react';
import { useState } from 'react';
import type { UIMessage } from 'ai';

export default function Chat() {
  const { messages, sendMessage, error } = useChat<UIMessage>();
  const [input, setInput] = useState('');

  const handleSubmit = (e?: { preventDefault?: () => void }) => {
    e?.preventDefault?.();
    const text = input.trim();
    if (!text) return;
    void sendMessage({ text });
    setInput('');
  };

  return (
    <div className="flex flex-col w-full max-w-md mx-auto stretch">
      {error ? <div className="text-red-500 mb-2">{String(error)}</div> : null}
      {messages.map((m) => (
        <div key={m.id} className="whitespace-pre-wrap">
          {m.role === 'user' ? 'User: ' : 'AI: '}
          {m.parts
            .filter((p) => p.type === 'text')
            .map((p) => (p as { type: 'text'; text: string }).text)
            .join('')}
        </div>
      ))}

      <form onSubmit={handleSubmit}>
        <input
          className="fixed bottom-0 w-full max-w-md p-2 mb-8 border border-gray-300 rounded shadow-xl"
          value={input}
          placeholder="Say something..."
          onChange={(e) => setInput(e.target.value)}
        />
      </form>
    </div>
  );
}
This code uses the useChat hook from the Vercel AI SDK React bindings to manage chat state. With v5, the hook returns messages and sendMessage; input state is handled locally, message text is read from message.parts, and any error from the request is rendered at the top.
The Backend
Next, create an API route to handle the communication with the OpenAI API. Create a new file at src/app/api/chat/route.ts and add the following code:
import { openai } from '@ai-sdk/openai';
import { streamText, convertToCoreMessages } from 'ai';

// IMPORTANT! Set the runtime to edge
export const runtime = 'edge';

export async function POST(req: Request) {
  if (!process.env.OPENAI_API_KEY) {
    return Response.json(
      { error: 'Missing OPENAI_API_KEY. Add it to your .env.local file.' },
      { status: 500 }
    );
  }

  try {
    const body = await req.json().catch(() => ({}));
    const messages = Array.isArray(body?.messages) ? body.messages : [];

    const coreMessages = convertToCoreMessages(messages);

    const result = await streamText({
      model: openai('gpt-4o-mini'),
      messages: coreMessages,
    });

    return result.toUIMessageStreamResponse();
  } catch (error) {
    const message =
      error instanceof Error ? error.message : 'Unknown error while streaming response';
    return Response.json({ error: message }, { status: 500 });
  }
}
This code creates an API route that receives the chat messages from the frontend, converts them to core message format, and streams the OpenAI response back to the client using toUIMessageStreamResponse() compatible with the v5 UI message format. It also validates that OPENAI_API_KEY is set and returns a JSON error if not, which the UI will display.
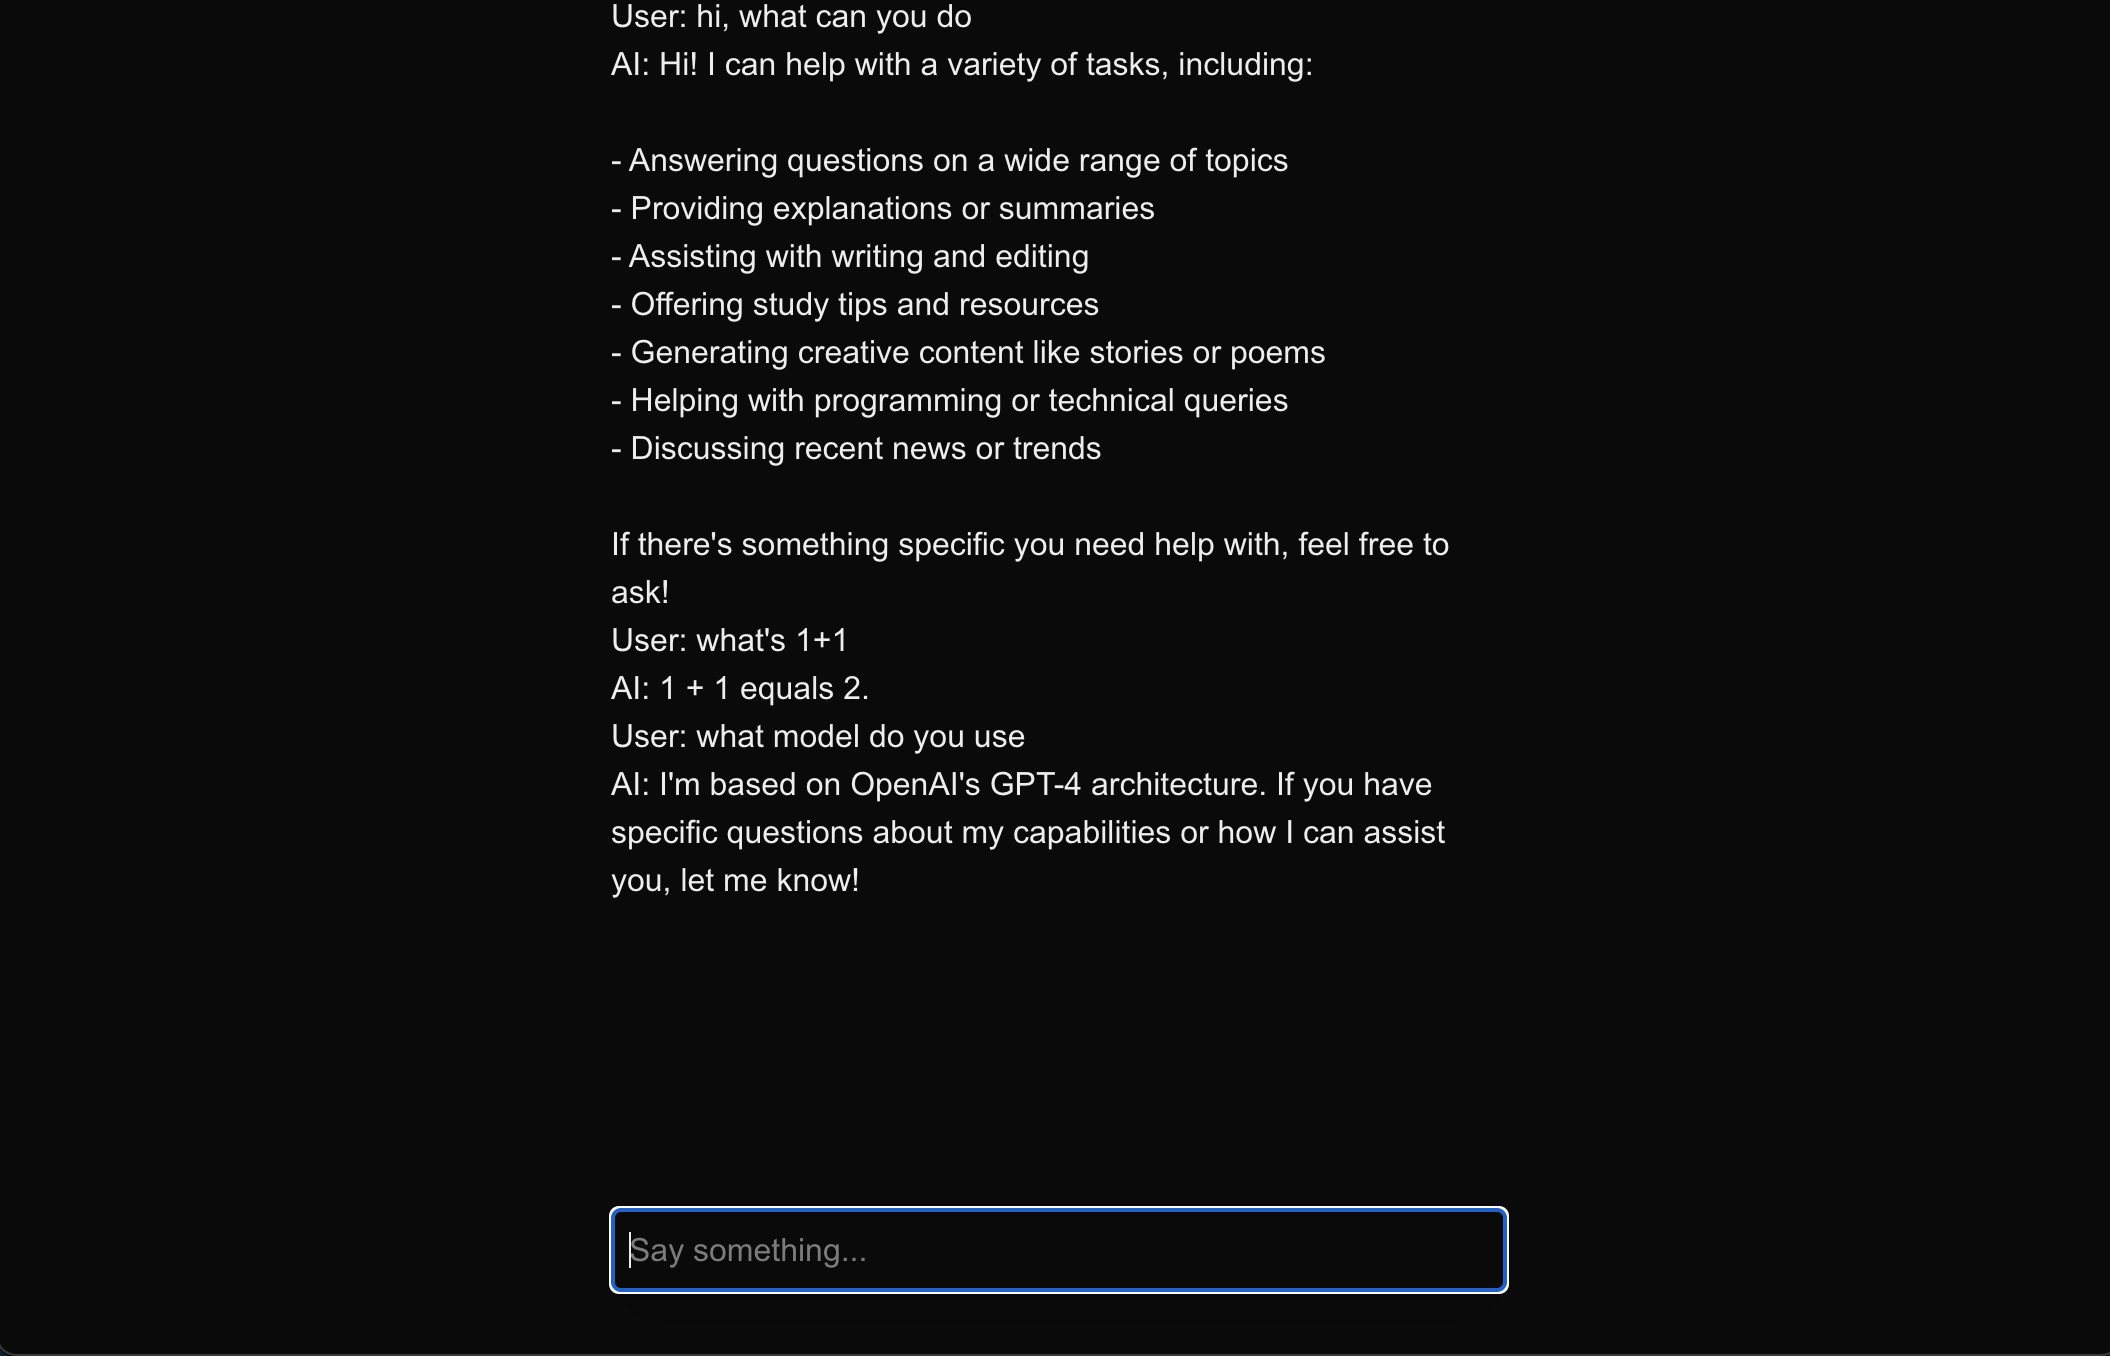
Running the Application
Now, you're ready to run your chatbot\! In your terminal, run the following command:
npm run dev
This will start the development server. Open your browser and navigate to http://localhost:3000 to see your chatbot in action.
Conclusion
Congratulations\! You've successfully built a simple chatbot using the Vercel AI SDK and Next.js. You've learned how to:
- Set up a Next.js project with the Vercel AI SDK
- Use the
useChathook to manage chat state - Create an API route to stream responses from the OpenAI API
- Securely store your API key using environment variables
This is just the beginning of what you can do with the Vercel AI SDK. You can explore more advanced features like function calling, streaming structured data, and using different language models. For more information, check out the Vercel AI SDK documentation.