Zeabur: One-Click Deploy Vibe Coding Projects from Cursor

The AI Coding Revolution and the Deployment Gap
AI-powered coding tools have revolutionized the way we write code. We can now build entire applications with simple prompts. You have an idea, you describe it, and the AI brings it to life.
However, a significant gap often emerges after the code is written. While tools like V0, Lovable, or Bolt are designed for generating and deploying apps seamlessly, general-purpose AI coding tools like Cursor, Windsurf, or VS Code Copilot leave the deployment part to you. This means stepping out of your creative flow to wrestle with DevOps tasks, configurations, and deployment pipelines.
This is where the Zeabur extension for Cursor and VS Code comes in. It bridges the gap between AI-powered development and production, allowing you to deploy your projects with a single click, without ever leaving your editor. Let's walk through how to take a project from a simple prompt in Cursor to a live, deployed application on Zeabur.
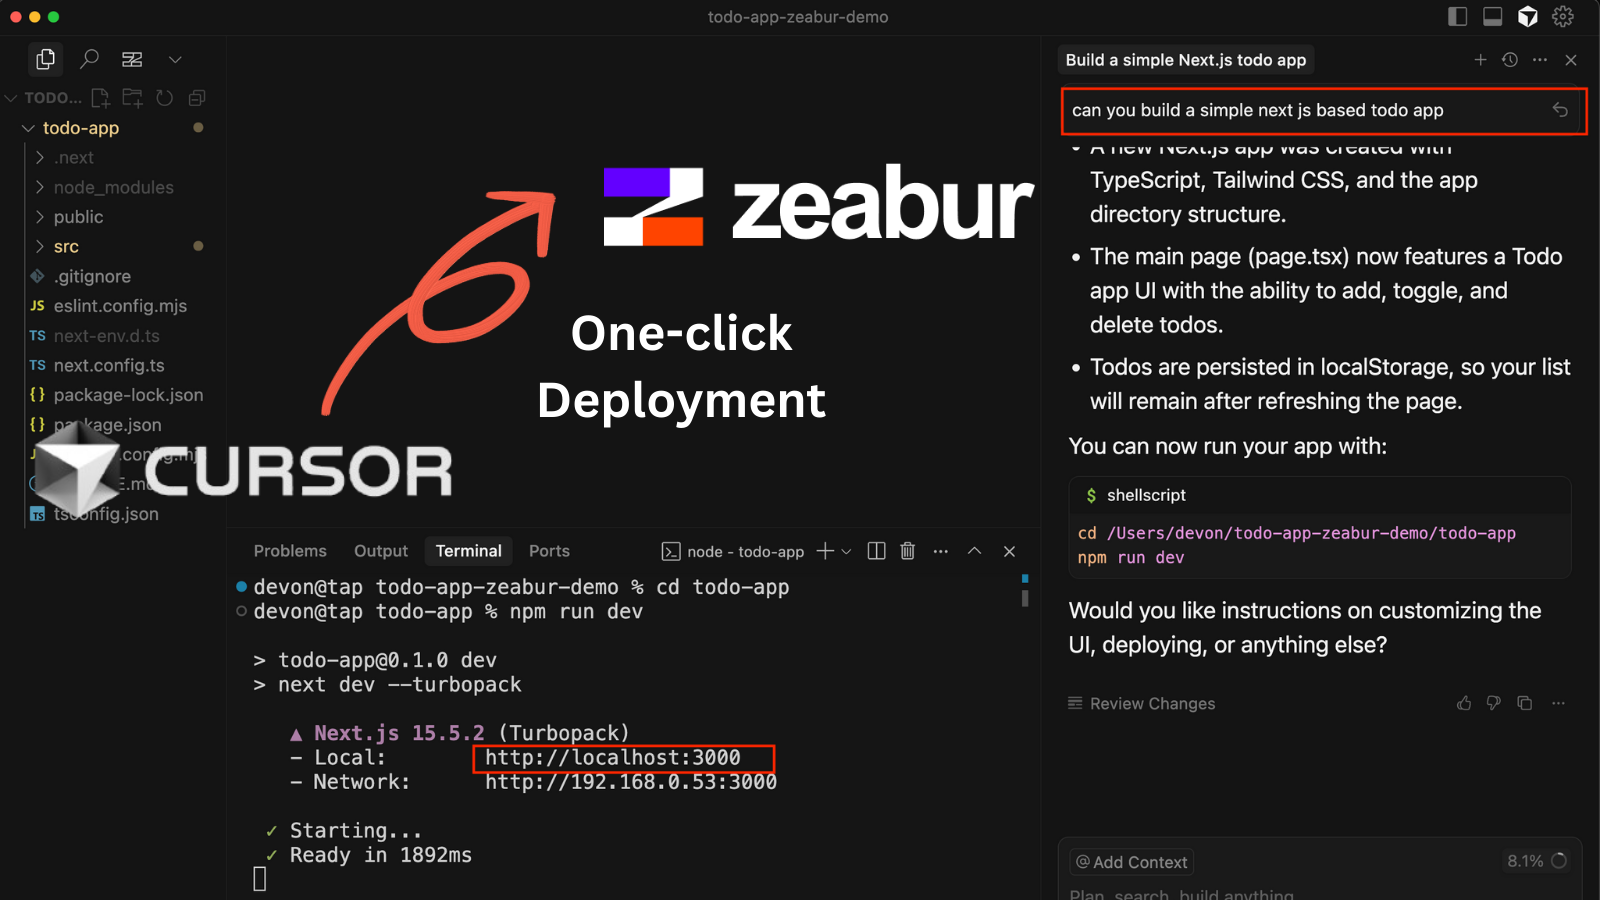
Step 1: Build Your App with a Prompt in Cursor
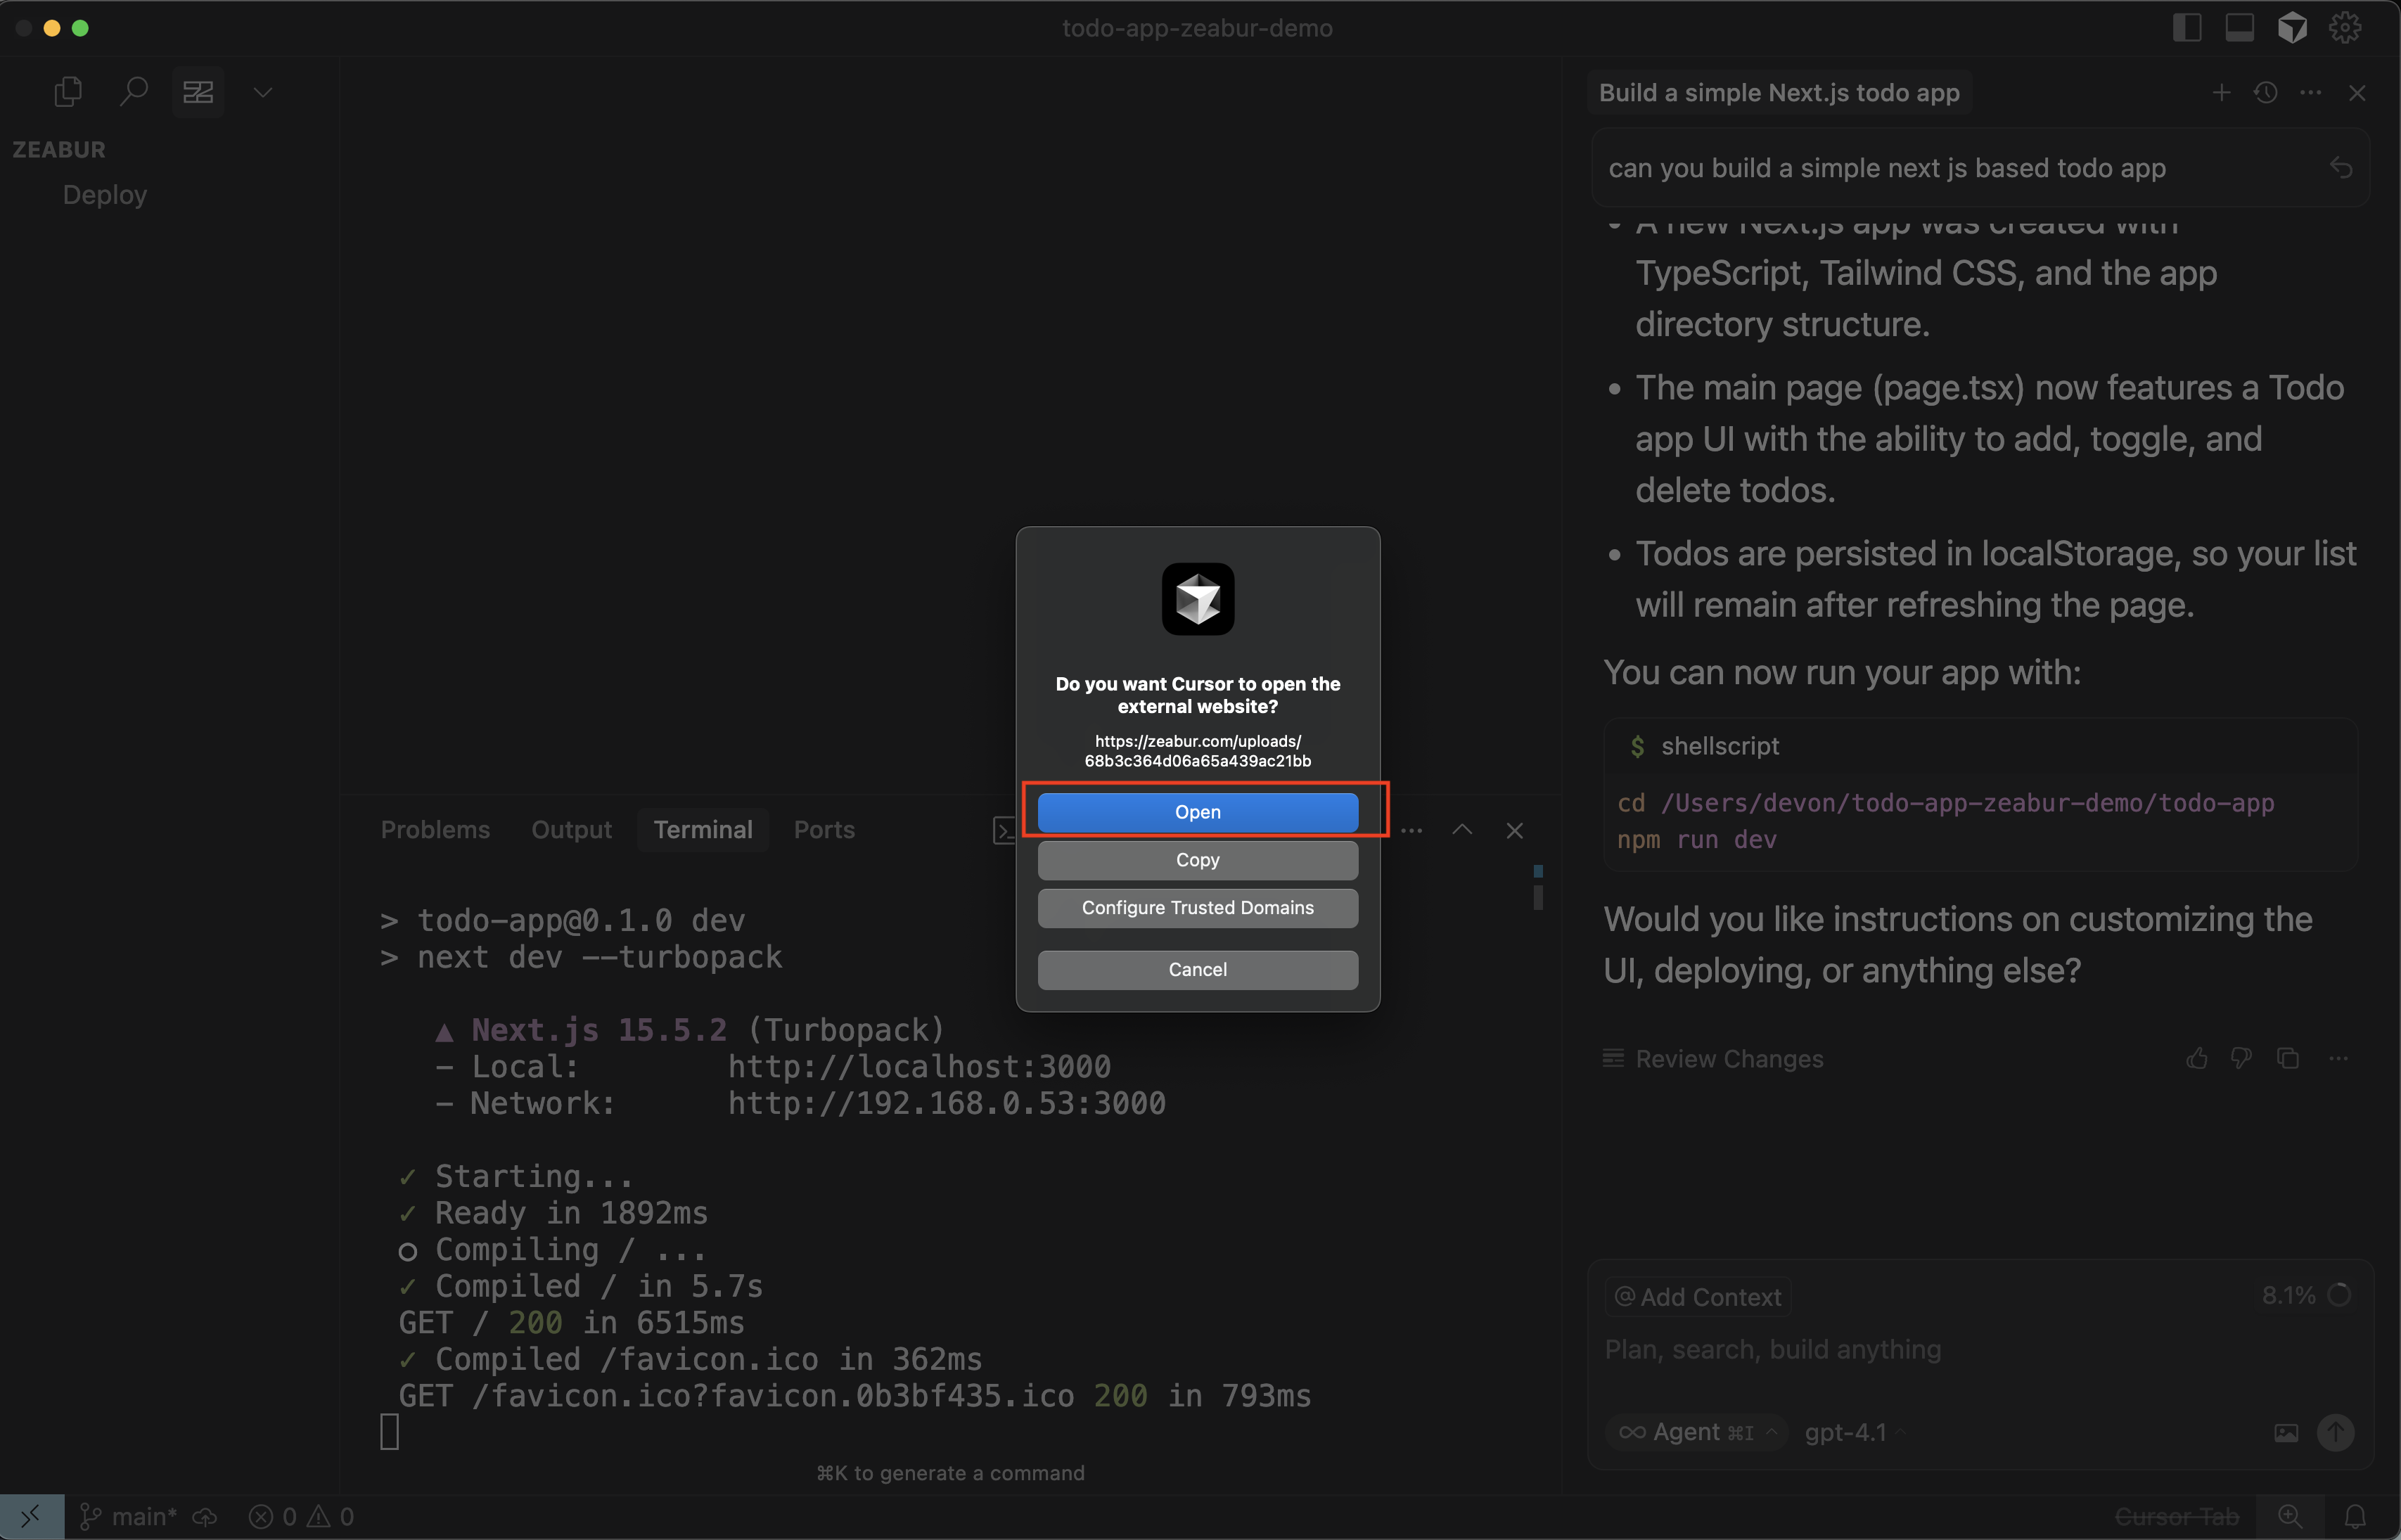
First, let's generate a project. In this tutorial, we're building a simple Next.js to-do application.
In Cursor, you can open the chat panel and ask the AI to build the application for you.
Prompt:can you build a simple next js based todo app
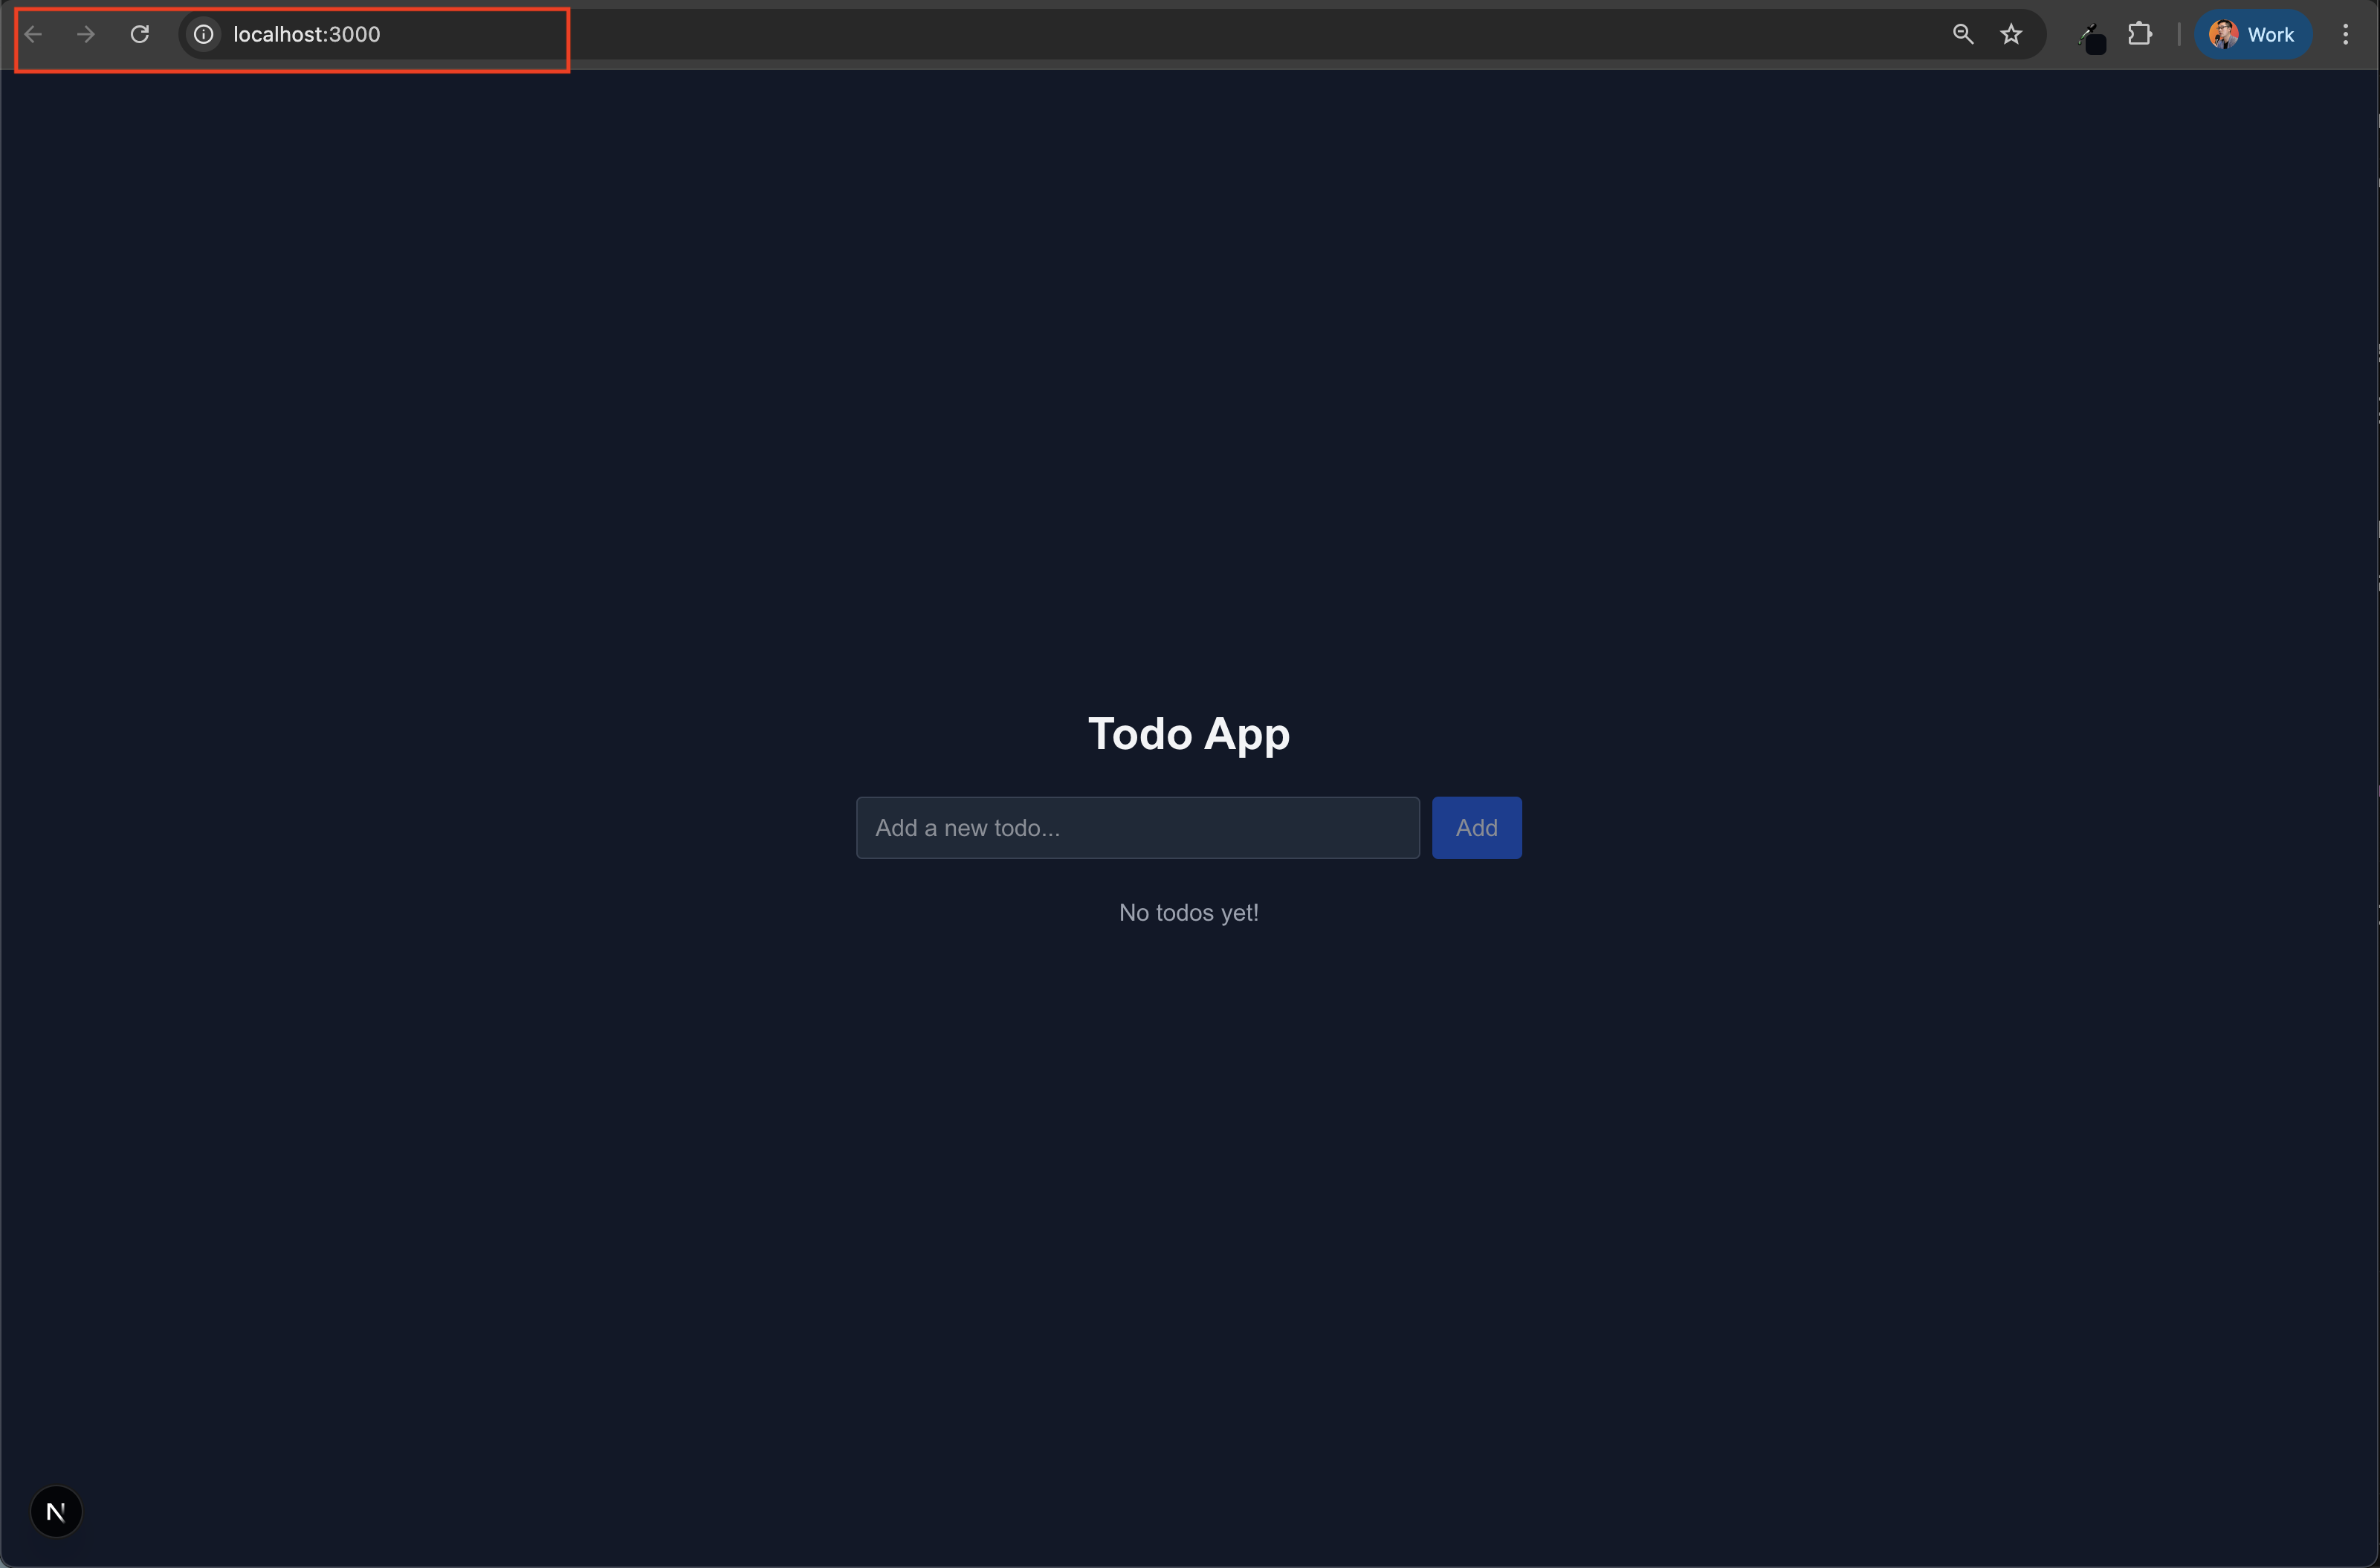
The AI will generate the necessary files and folder structure. Once it's done, you can run the app locally to test it.
npm run dev

You can now see your app running on http://localhost:3000.
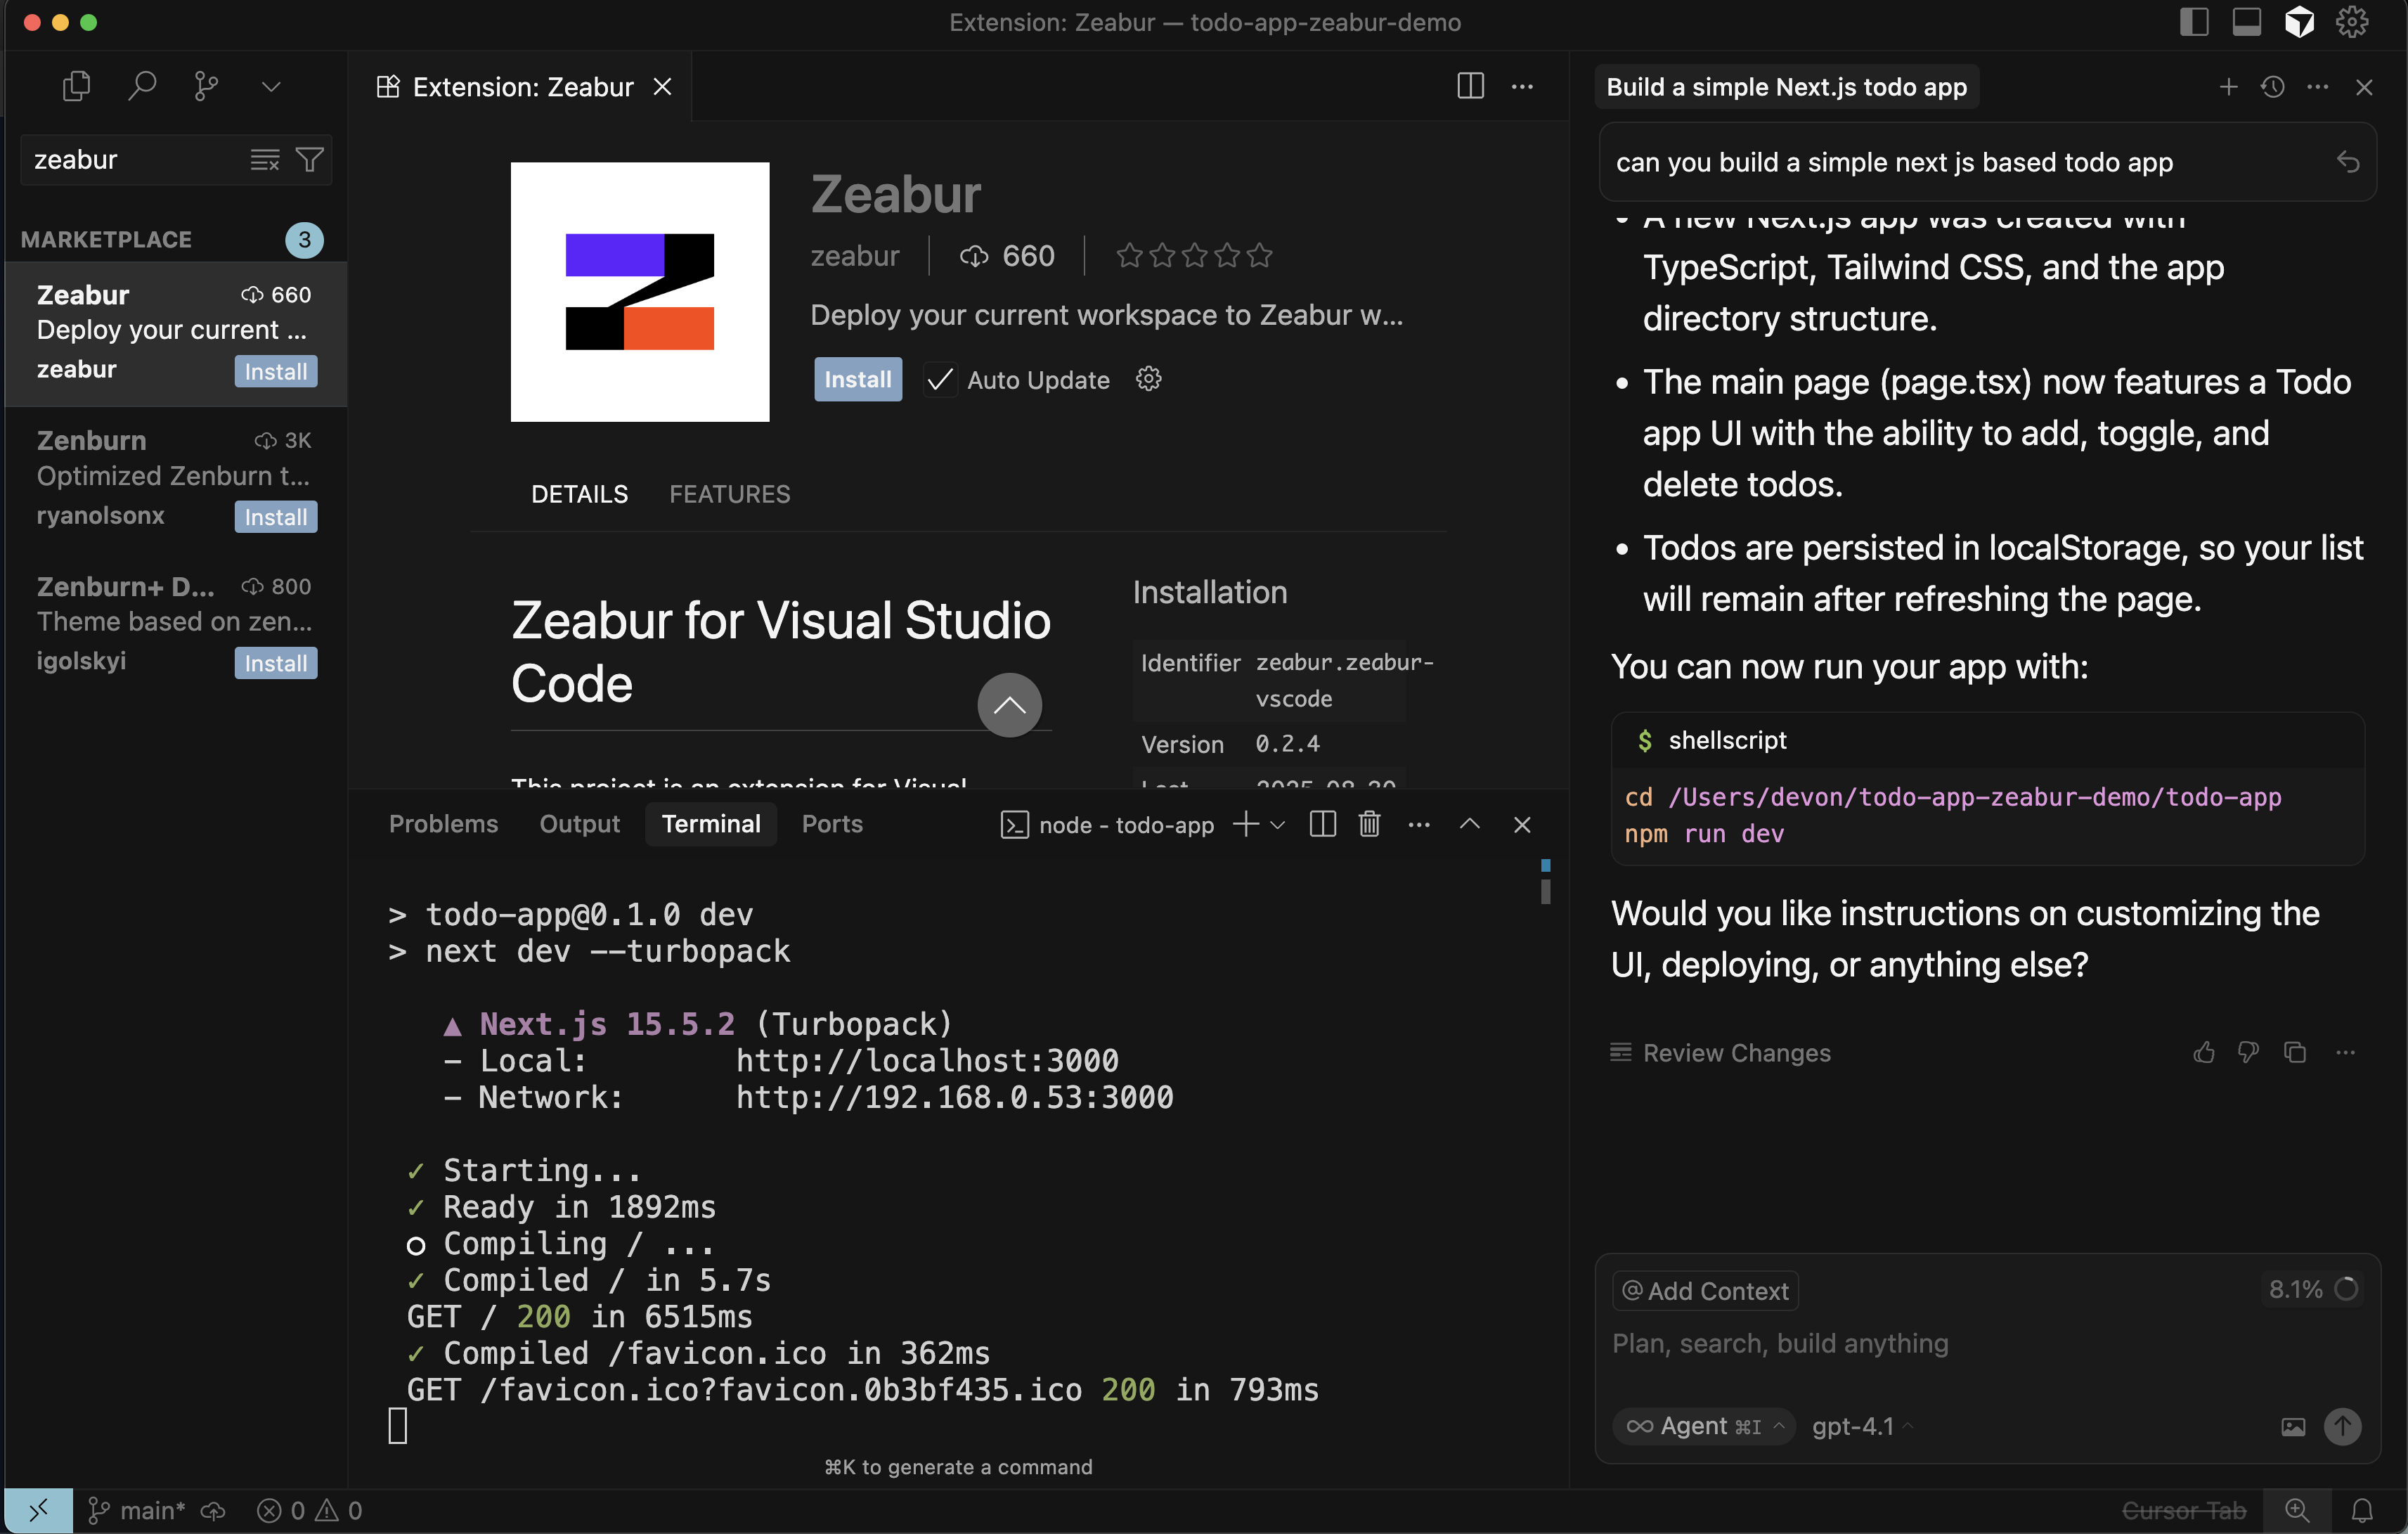
Step 2: Install the Zeabur Extension
To start the one-click deployment process, you first need to install the Zeabur extension from the Visual Studio Marketplace.
- Navigate to the Extensions view in Cursor.
- Search for "Zeabur".
- Click Install.
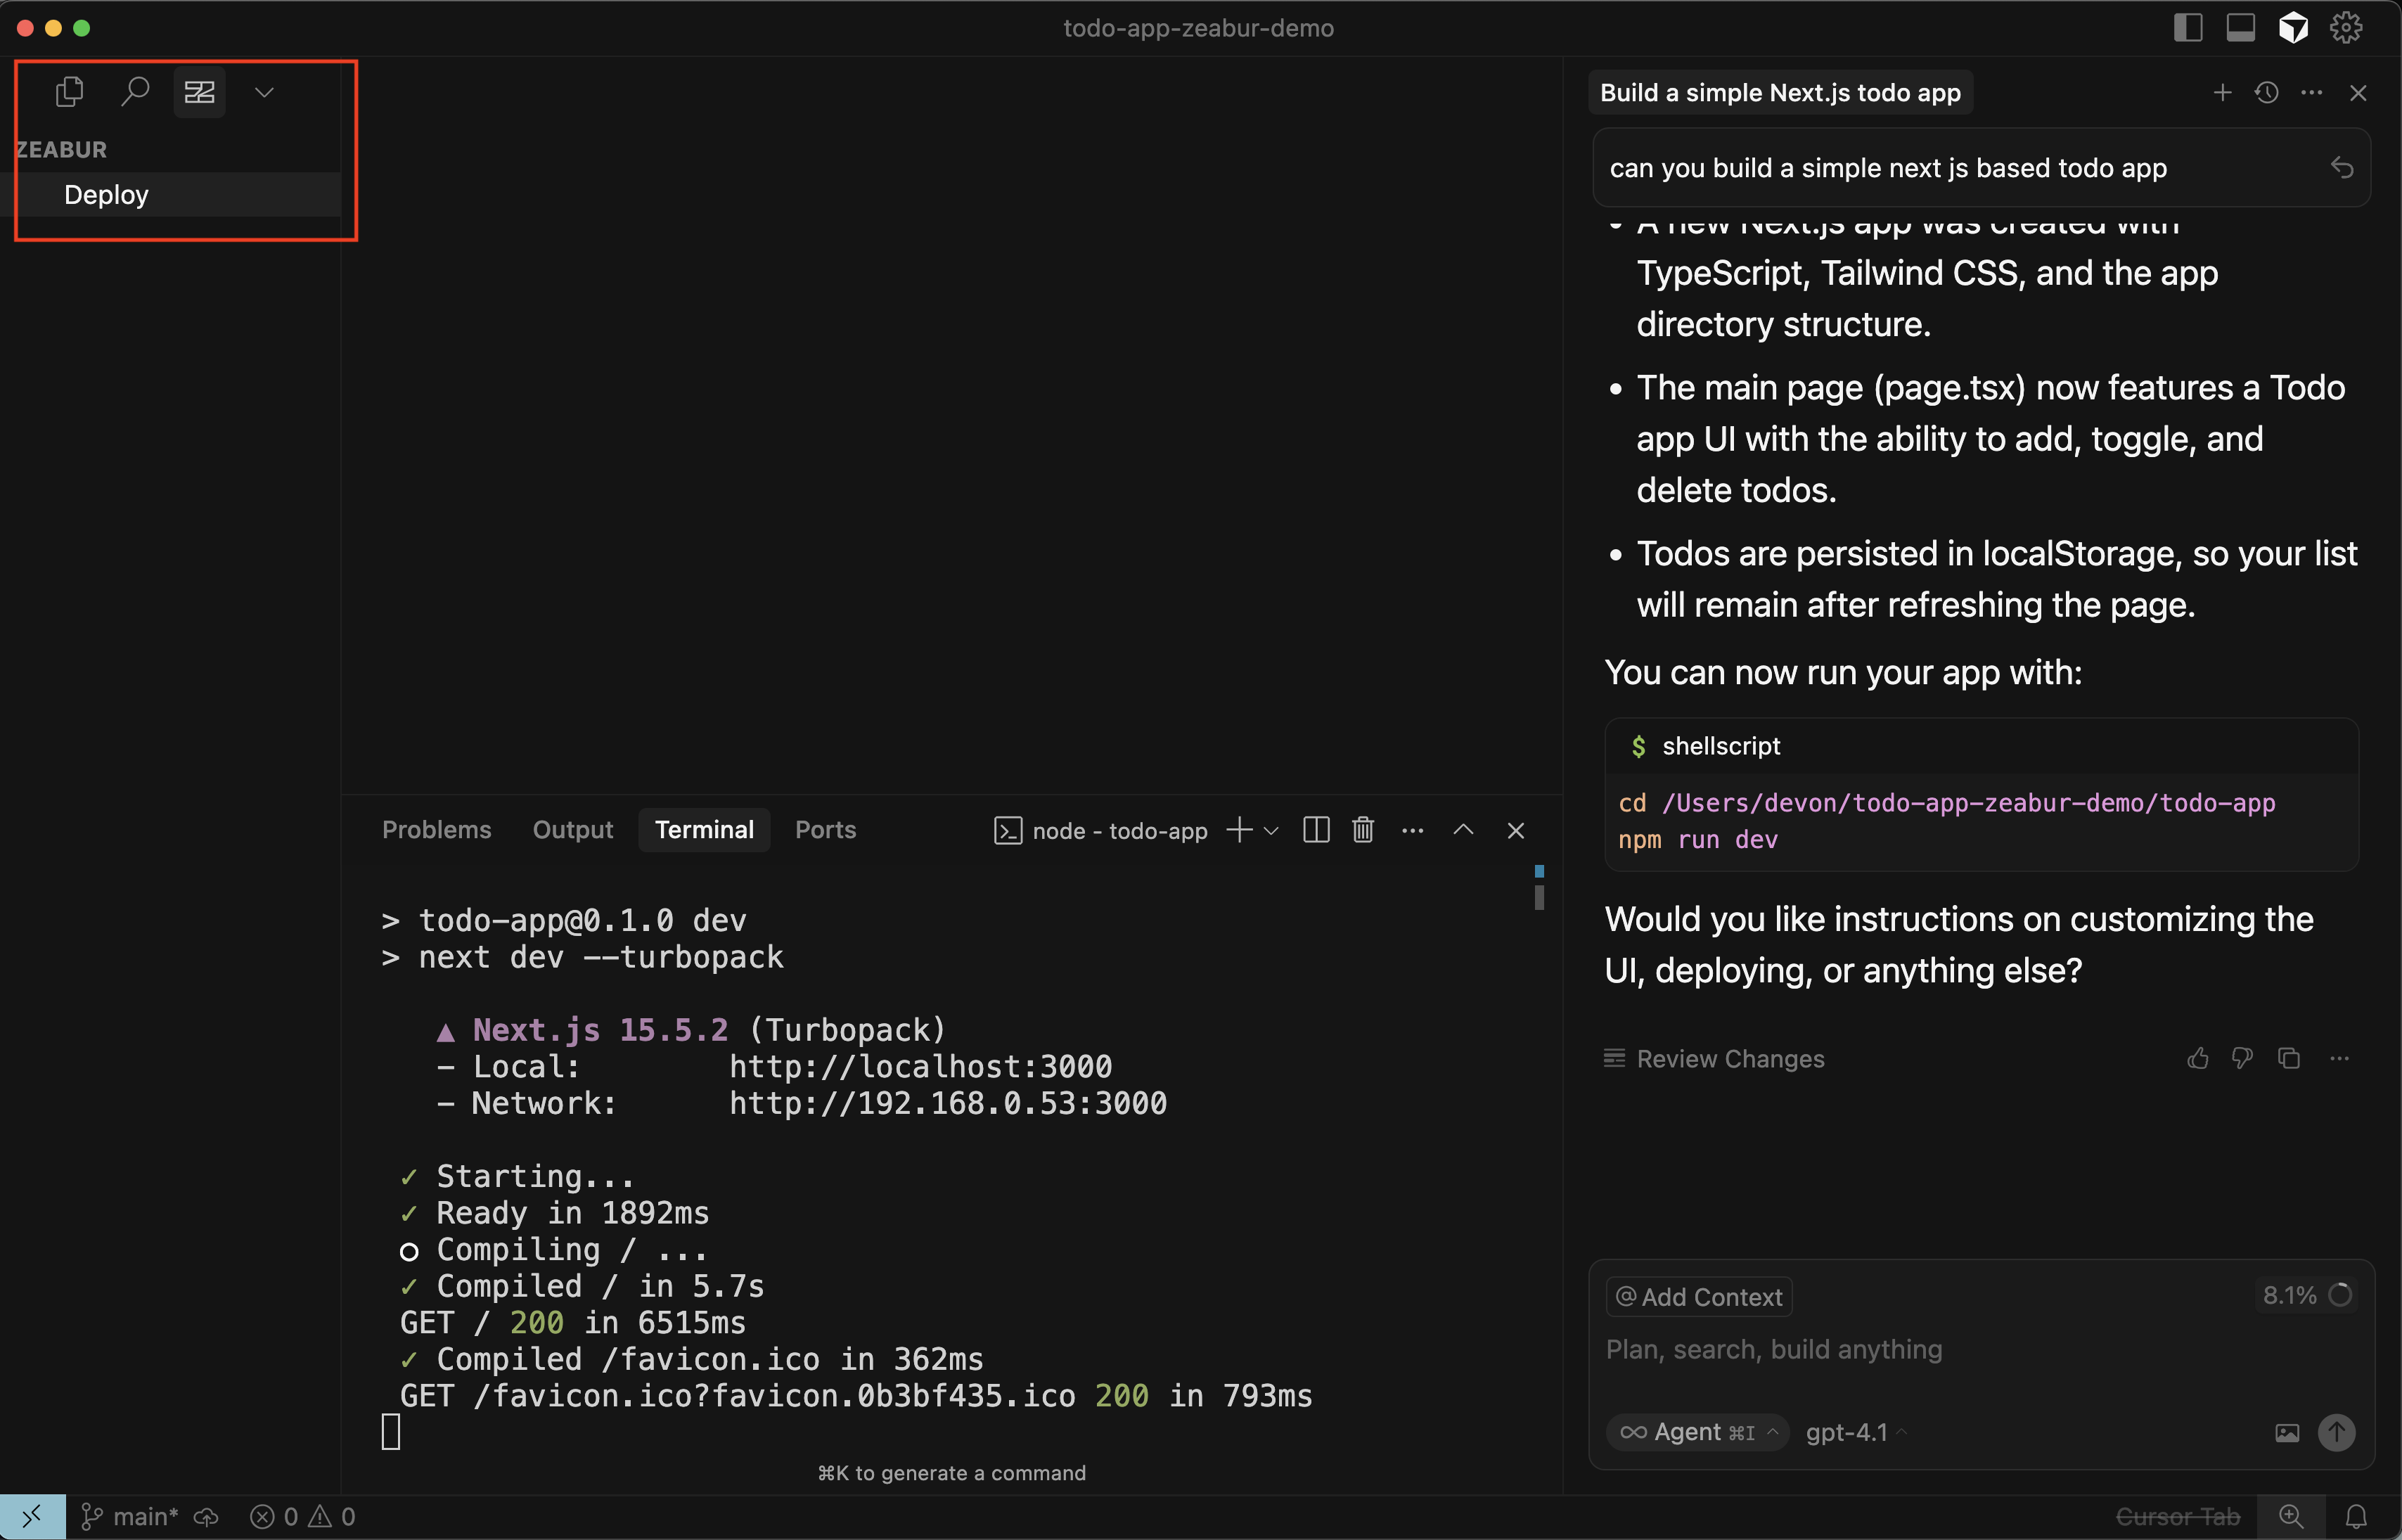
Step 3: Deploy with a Single Click
Once the extension is installed, a new Zeabur icon will appear in your activity bar.
- Click on the Zeabur icon.
- Click the Deploy button.
This action packages your local code and sends it to Zeabur's deployment service.
You'll be prompted to open the Zeabur website in your browser to complete the process. Click Open.
Step 4: Zeabur's AI Analyzes Your Project
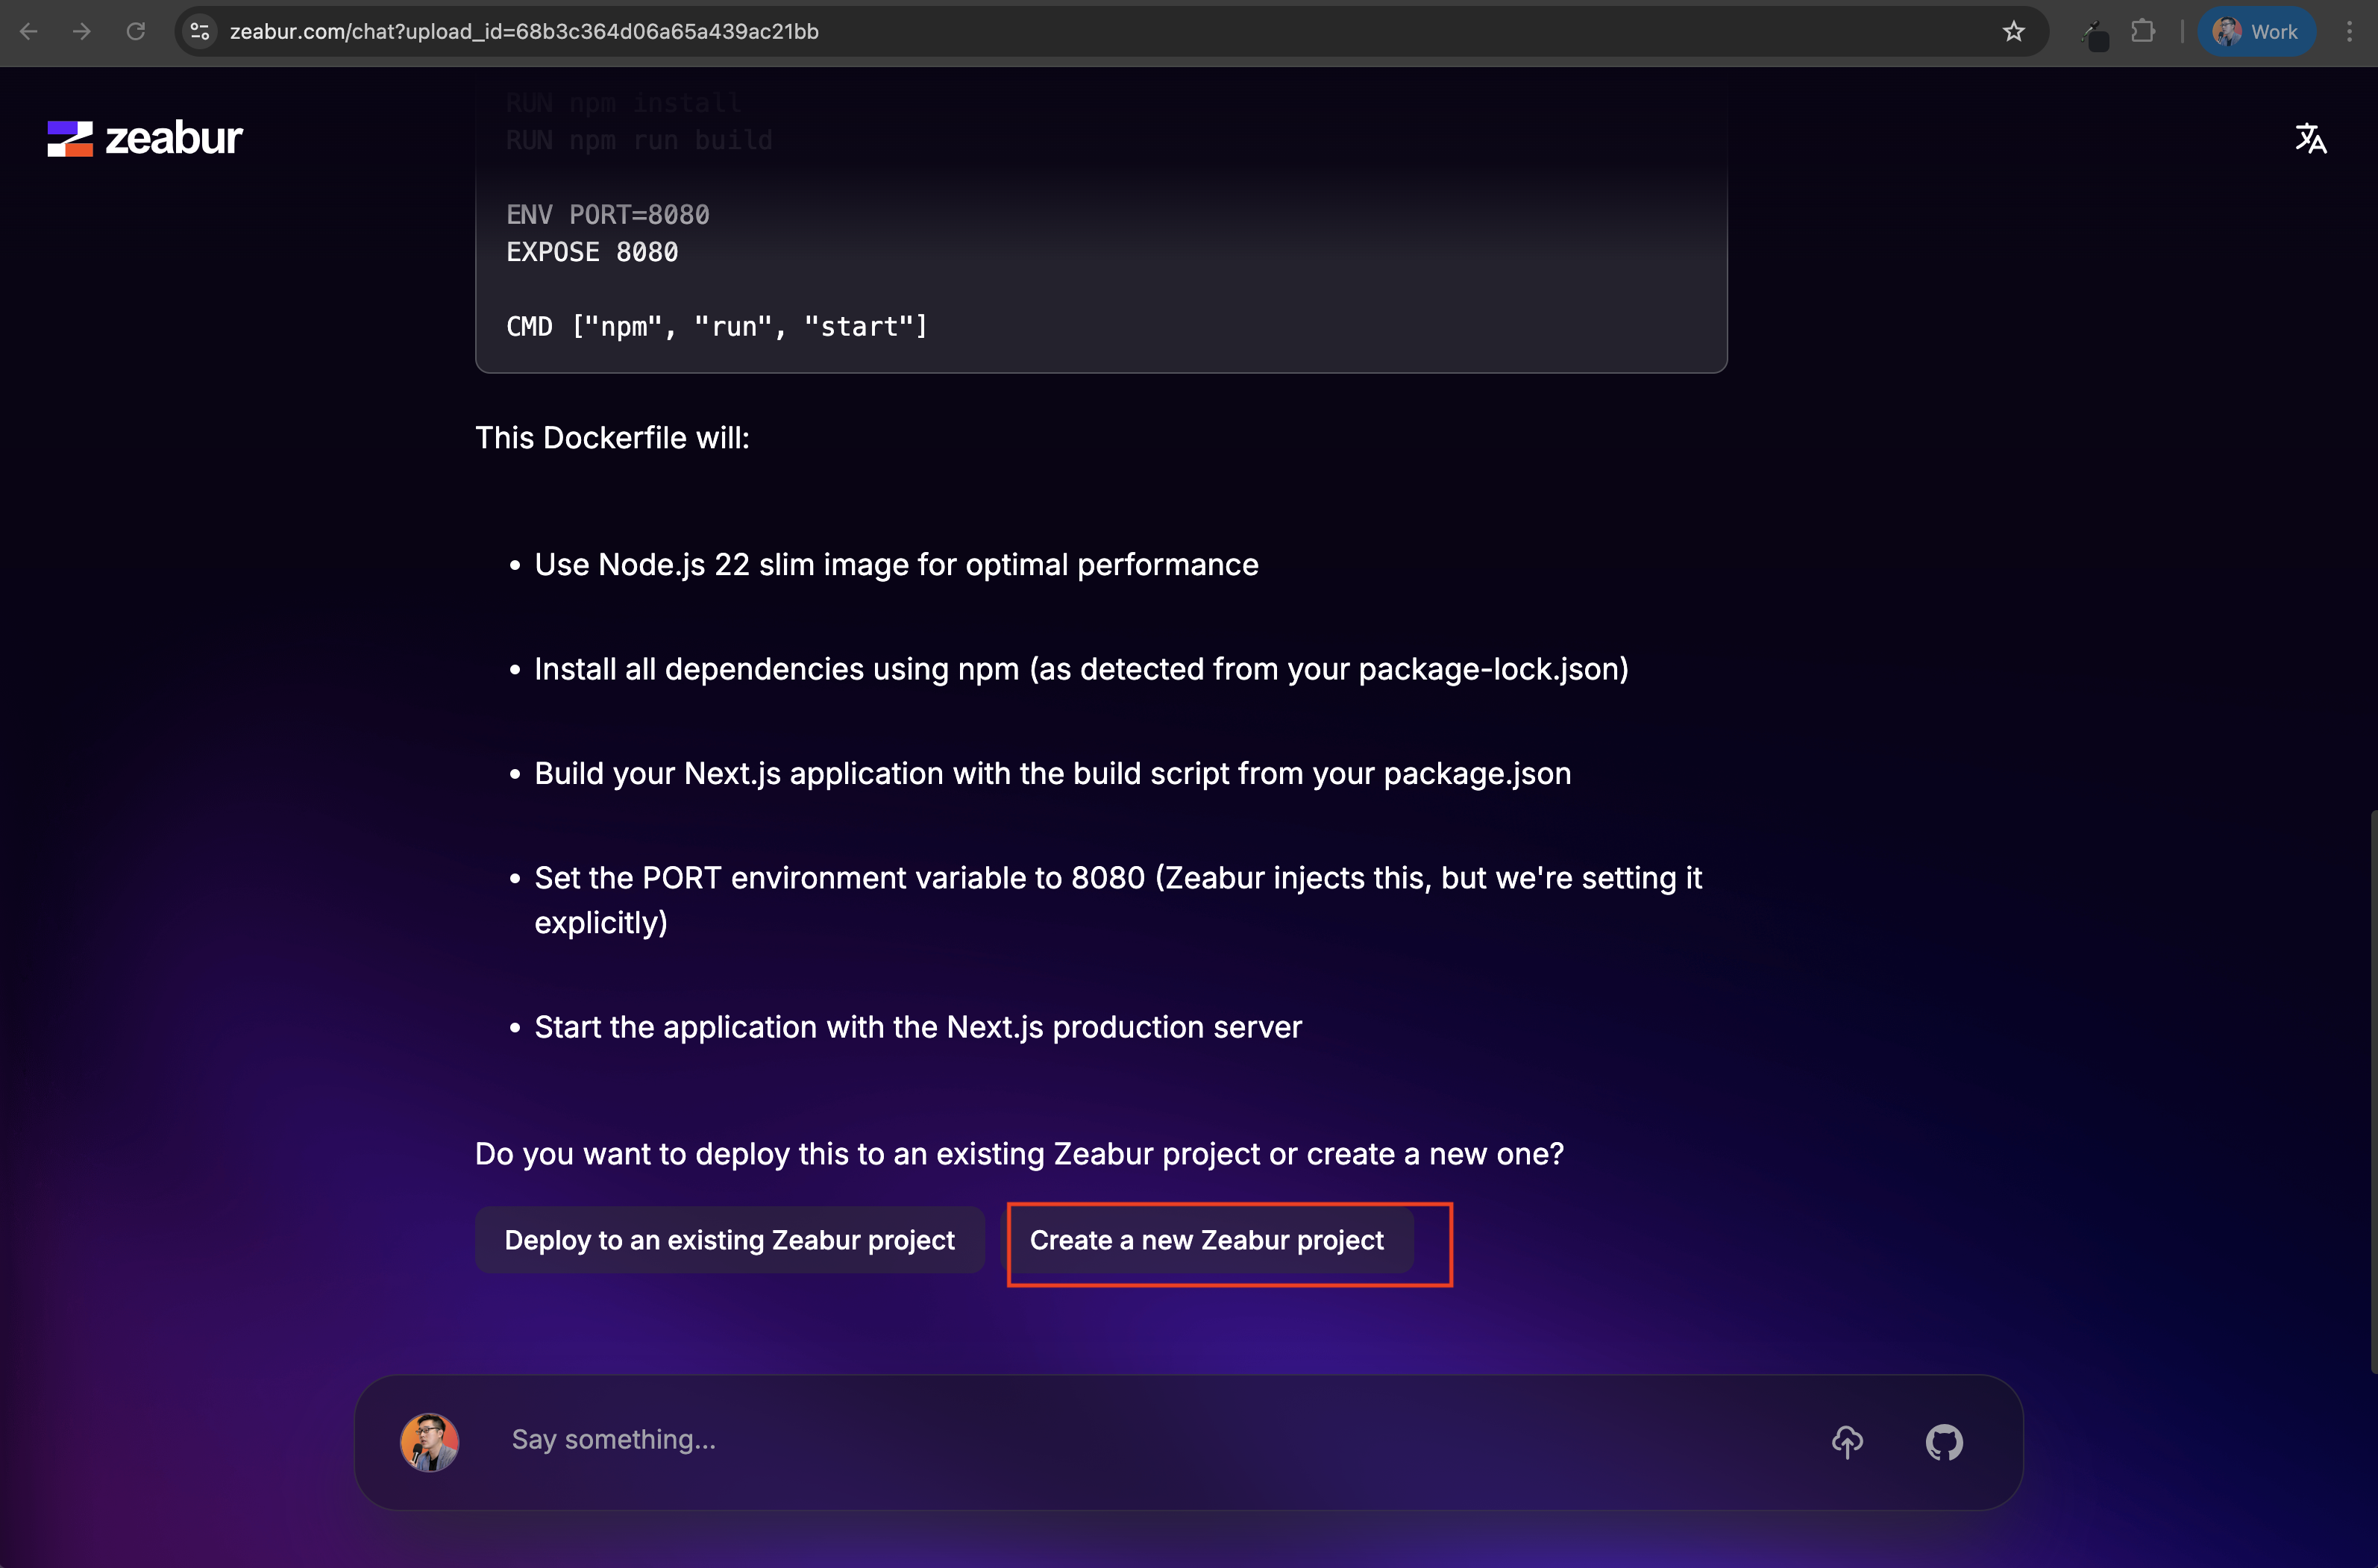
This is where the magic happens. Once you're redirected to Zeabur, its AI will automatically analyze your uploaded code. It detects the language, framework (in this case, Next.js with TypeScript and Tailwind CSS), and necessary build steps. No need to write a single line of DevOps code or configuration files.

Step 5: Configure Your New Project
After the analysis, Zeabur will guide you through a few simple configuration steps.
- Click Create a new Zeabur project.
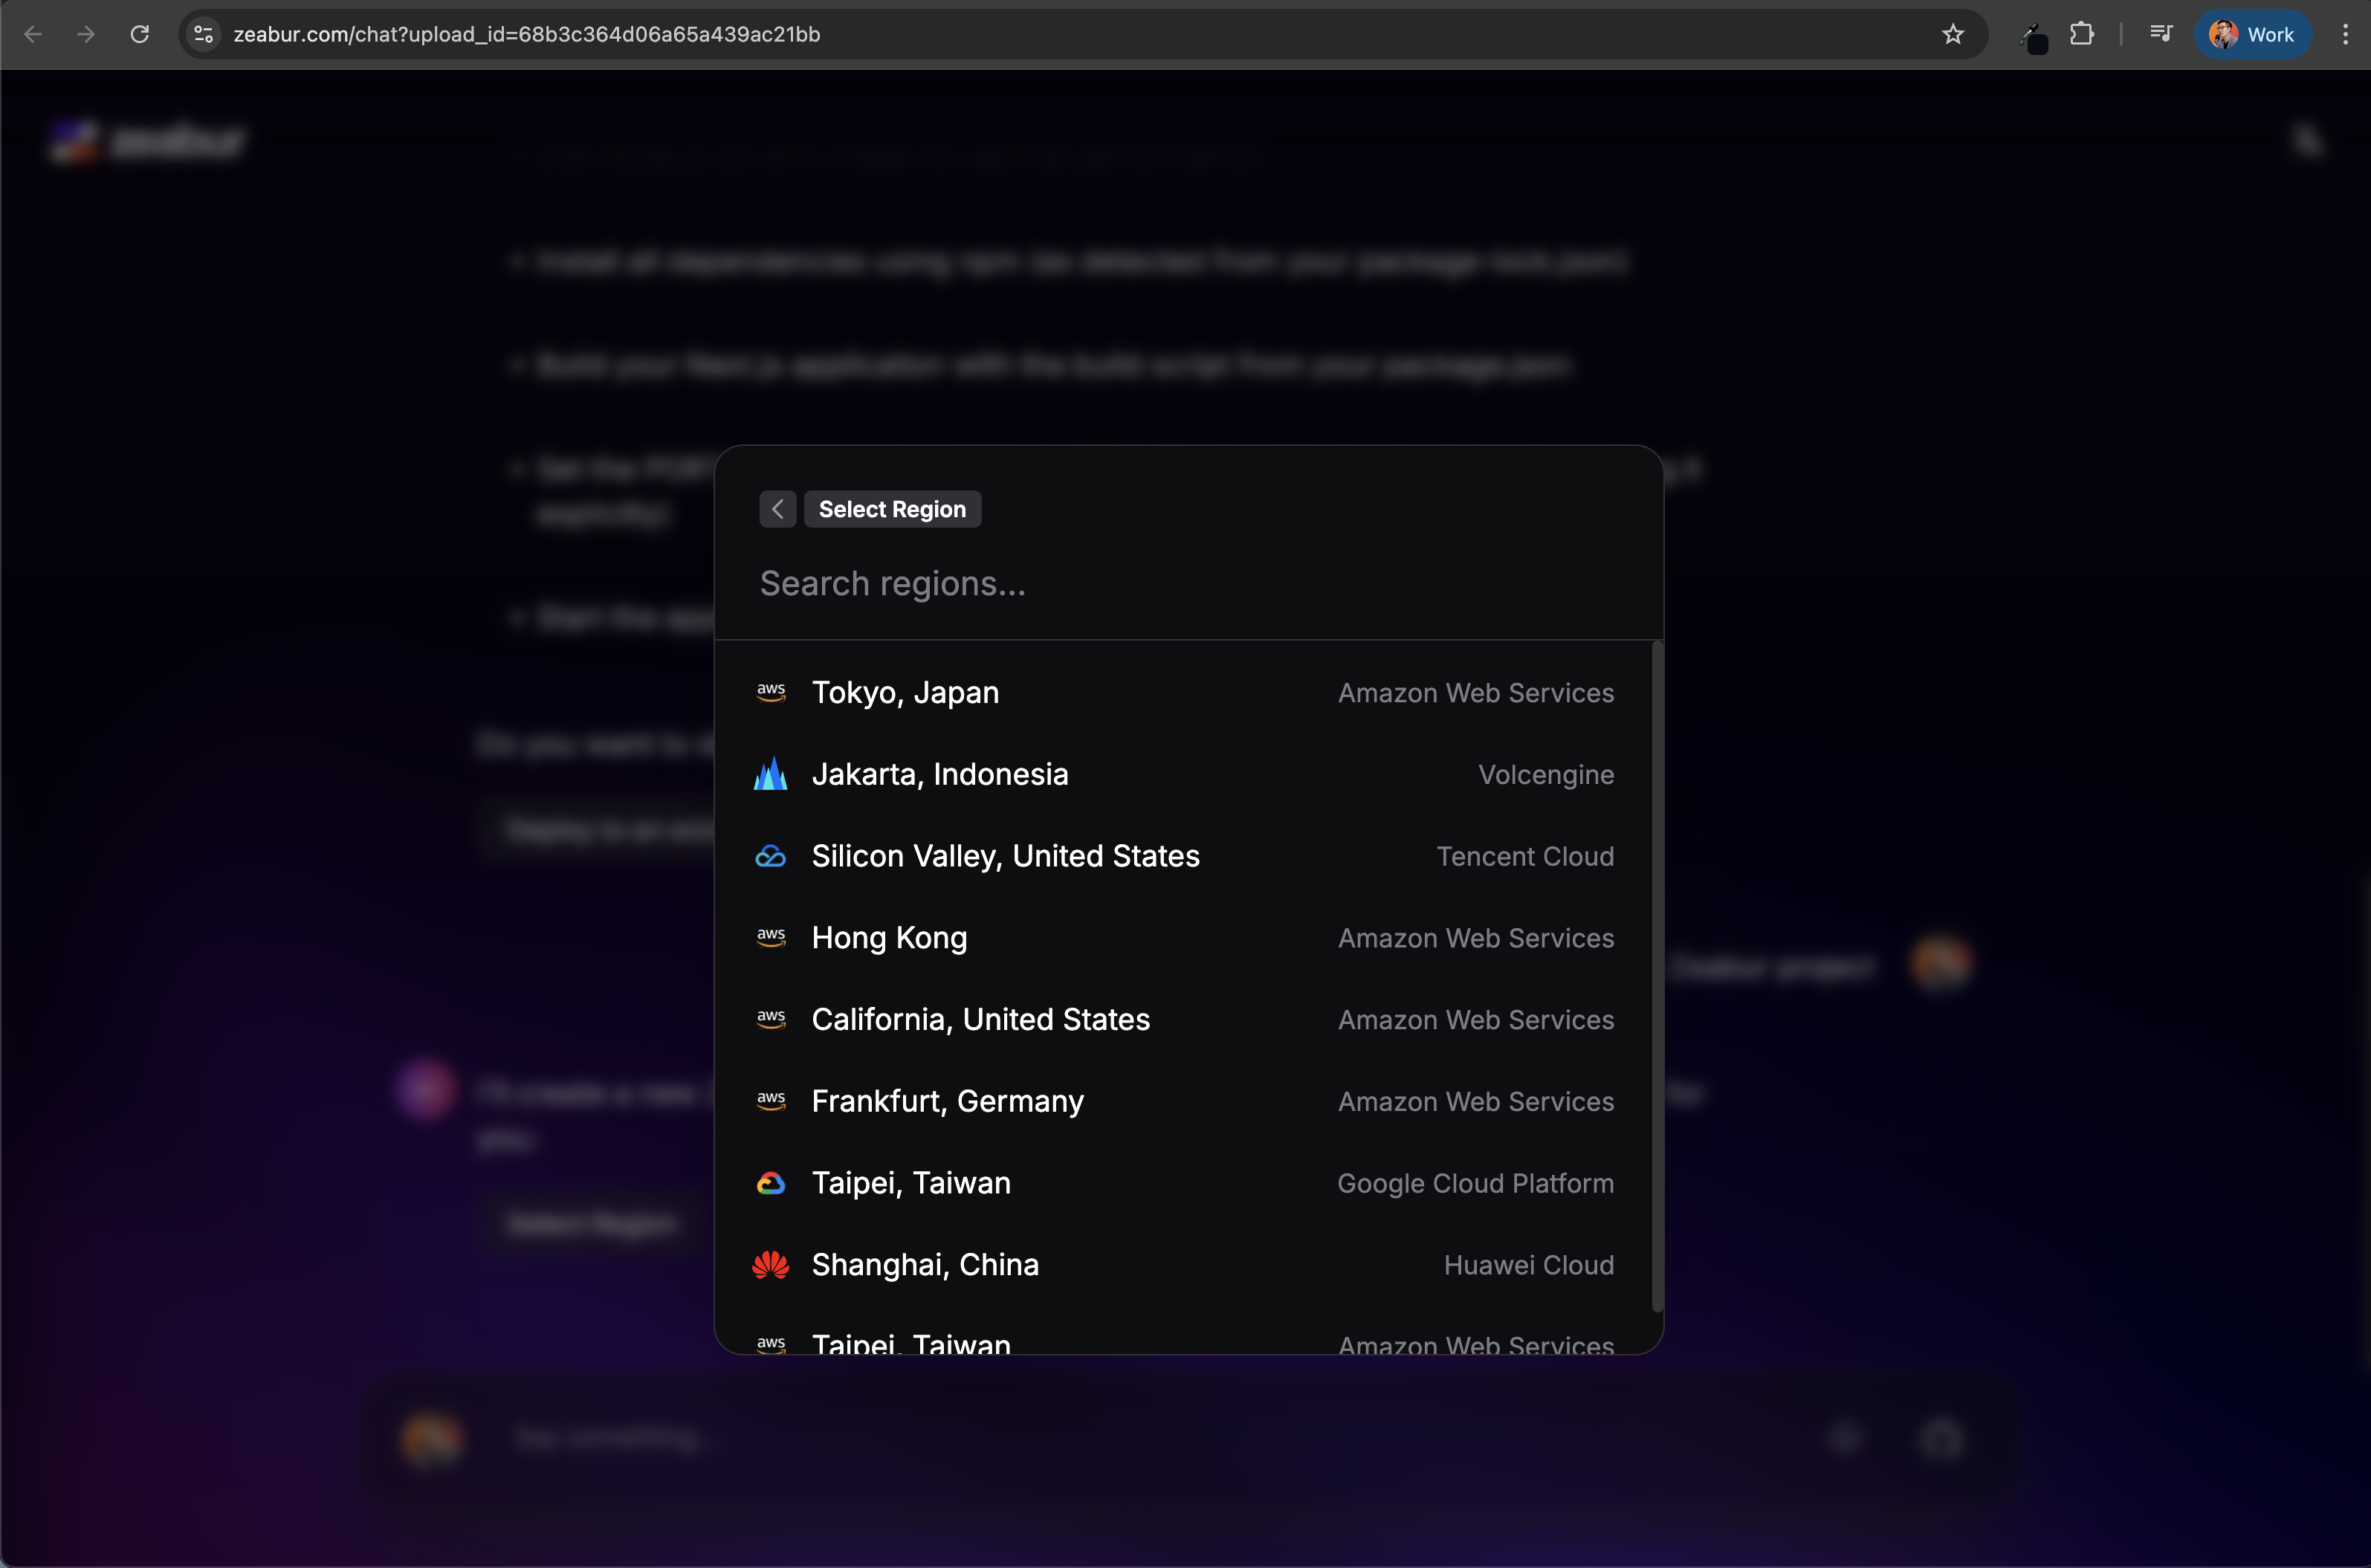
- Select a region for your deployment. Choose the one closest to your users for the best performance.
Step 6: Launch and Go Live
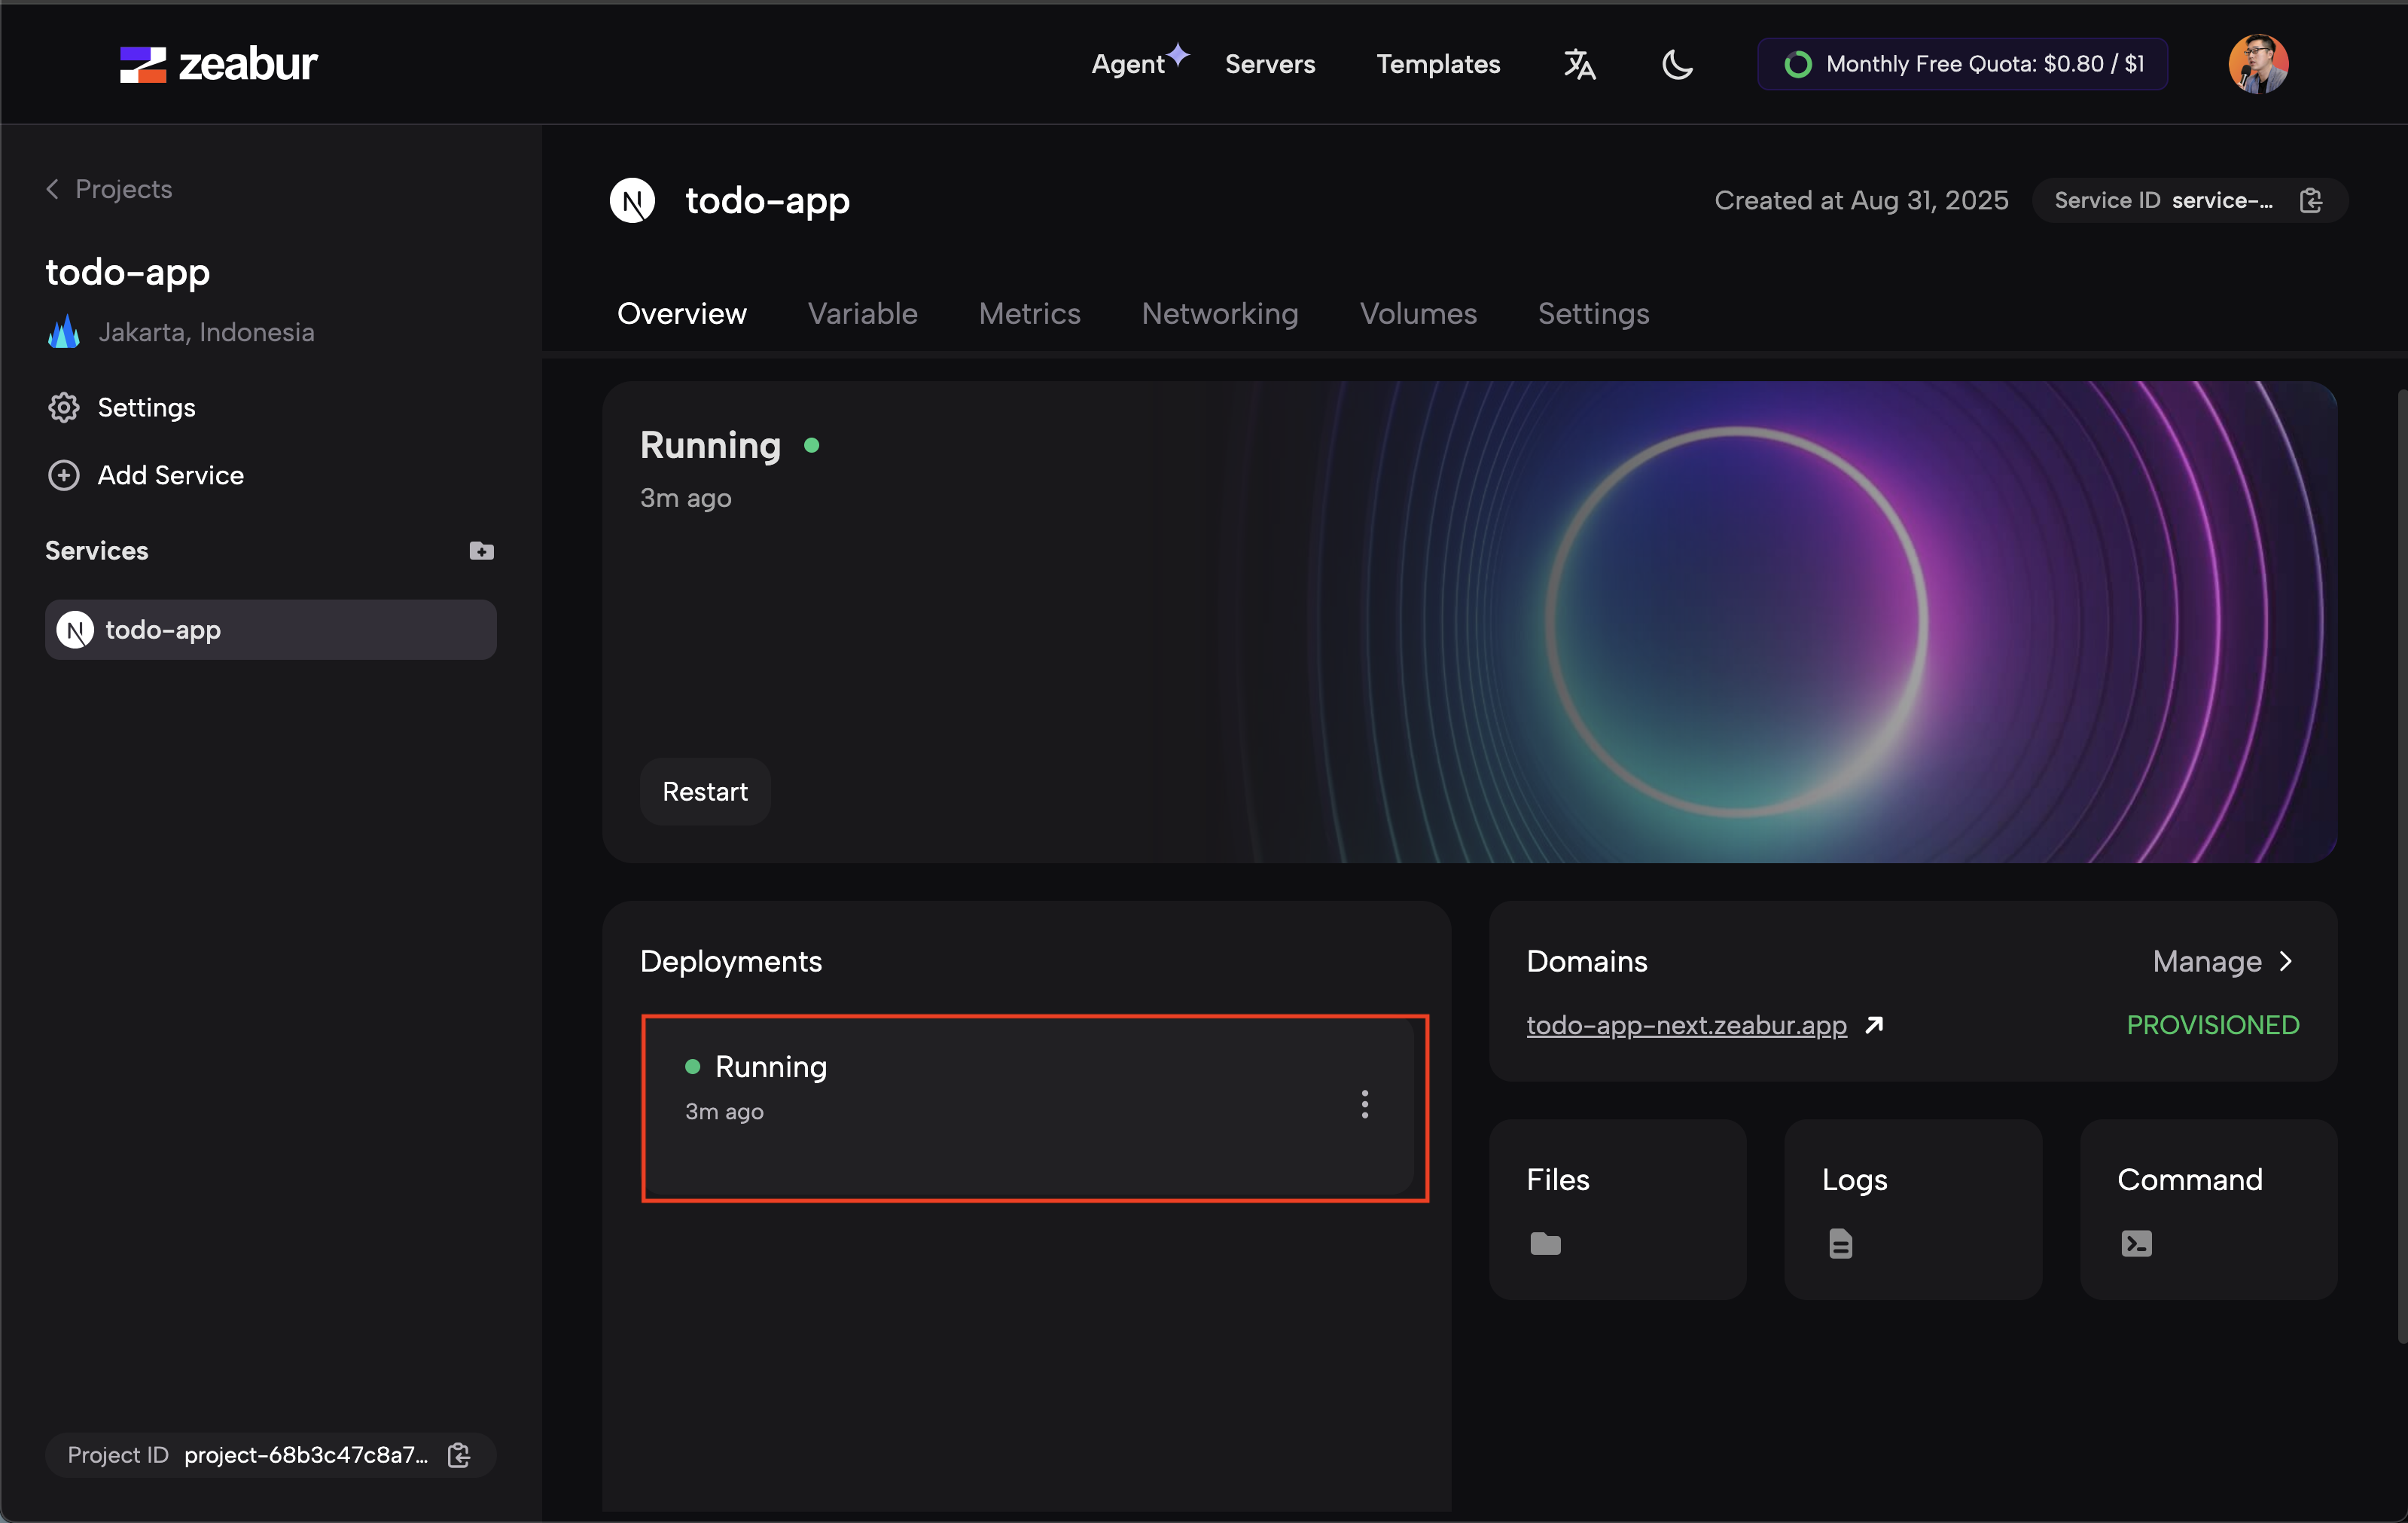
Zeabur will now begin the deployment process. It will install dependencies, build your application, and provision the necessary infrastructure. A temporary domain name will be assigned to your service automatically.
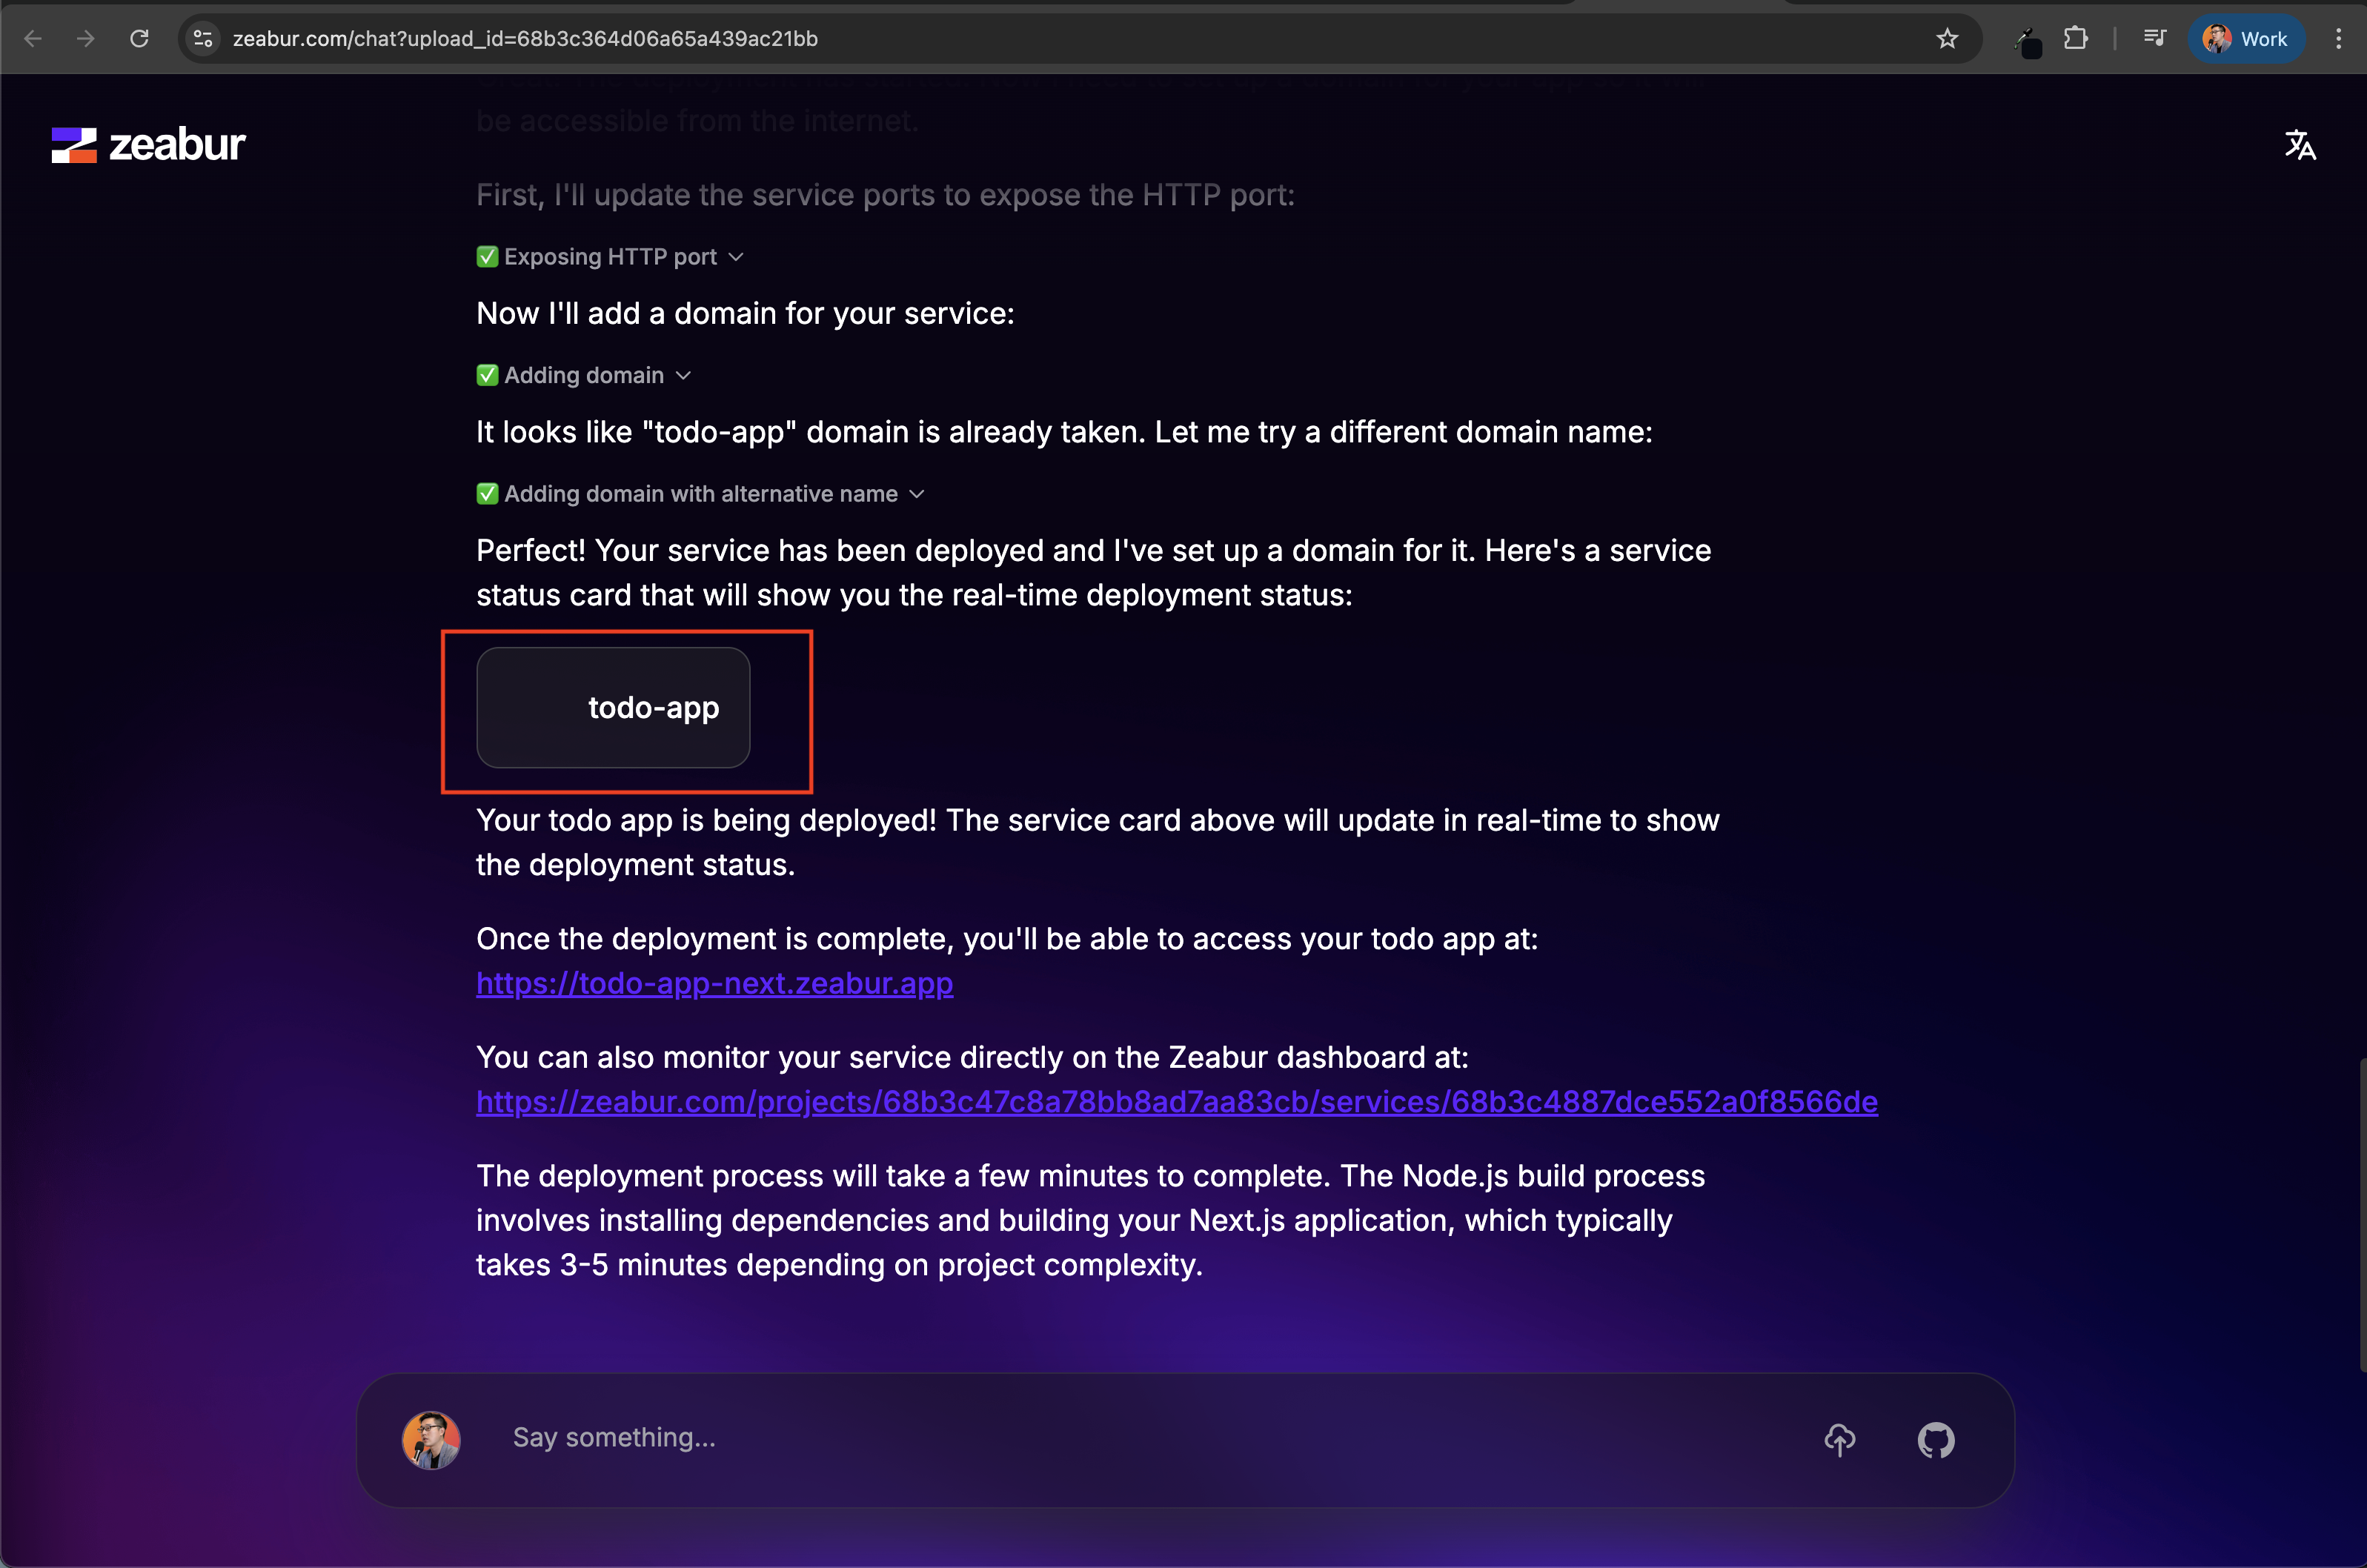
You can monitor the status in real-time. Within a few minutes, your service will be running! The Zeabur dashboard provides a complete overview of your project, including deployment status, domains, and logs.
And that's it! 🎉 Your app is fully deployed.

You've gone from a simple text prompt in your editor to a fully deployed web application without any complex DevOps overhead. This seamless workflow keeps you in the creative zone, allowing you to build and ship faster than ever before.
Get Your FREE Credits 💰
You can claim FREE $5 USD Zeabur credits through the AI Builders community—perfect for experimenting with a Cursor‑generated Next.js (or any) app, running previews, and testing iterative redeploys.
- Visit the AI Builders Zeabur perk page: https://theaibuilders.dev/zeabur
- Join / sign in to the community and follow the short redemption instructions.
- Wait for the credit to be applied (code or automatic). It may take a little time—check your Zeabur Billing page or email.
If you scale up (larger instance, added services like a database, higher traffic), you'll start consuming the balance faster—so keep early experiments lean.
> Tip: Deploy first on the free credits before upgrading resources. Validate cold start times, env vars, and build output, then scale.
Conclusion
By integrating Zeabur's one-click deployment directly into your coding environment, you can focus on what matters most—building great applications—while leaving the complexities of deployment aside.
Check out Zeabur today and experience the future of effortless app deployment!
Happy coding and deploying! 🎉